How to make a DIY advent calendar
Create your own advent calendar and countdown to Christmas
Christmas is a magical time of year, especially for children eagerly awaiting Santa’s arrival. While presents often take centre stage on Christmas Day, a DIY advent calendar lets you spread that excitement across every day of December. Choosing to create your own advent calendar is not only fun and meaningful, but it can also become a cherished family tradition.
This project shows you how to make a homemade advent calendar by upcycling cardboard toilet paper rolls. It’s affordable, creative, and perfect for crafting with kids. If you’ve ever wanted to make your own advent calendar by upcycling items around the home, this is a great place to start.

Why make your own advent calendar?
There are plenty of reasons to build your own advent calendar rather than buying one from the shop. Crafting together helps children develop creativity, fine motor skills, and problem-solving abilities, all while enjoying quality screen-free time.
A homemade advent calendar also allows you to personalise every detail – from colours and patterns to what goes inside. Whether you’re looking for homemade advent calendar ideas or thoughtful homemade advent calendar gift ideas, a DIY approach gives you total freedom.
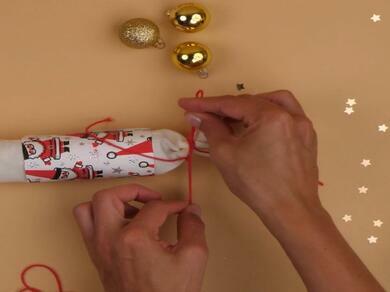
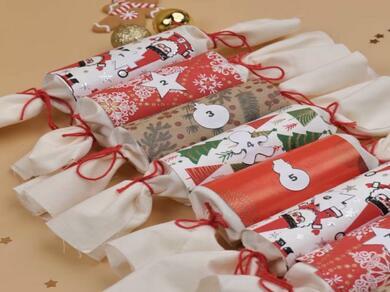
Instructions
Let's sum up!
Learning how to make your own advent calendar is about more than crafting – it’s about creating moments together. Whether you’re crafting for children, gifting to someone special, or simply enjoying festive creativity, this project shows just how easy it is to make an advent calendar that’s meaningful and fun.
With the right materials and a little imagination, you can confidently say, “I made my own advent calendar” – and enjoy every step of the countdown to Christmas.
Bostik offers a wide range of stationery and craft adhesives to support every project, from simple festive makes to more detailed DIY ideas. For more inspiration, explore creative projects and festive crafts using #CraftWithBostik.
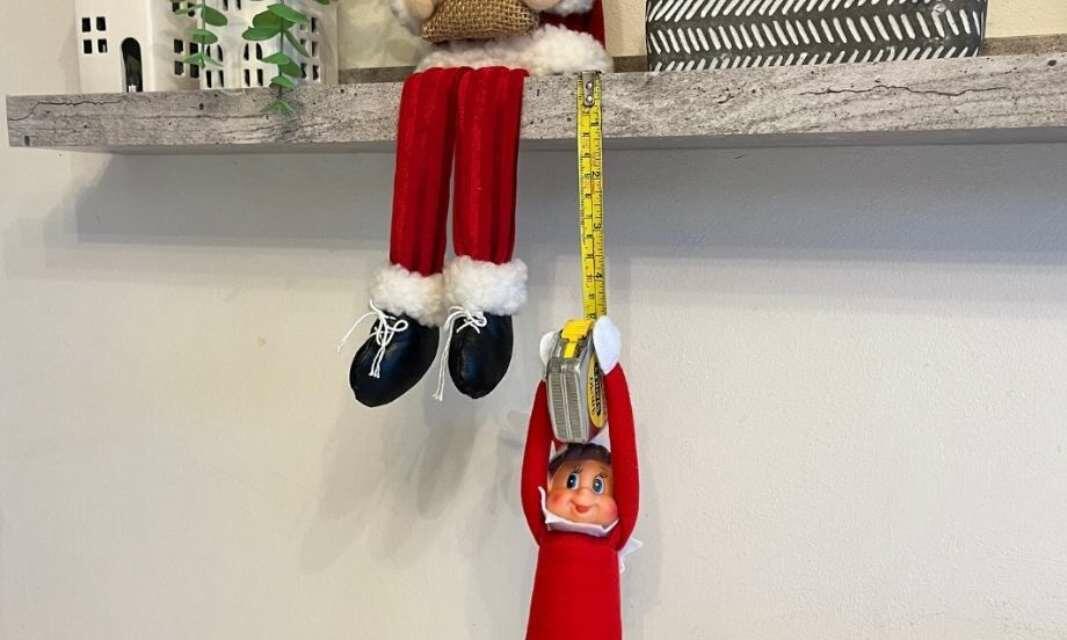
#BluHacks: 'Elf on the shelf' ideas

4 brown paper wrapping ideas for Christmas and birthdays

How to make a 3D snowman out of paper
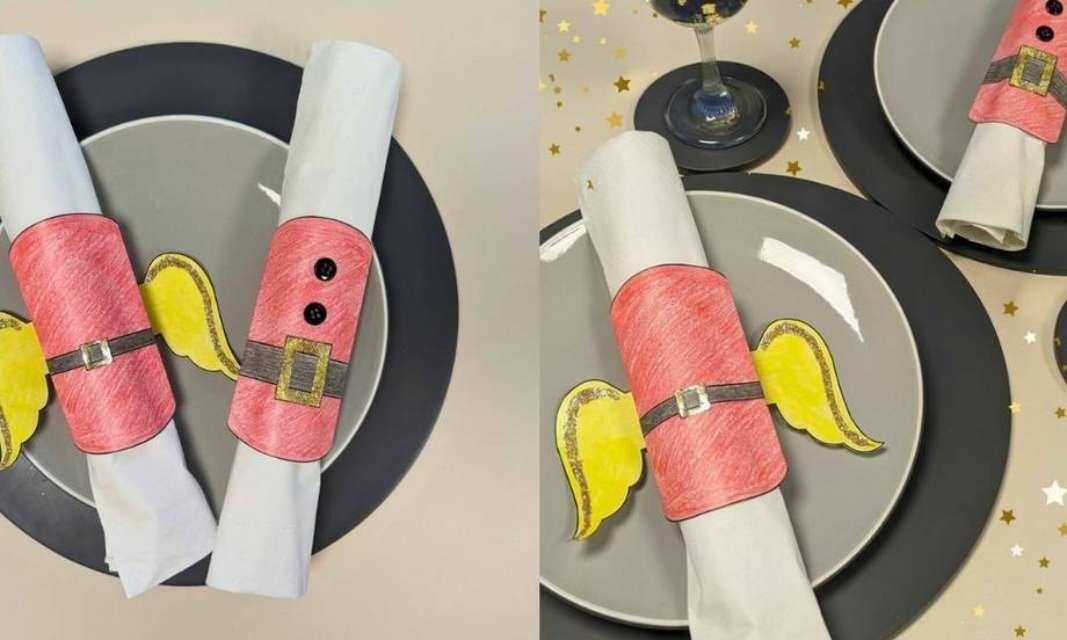
How to make your own Christmas napkin rings