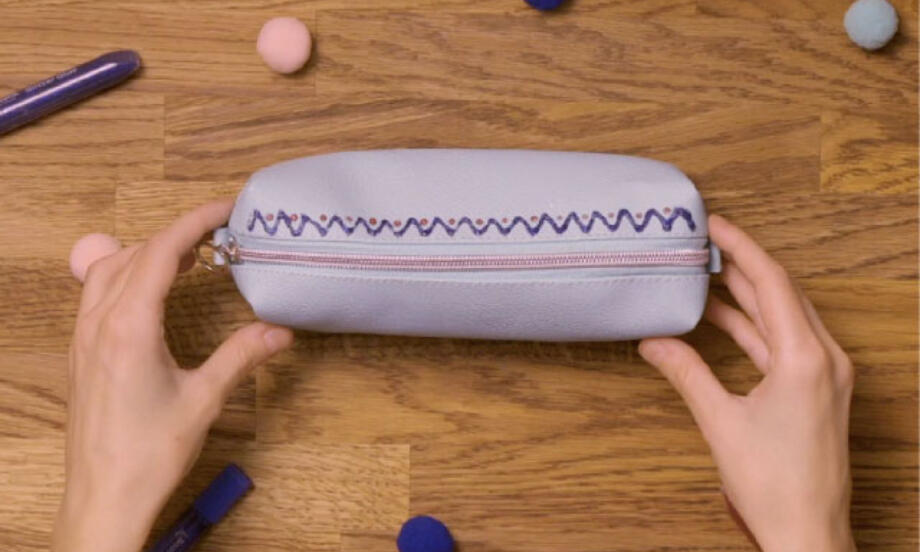
How to glue metal to metal
Love fixing stuff and hate waste? It’s easy to glue metal to metal with Bostik Power Repair and become an everyday #REPAIRHERO
Life is never perfect, things sometimes go wrong or break – but that doesn’t mean that we have to throw them away. Repairing is even better than recycling, saving resources and money. And let’s not underestimate the sense of achievement that comes with fixing something – that warm glow when we become a REPAIRHERO! Luckily jobs don’t get much easier than gluing metal to metal.
It’s easier than it sounds, you only need the right glue for the job. Bostik has a glue for every situation. To glue metal to metal, there’s Bostik Power Repair. Quick and simple to use, it’s a multi-purpose, ultimate strength glue, the powerful way to bond metal, glass, wood, stone, plastics, ceramics and lots more. It’s waterproof and works in extreme temperatures, as well as being fast drying – with a dual nozzle with fine and wide settings to tackle any job.
How to glue metal to metal with Bostik Power Repair - a step-by-step guide
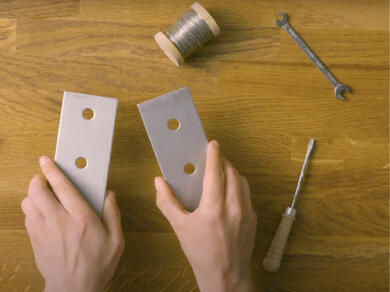
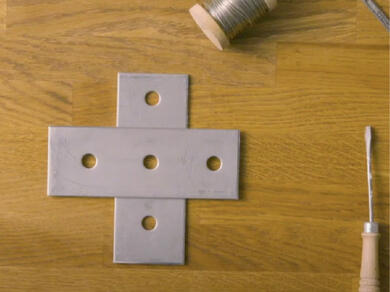
Step 1: Be prepared
Before you glue metal to metal, remember that all glues need a clean, dry surface for the glue to work as intended. Check the damaged area for dust, dirt, grease or any other contamination. If necessary, give your metal item a quick clean with an alcohol-based cleaner and let it dry.
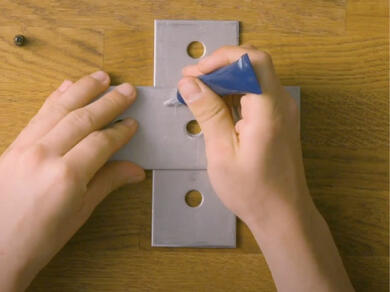
Step 2: Get gluing
Once your metal object is ready to glue, put it on a flat surface. You may want to lay it on an old newspaper or something similar. Always point the tube away from you when opening and don’t squeeze. If it’s your first time using the glue, unscrew the nozzle to remove the washer. Then screw the nozzle back onto the tube to pierce the seal. For a fine application, unscrew the cap and squeeze the glue out of the nozzle. For a wider application, unscrew the entire plastic nozzle and squeeze out the glue. Apply thin beads to one surface and then lightly press the two surfaces together.
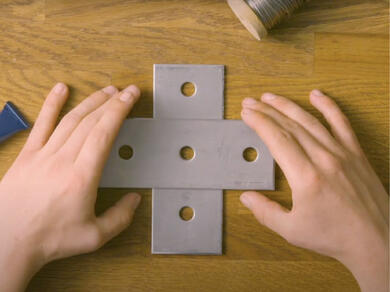
Step 3: Take some time
Quickly reseal the Bostik Power Repair tube to prevent the glue from drying out. The glue remains adjustable for up to 3 minutes and will be fully set within two hours, with no need for clamping. And that’s it! Your metal object is fixed and you are an official #REPAIRHERO.
Everything you might need to glue metal to metal with Bostik Power Repair
Essential:
Bostik Power Repair
You might also want:
- old newspaper or similar
- alcohol-based cleaner
- a clean, dry cloth
- white spirit
Clean up time
Give the nozzle a wipe with a clean cloth and replace the cap. If there is any surplus glue, you should remove it with white spirit before it sets. Store the Bostik Power Repair tube upright in a cool, dark place.
When to use Bostik Power Repair?
Bostik Power Repair is an ultra-strong, fast drying, clear glue that uses SM Polymer technology for a long-lasting bond on just about any material. It will glue most surfaces, even if both are non-porous, so it’s a great choice whether you’re gluing glass, wood, stone, metal, leather, rubber, plastics, ceramics, mirrors and much more. It will not bond to polyethylene and polypropylene, but is ideal for foam polystyrene as it doesn’t contain any water or solvent. Bostik Power Repair resists knocks and drops and works in extreme temperatures. It can even bond damp surfaces and may be used underwater – so it’s perfect for small household repairs, indoors and out.
Which glue is right for you?
Glue gurus from Bostik have created a special glue to match every #REPAIRHERO’s needs. Bostik Power Repair offers ultimate strength in a multi-purpose glue that’s waterproof and works in extreme temperatures. Alternatively,
There are also specialist Bostik glues for Fabric, Leather, Soft Plastic and Hard Plastic. General Purpose is an impressive, clean to use and quick-drying all-rounder.
For full info

GENERAL PURPOSE SILICONE
HARD PLASTICS ADHESIVE
LEATHER REPAIR

SOFT PLASTICS ADHESIVE
How to repair hard plastic with glue
Be a repair hero: how to repair an inflatable buoy with plastic glue
Be inspired by our craft and DIY glue gun ideas
Discover how to use a glue gun with our simple step-by-step guide
How to make paper maché with Bostik PVA glue
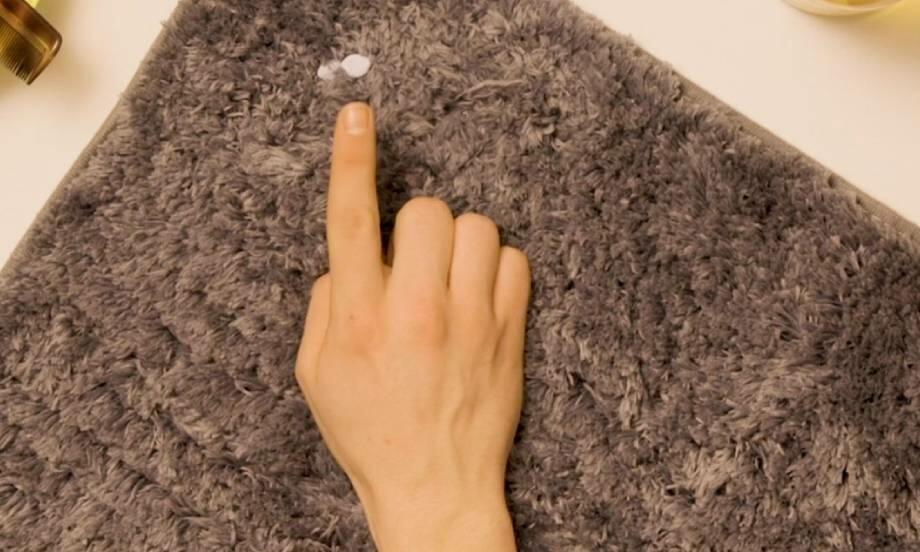
How to remove Blu Tack® from carpet
How to remove Blu Tack® stains from a wall
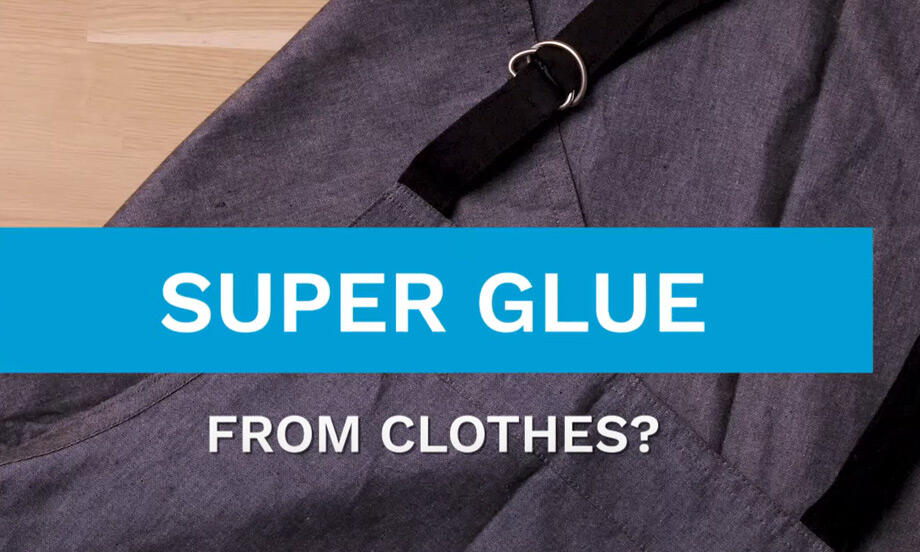
How to remove super glue from clothes
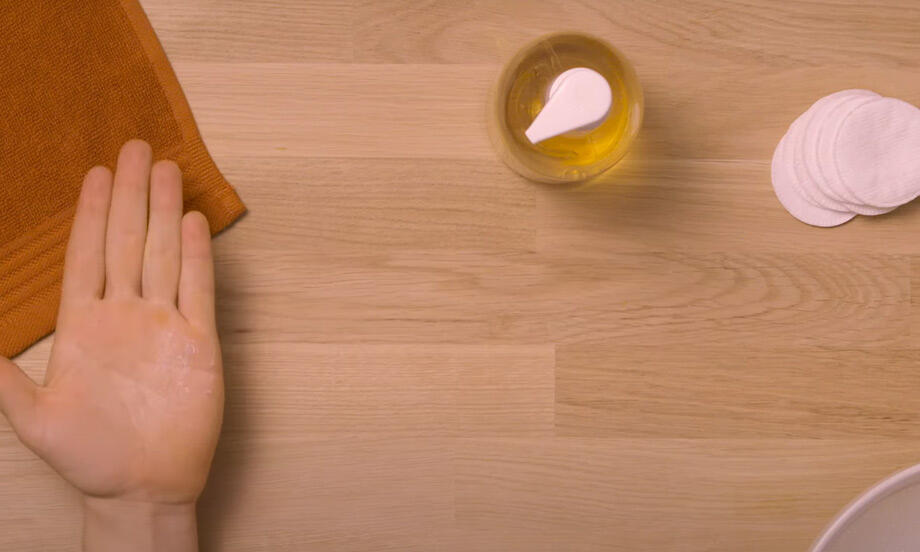
How to remove super glue from skin
How to repair hard plastic with glue

How to store and sort glues at home?

How to understand hazardous signs on glue packaging
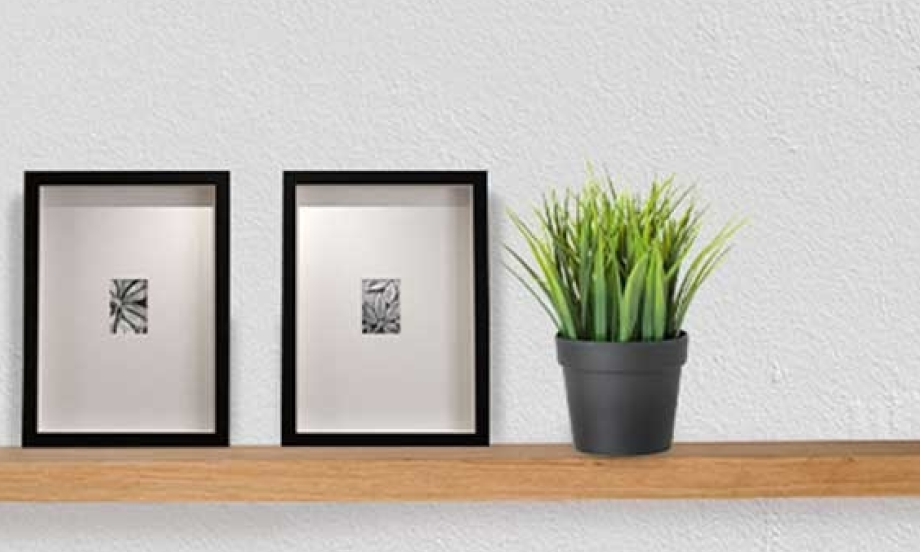
How to install floating shelves with No More Nails
How to make a stool with No More Nails