How to make a stool with No More Nails
Create a functional and stylish stool, without using a single nail, thanks to Bostik No More Nails! Begin by measuring and cutting a flat wood panel to a 12–15-inch square. Drill holes into it using a hole saw, then chisel matching wooden pegs from 2×2 lumber to fit as the stool legs. Apply a generous layer of No More Nails to each peg, insert them into the holes with a slight outward angle, and let it bond securely. A quick sanding smooths out any rough edges, and you’ll be left with a reliable, DIY seat that looks great and performs even better. Ready in just a couple of hours—no hardware needed! 🪑⏱️✨
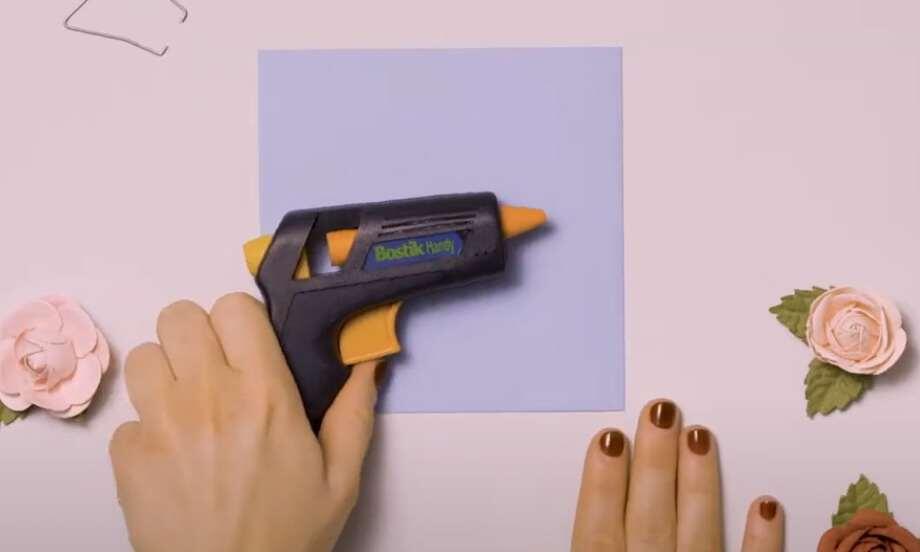
Instructions
SUPER GLUE GEL

SUPER GLUE LIQUID
WOOD FIX
XPERTFIX
6 easy glitter glue craft ideas
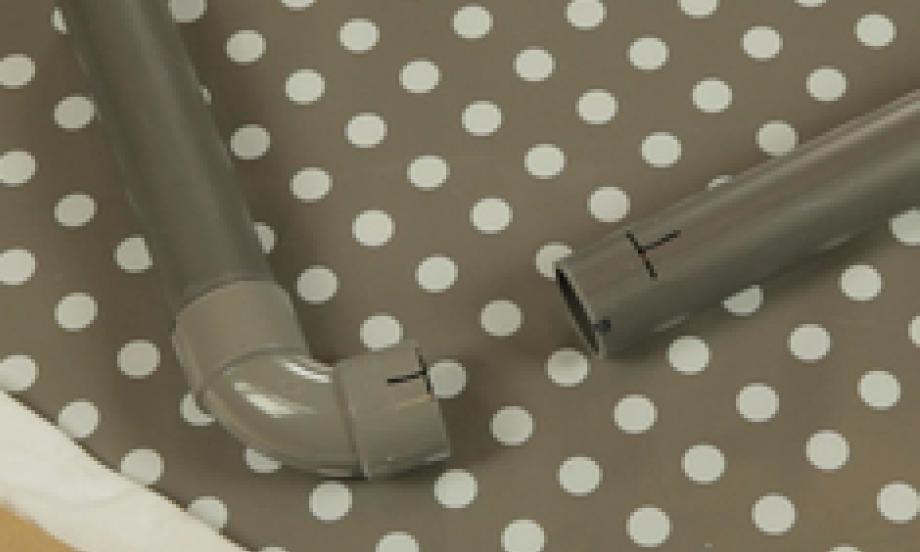
How to repair hard plastic with glue
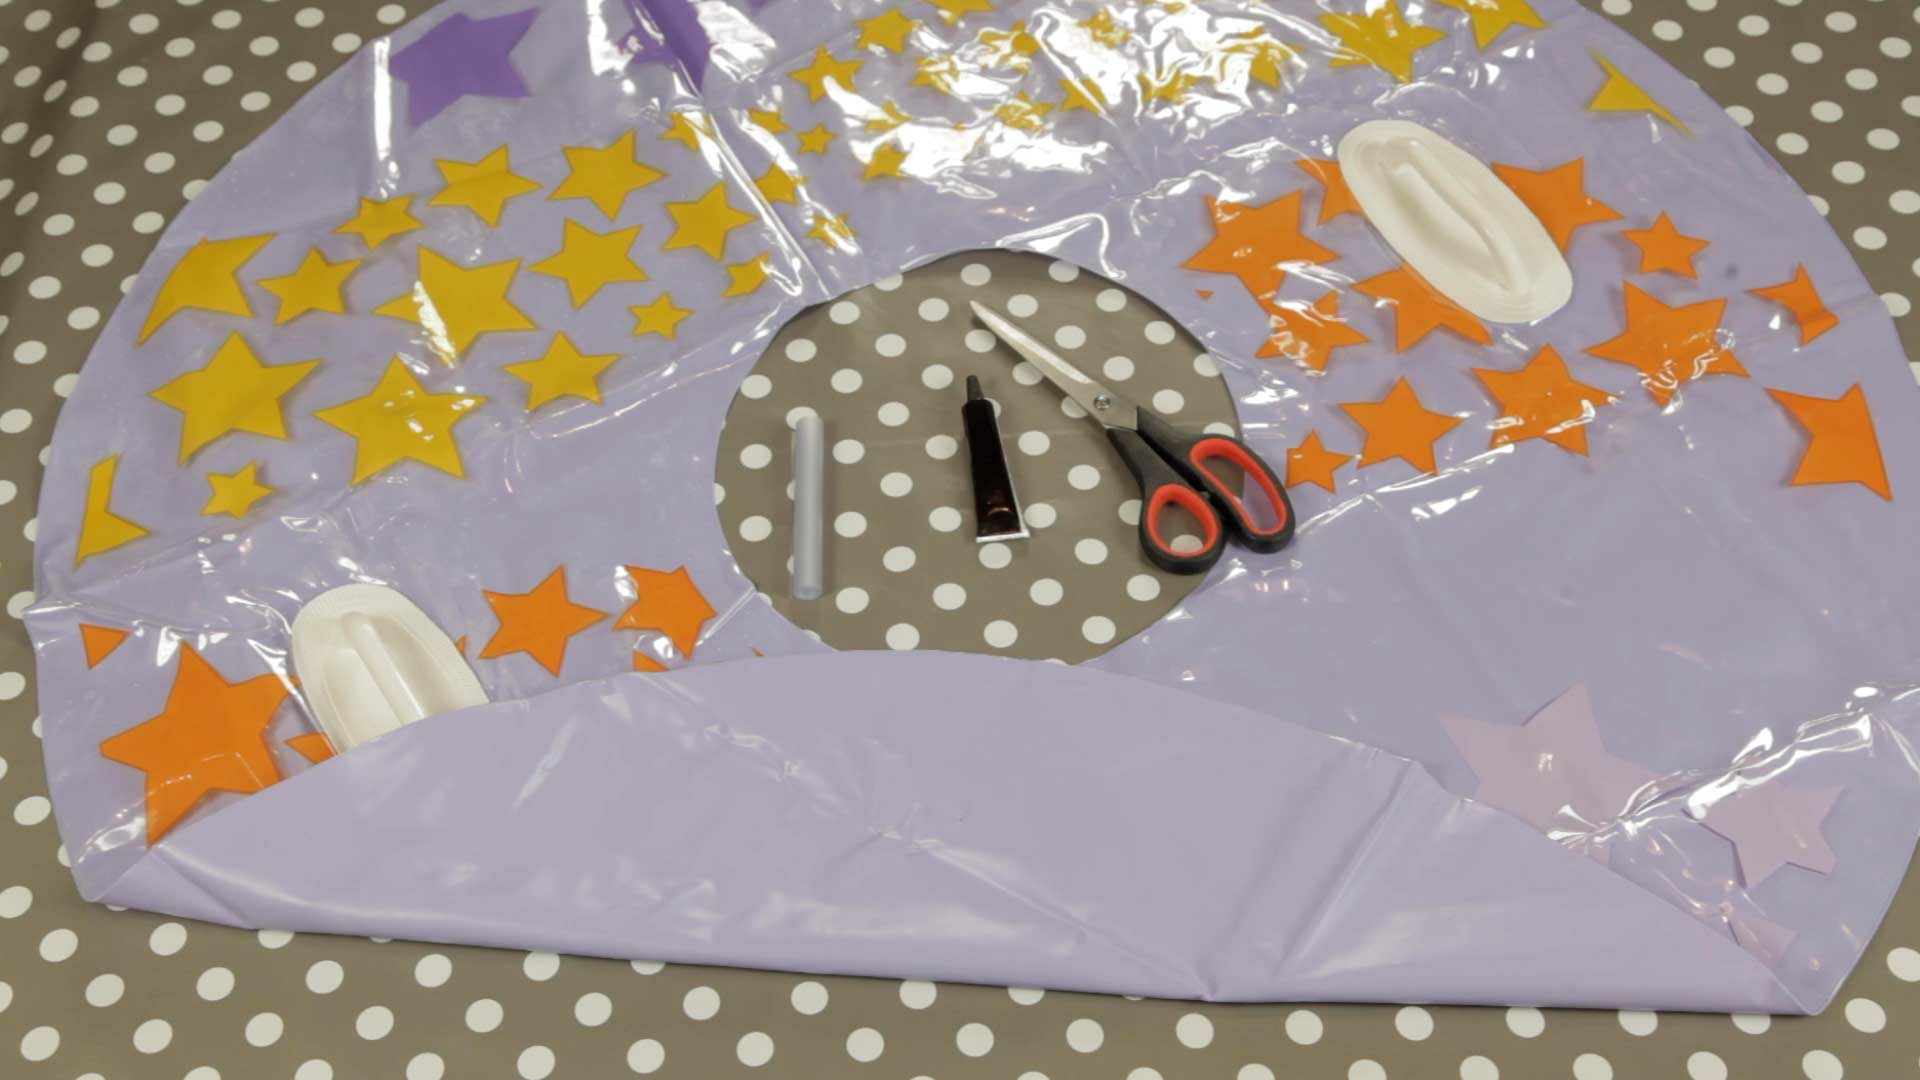
Be a repair hero: how to repair an inflatable buoy with plastic glue

How to create a simple, ergonimic footrest with No More Nails
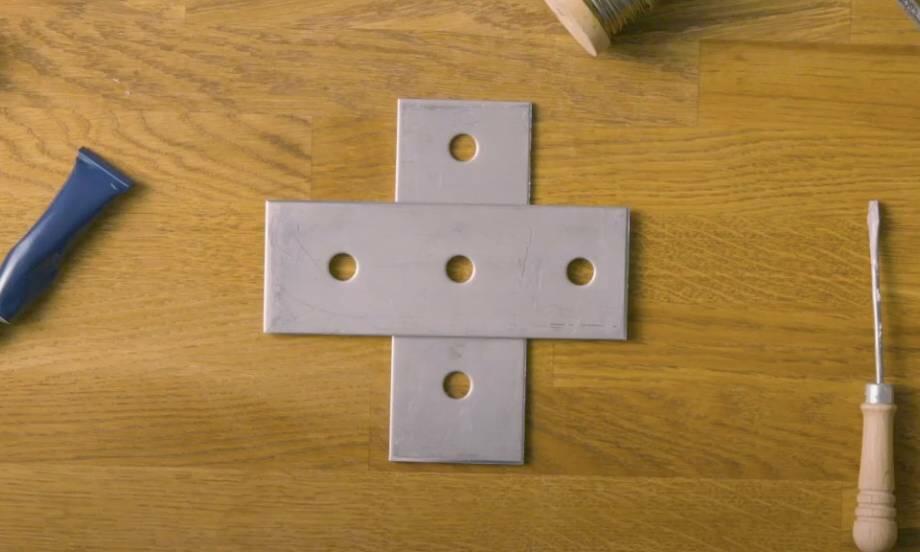
How to glue metal to metal
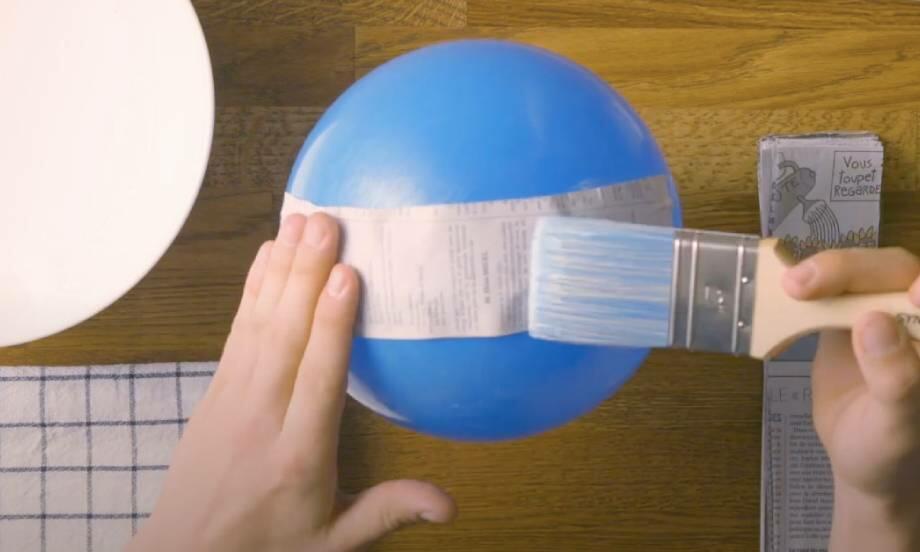
How to make paper maché with Bostik PVA glue

How to remove super glue from clothes
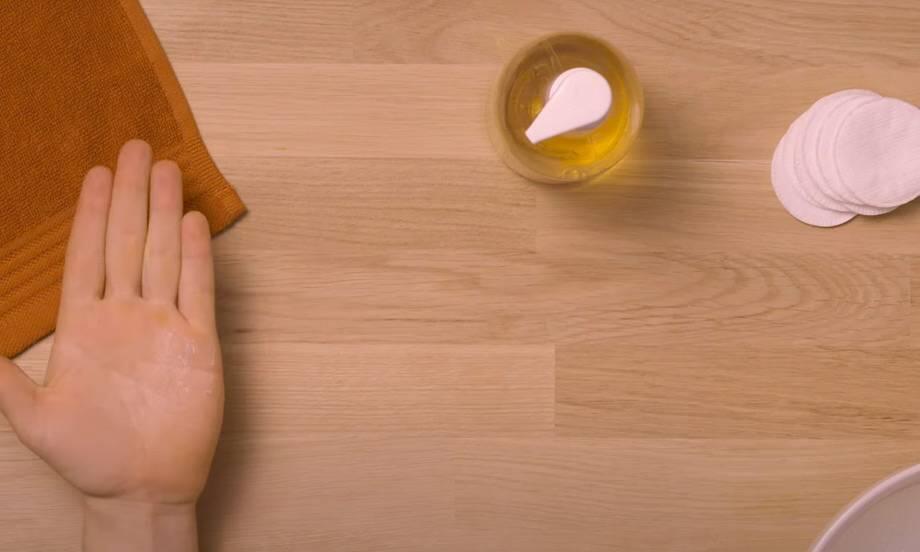
How to remove super glue from skin
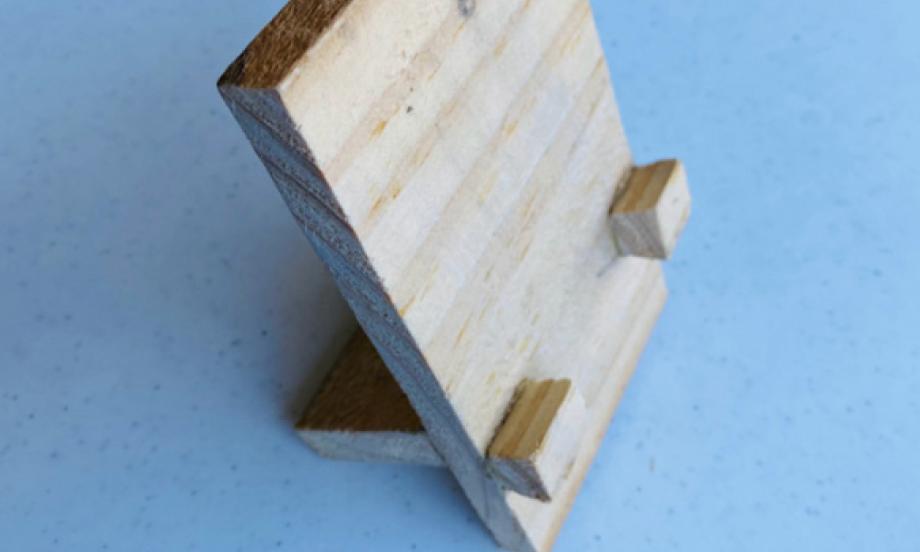
How to create your own phone holder
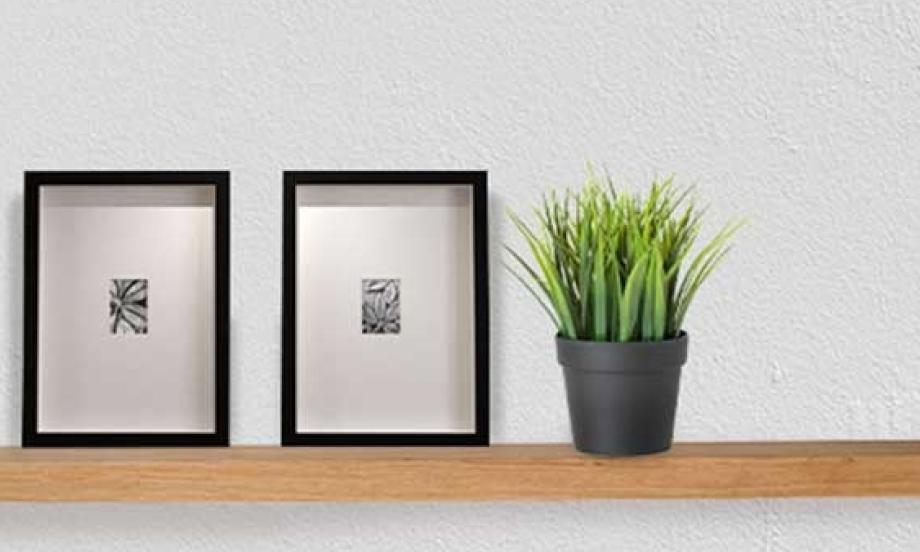
How to install floating shelves with No More Nails

How to make your own hanging sign
How to repair hard plastic with glue