How to make paper maché with Bostik PVA glue
Paper maché is simple and fun to make and can be used in many art and craft projects. Check out our easy to follow step-by-step guide
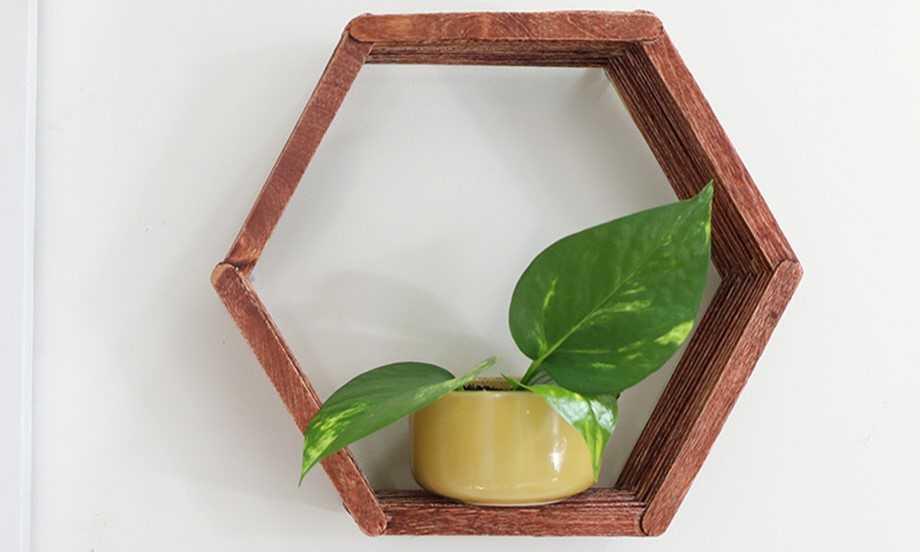
In a hectic and fast-paced world, spending a little time doing art and craft projects can provide some welcome relaxation. It allows us to pause and get lost in the moment. If you love being creative, it’s great to add a new skill to your repertoire and find new ways to express your creative side. Paper maché is easy to make using Bostik PVA Glue and other materials that you’ll have around the house. And it’s a brilliantly versatile medium – there are so many different ways you can put it to good use, from an artistic sculpture to making beautiful gifts for friends and family, such as a simple trinket dish. The only limit is your own imagination.

Everything you’ll need to make paper maché
- Bostik PVA Glue
- Old newspapers
- Water
- A mixing bowl
- Large mixing spoon
- Petroleum jelly
- Your choice of mould, for example a plastic bowl
- Scissors
- Materials to decorate your finished piece
Make your own paper maché with this simple step-by-step guide
Step 1: The Paper
Tear up a good supply of newspapers, your strips should be 2-3 inches long and 3-5 inches wide.
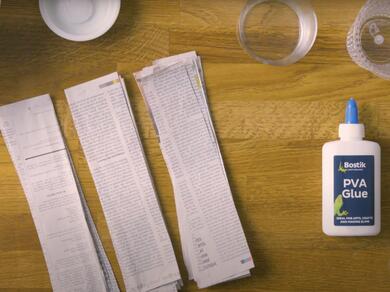

Step 2: The Glue
Mix 2 parts Bostik PVA Glue to one part water in your mixing bowl and stir them together to make a paste.
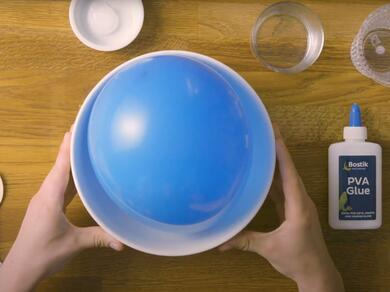
Step 3: The Mould
Choose your mould depending on your project, for example a plastic bowl. Grease the mould with the petroleum jelly so that it will be easy to remove your finished project.

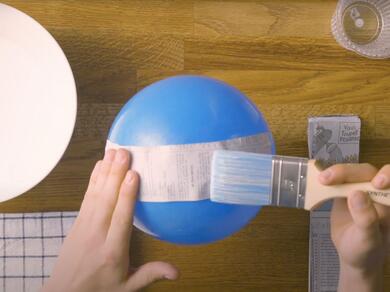
Step 4: Apply your strips
Dip a strip of paper into the paste. Holding it above the mixing bowl, run the strip between two fingers to remove any excess. Apply the strip to your mould, then repeat, starting in the centre and gradually fanning out.
Continue layering strips to cover the whole mould, overlapping them and laying them in different directions. Then allow your piece to dry completely.
Step 5: Layer up
Repeat Step 4 two or three more times to build up the layers and give your finished piece strength.

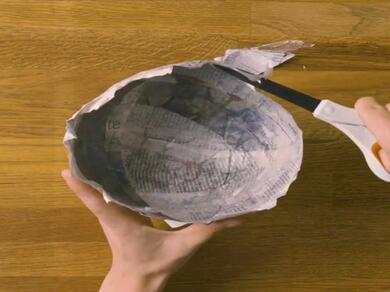
Step 6: Tidy up
Once the final layer is dry, ease your paper maché off your mould. Trim the edges to tidy, if needed.
Step 7: Decorate
It’s up to you now, you could use paint, collage, glitter glue - or a combination of all three.
And for more creative craft projects, check out our inspiring Glue Gun Ideas
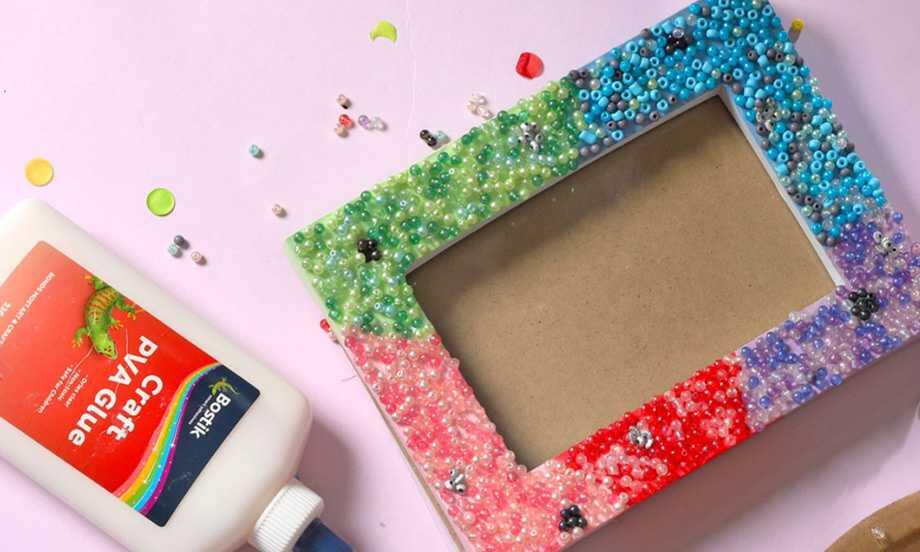
Bostik PVA Glue – good to know
Bostik PVA Glue is a multi-purpose, solvent-free white glue which turns clear when it dries. It’s the perfect go-to glue for art and craft projects for both adults and kids; such as card-making, scrapbooks, model-making and school projects. It sticks lots of materials, including paper, card, wood and fabric. Bostik PVA Glue comes in an easy-to-use bottle with a resealable cap, and it’s specially
How to use Bostik PVA glue
- Remember to open and use your glue on a protected work surface and ensure that anything you plan to glue is clean, dry and dust free.
- Twist the blue part of the nozzle anti-clockwise, then gently squeeze the bottle and spread the glue onto one or both surfaces.
- If you want to glue a non-absorbent surface such as plastic, allow the glue to dry for a few minutes before pressing the surfaces together. After use, turn the nozzle clockwise to stop the glue drying out and wipe the nozzle with a clean cloth.
For further information, please see the Bostik PVA Glue Technical Data Sheet formulated to be washable, so accidents are easy to clear up.
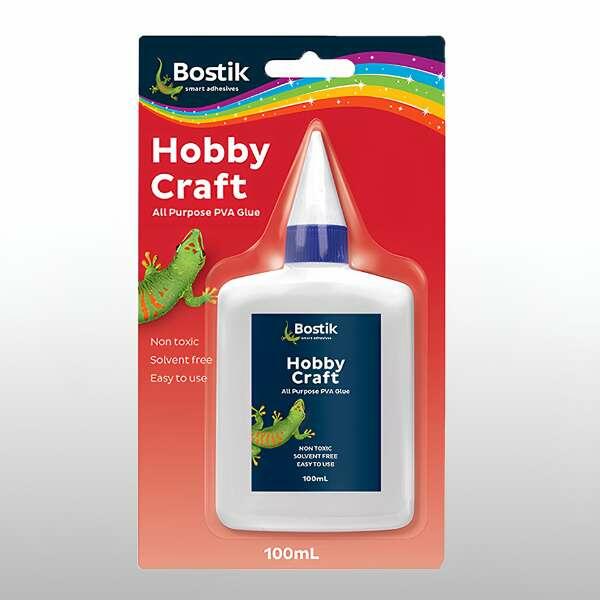
HOBBY CRAFT PVA GLUE
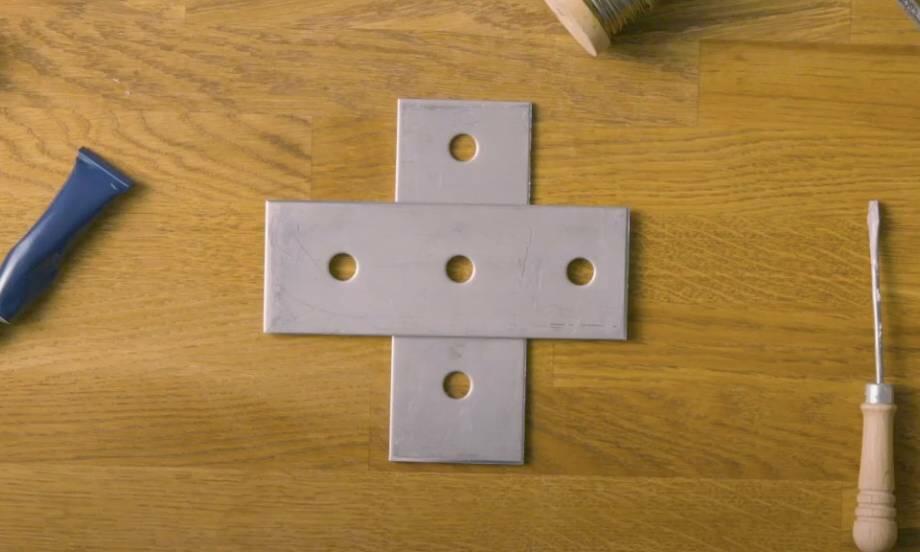
How to glue metal to metal
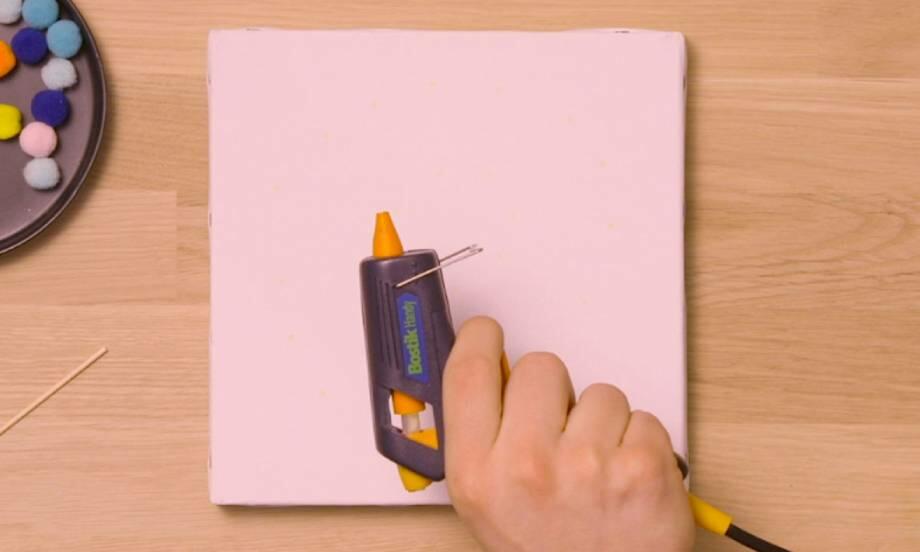
Be inspired by our craft and DIY glue gun ideas
How to repair hard plastic with glue
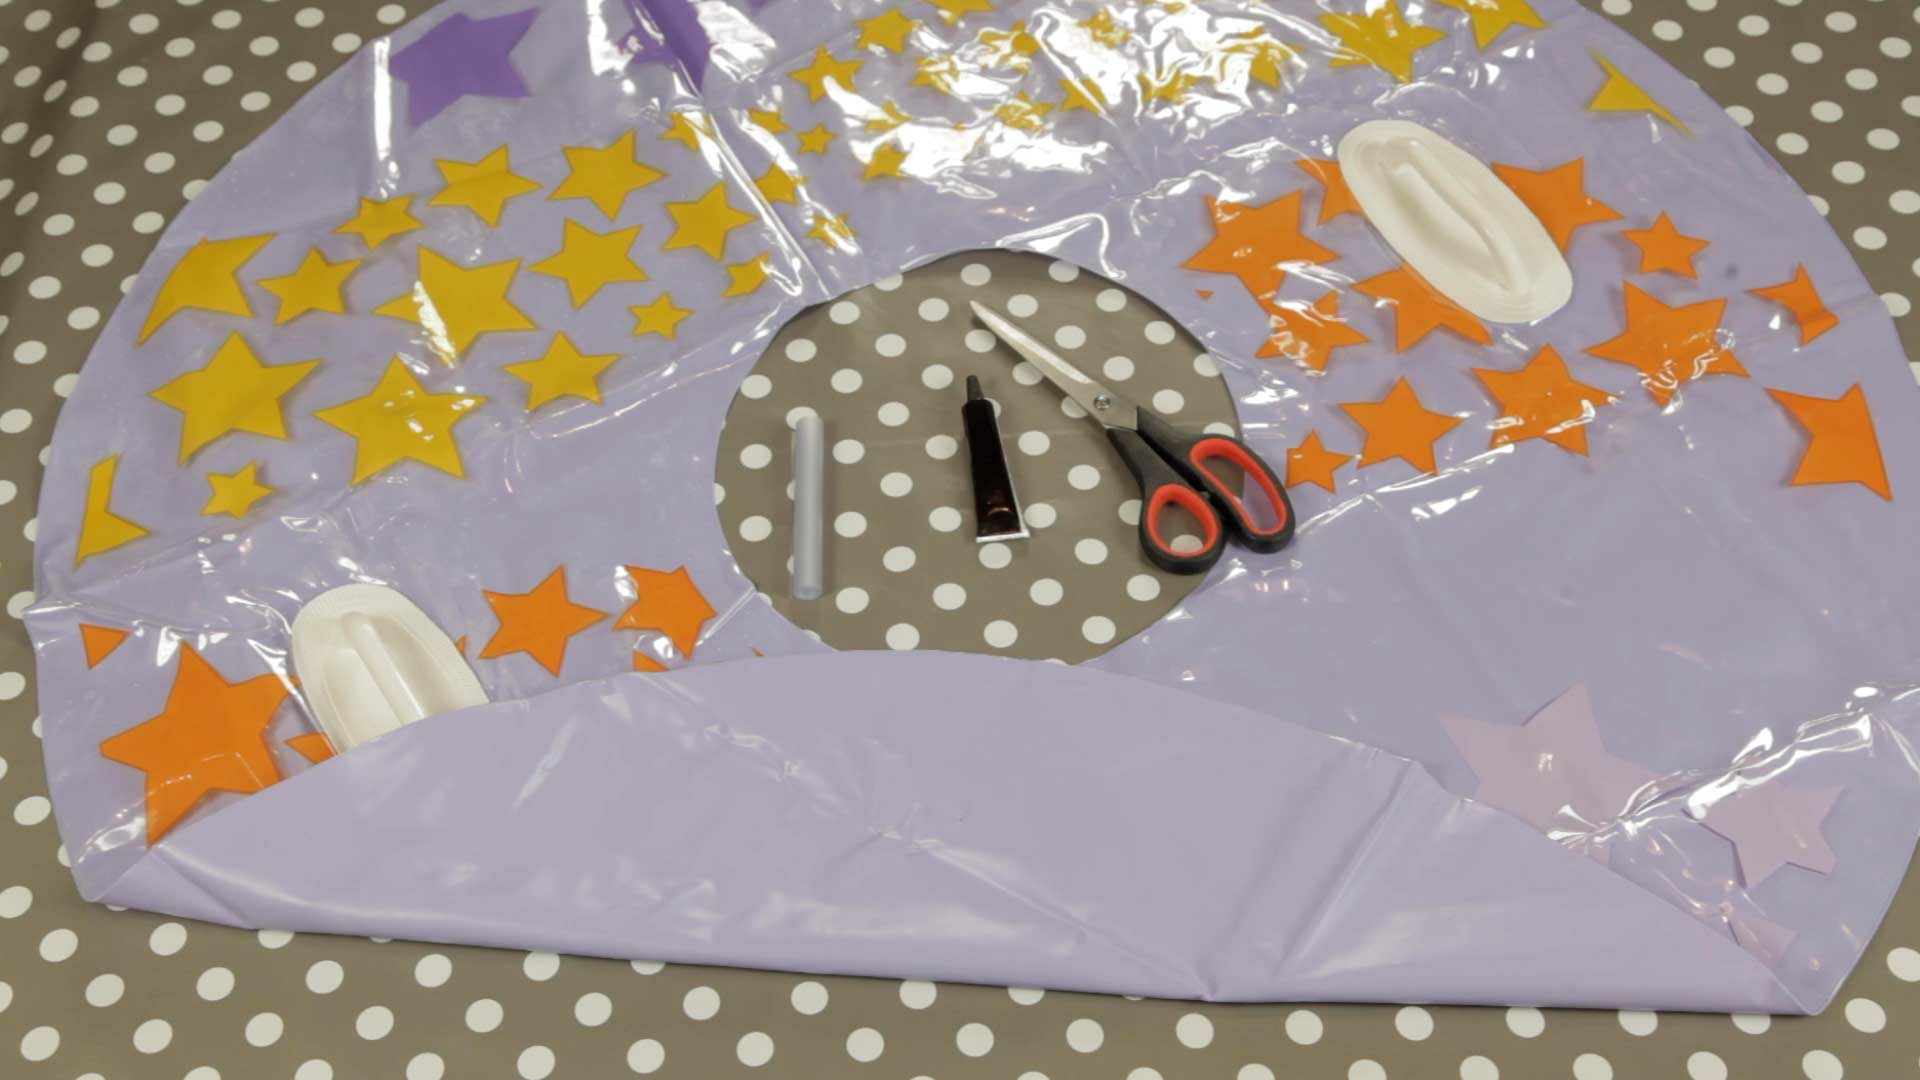
Be a repair hero: how to repair an inflatable buoy with plastic glue

How to create a simple, ergonimic footrest with No More Nails
How to make a stool with No More Nails
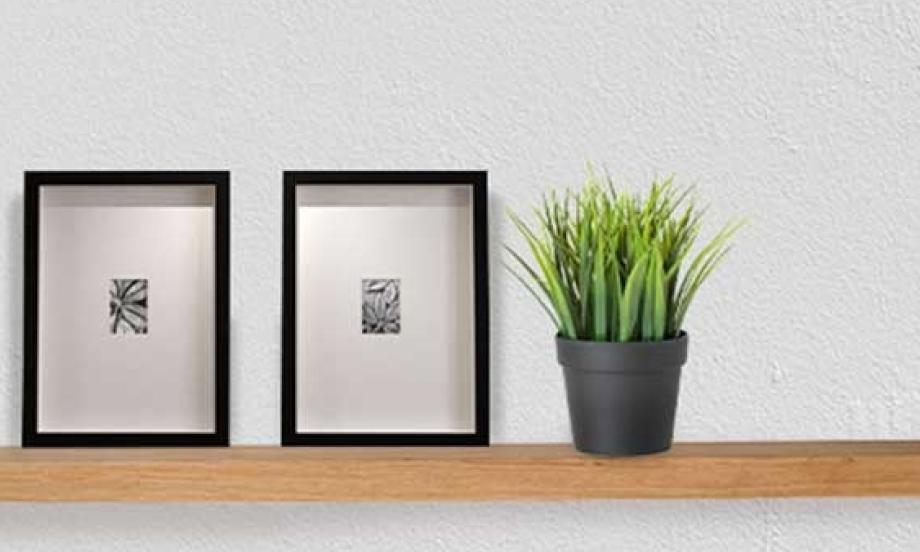
How to install floating shelves with No More Nails
6 easy glitter glue craft ideas
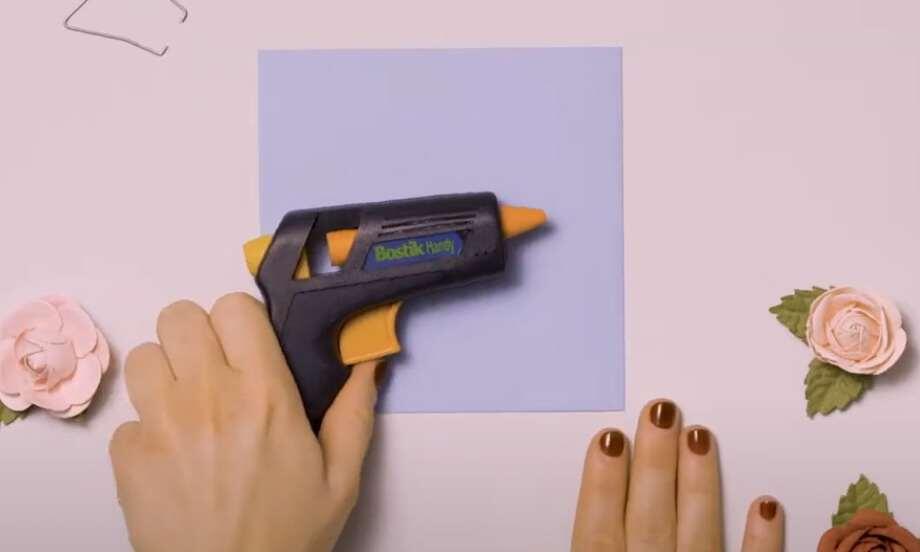
Discover how to use a glue gun with our simple step-by-step guide
DIY Wall Art
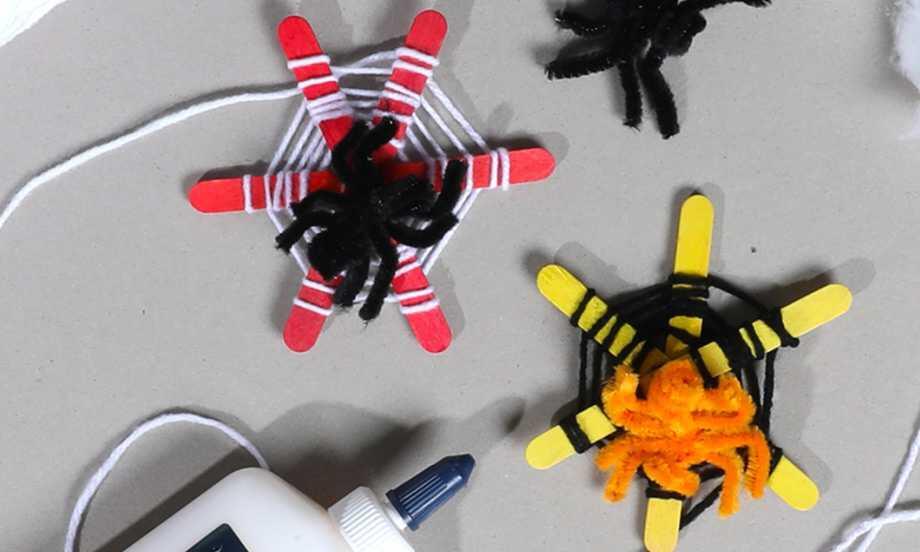
Halloween Spider Web