Quick sneaker fix
Give your trusty sneakers a new lease on life with this easy Quick Sneaker Fix! Begin by cleaning the area around the sole and removing any dirt or debris. Apply a generous amount of Bostik Rugby Original contact adhesive to the inside of the sole, then use tissue to clean up any excess. Insert a toothpick between the sole and upper to maintain alignment and let it air dry for about 30 minutes. Once tacky, press the sole firmly into place—adding weight helps reinforce the bond. Soon enough, your kicks are back in action, good as new. ⏱️👟
Instructions
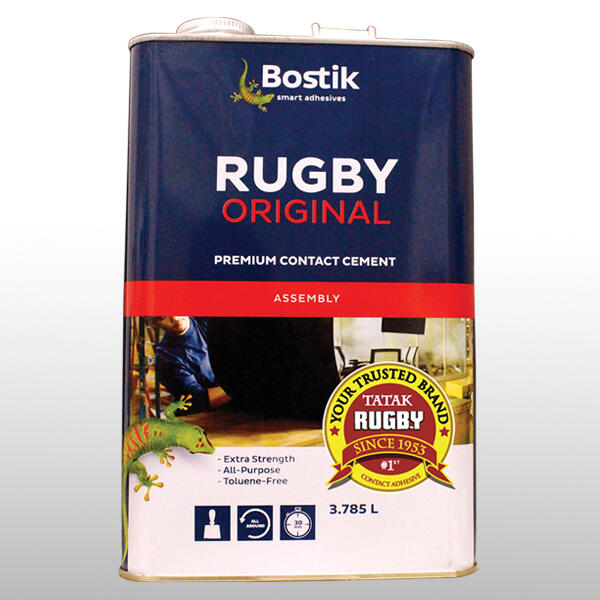
RUGBY ORIGINAL
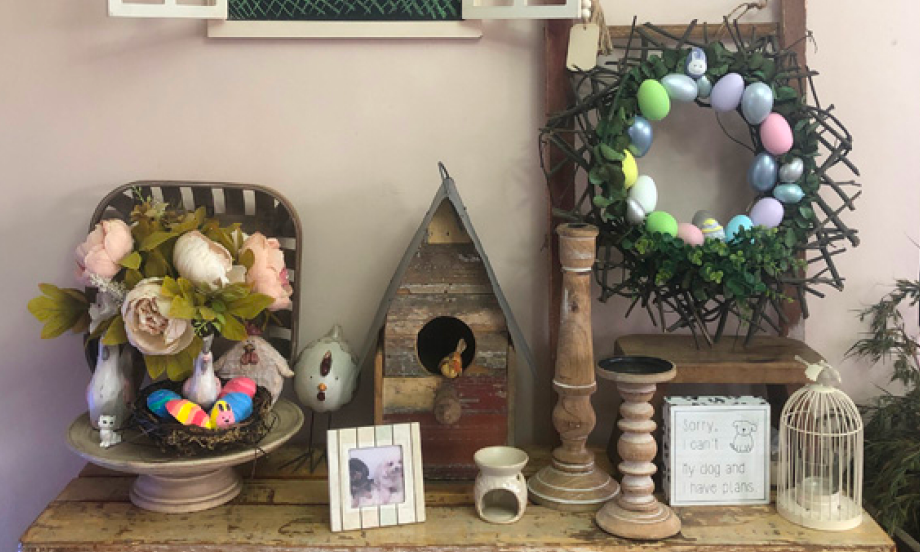
How to create easter egg wreath

How to glamp up your shoes