How to fix your sneakers with Rugby for shoes
A simple step-by-step guide to repairing shoe soles at home using Rugby glue
A sole starting to peel off doesn't mean it's time to throw your sneakers away. With Rugby for shoes, you can fix them yourself at home. No special skills needed. Just follow the steps below, and your favorite pair will be back to looking and feeling good as new.
Give your trusty sneakers a new lease on life with this easy Quick Sneaker Fix! Begin by cleaning the area around the sole and removing any dirt or debris. Apply a generous amount of Bostik Rugby Original contact adhesive to the inside of the sole, then use tissue to clean up any excess. Insert a toothpick between the sole and upper to maintain alignment and let it air dry for about 30 minutes. Once tacky, press the sole firmly into place—adding weight helps reinforce the bond. Soon enough, your kicks are back in action, good as new. ⏱️👟
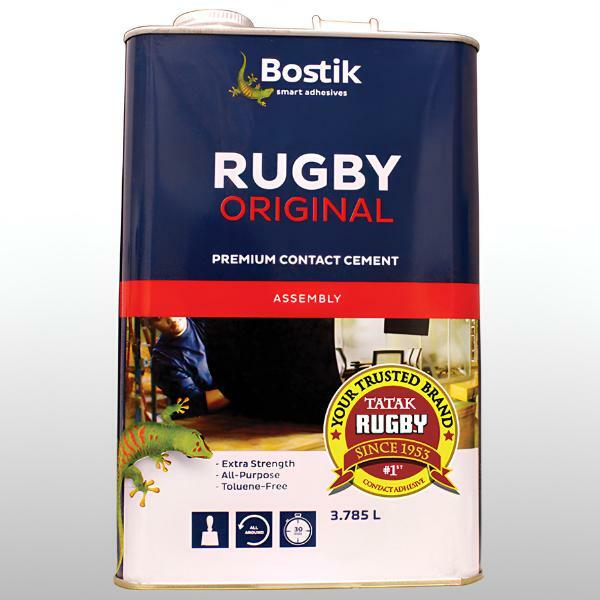
Rugby Original
Bostik Rugby Original is an all-purpose contact cement adhesive made from synthetic rubber. It forms a strong initial bond that gets even stronger over time, and holds up against heat, water, oil and everyday wear. It works on a wide range of materials including rubber, leather, canvas and metal, making it a reliable pandikit sa sapatos for all kinds of shoe repairs. It is also toluene free, which is a reassuring choice for home use.
Instructions
Good to know before you start
Rugby for shoes works best when used in a well-ventilated space. Open a window or work outdoors if possible, as the adhesive contains flammable solvents. Keep it away from open flames or sparks during application.
If any excess glue gets on the surface of your shoe, remove it immediately with a suitable solvent cleaner before it dries. Once cured, it is much harder to remove. Store the bottle with the cap tightly closed after use, away from heat sources. Kept properly, Bostik Rugby Original has a shelf life of 12 months.