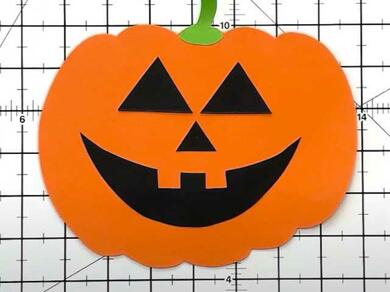
Halloween Decoration Pumpkin Craft
Bring a dash of spooky fun 🎃 to your Halloween décor with this simple DIY paper pumpkin craft. Using orange and black paper, scissors ✂️, and Bostik Blu Stik, kids can trace, cut, and glue their very own jack-o’-lantern with a big smile. Add a green paper stem 🌿 to complete the look, then display your pumpkin on a wall, window, or desk to spread festive cheer. This craft is quick, budget-friendly, and perfect for families looking to enjoy some creative Halloween fun together. ✨
Instructions
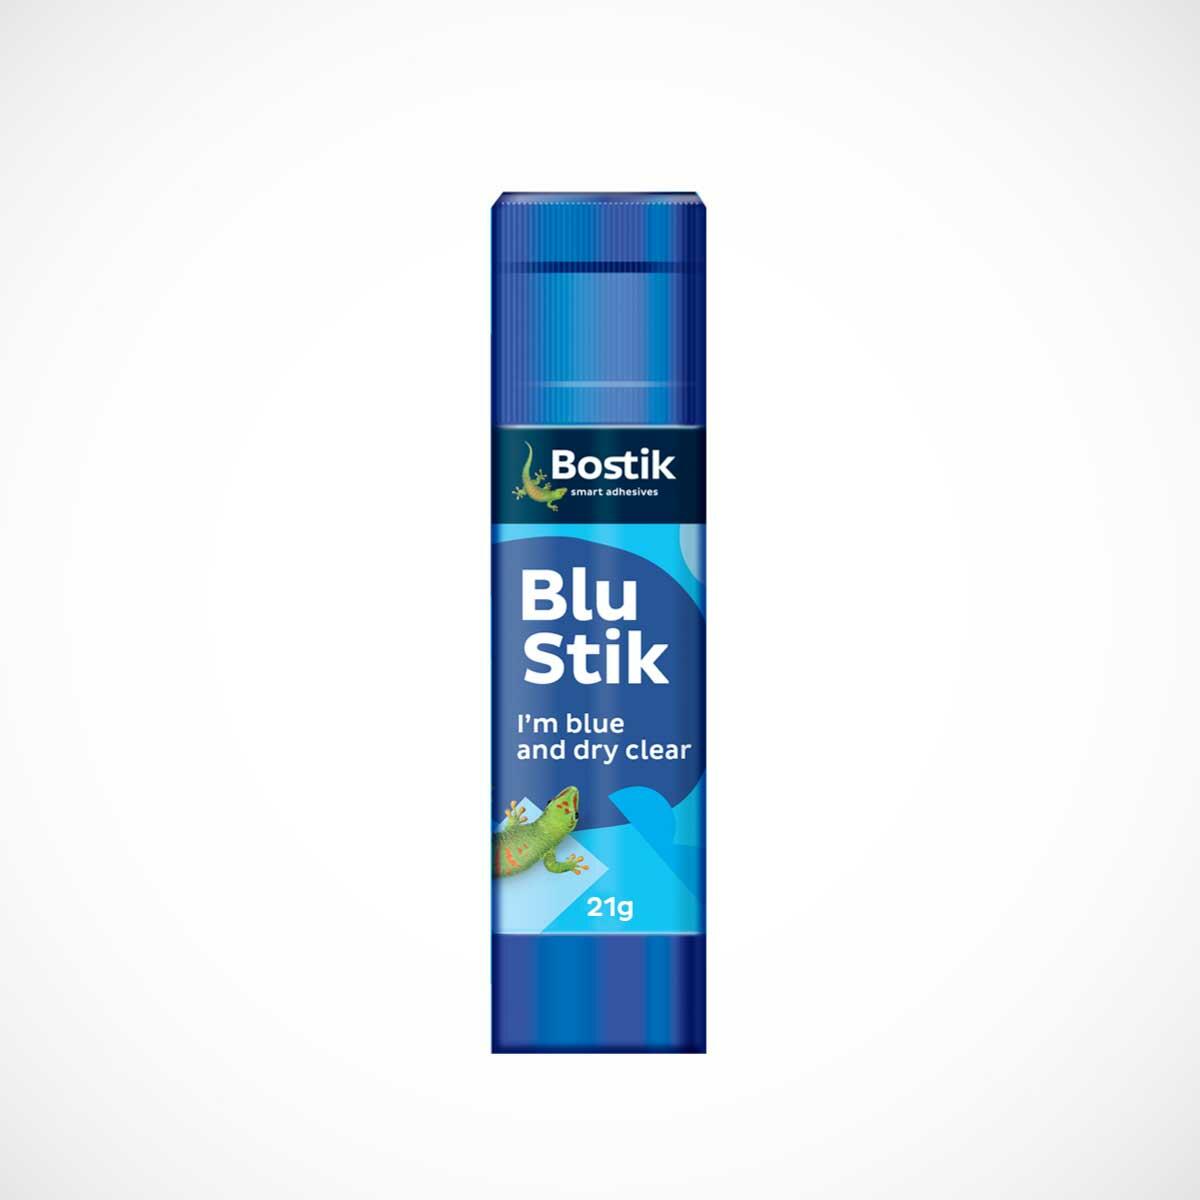
BLU STIK
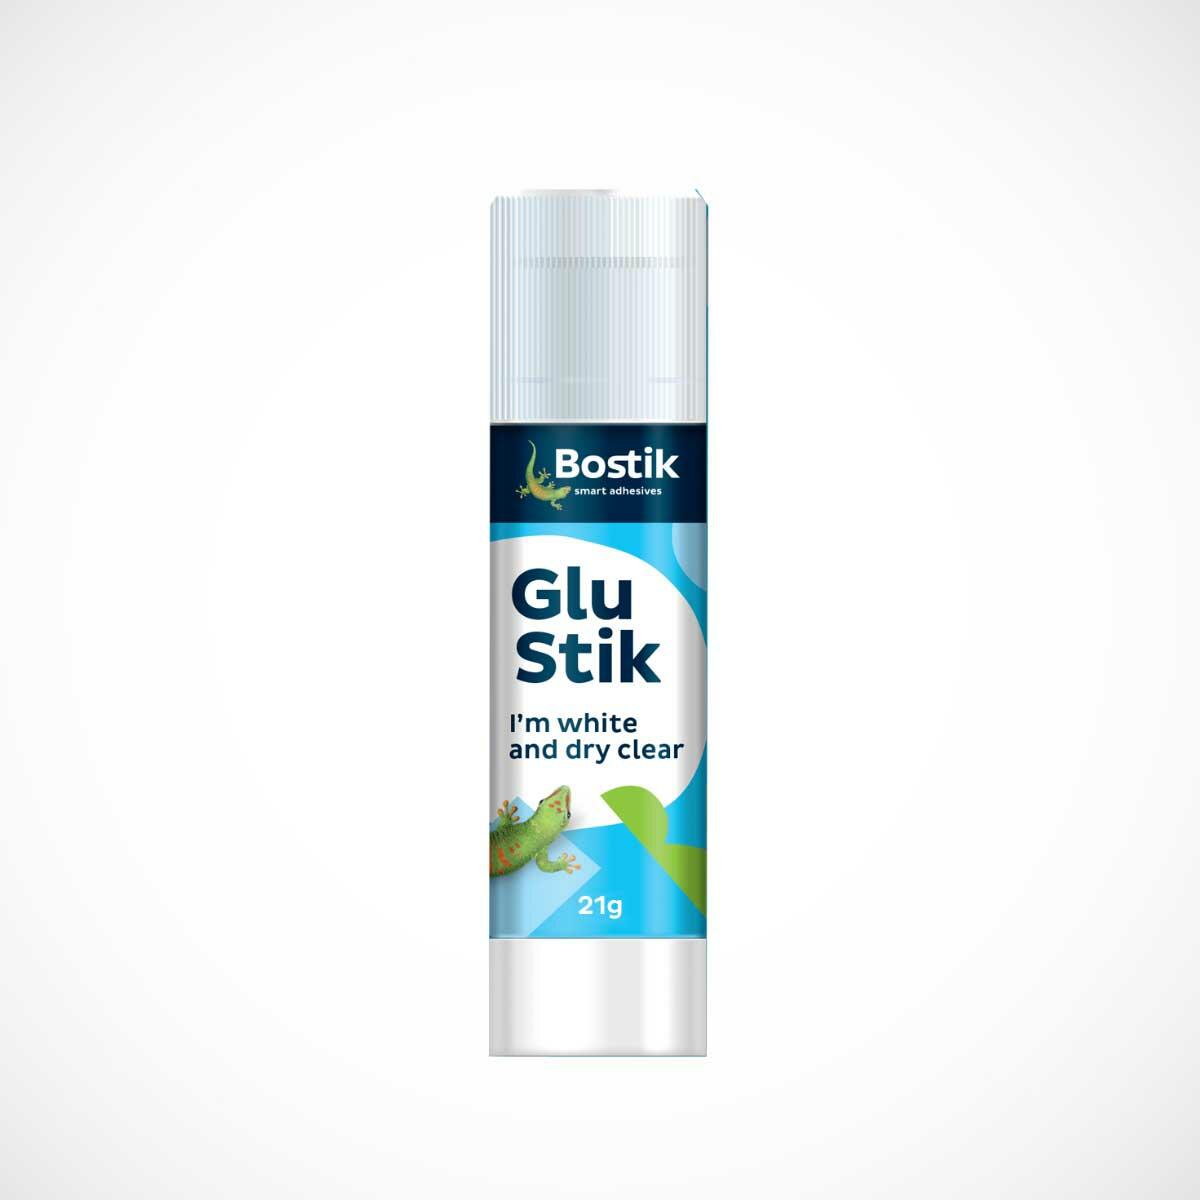
GLU STIK

HOBBY CRAFT PVA GLUE
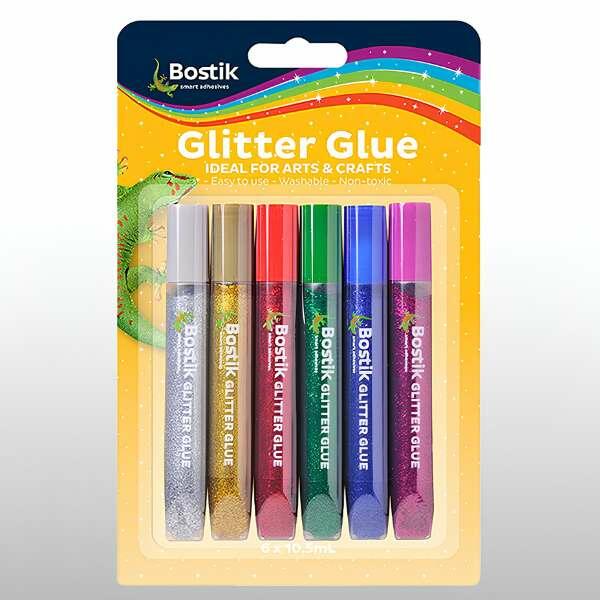
GLITTER GLUE
6 easy glitter glue craft ideas
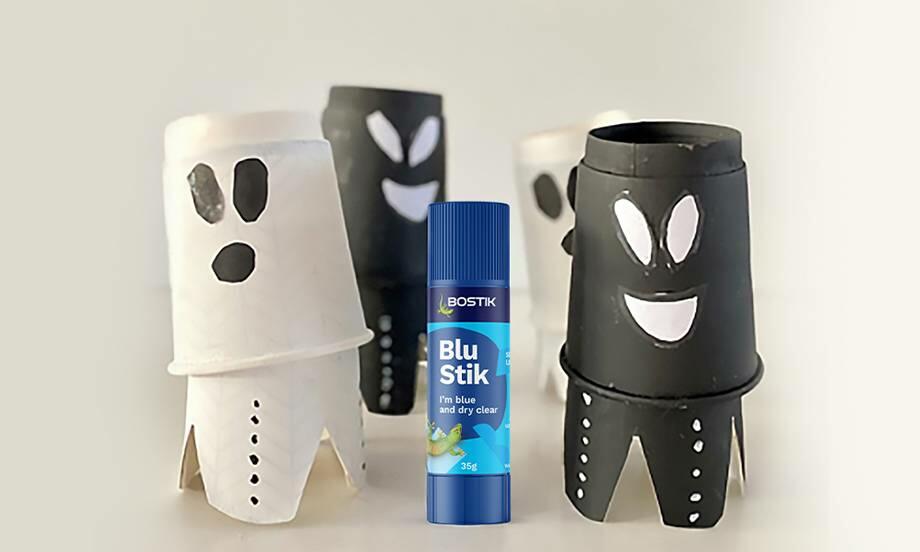
Bobbing Ghosts
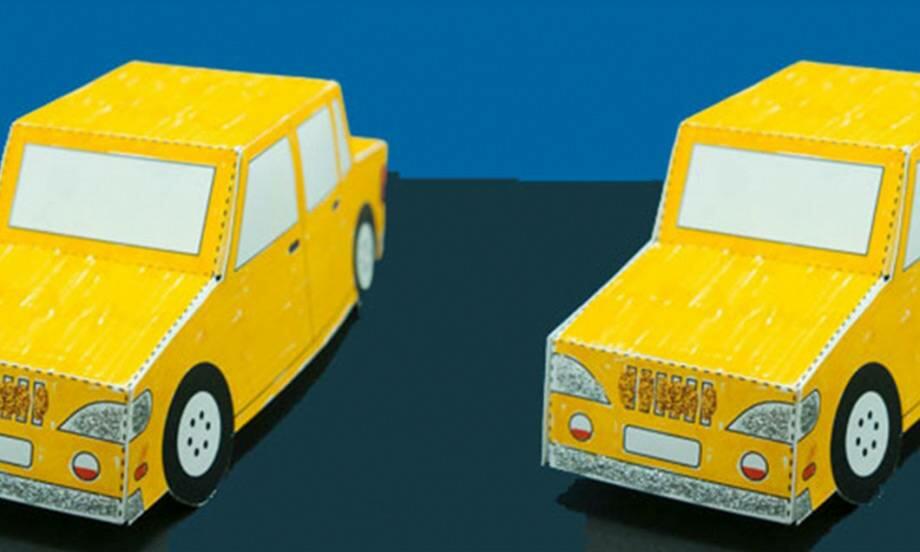
Bostik Car
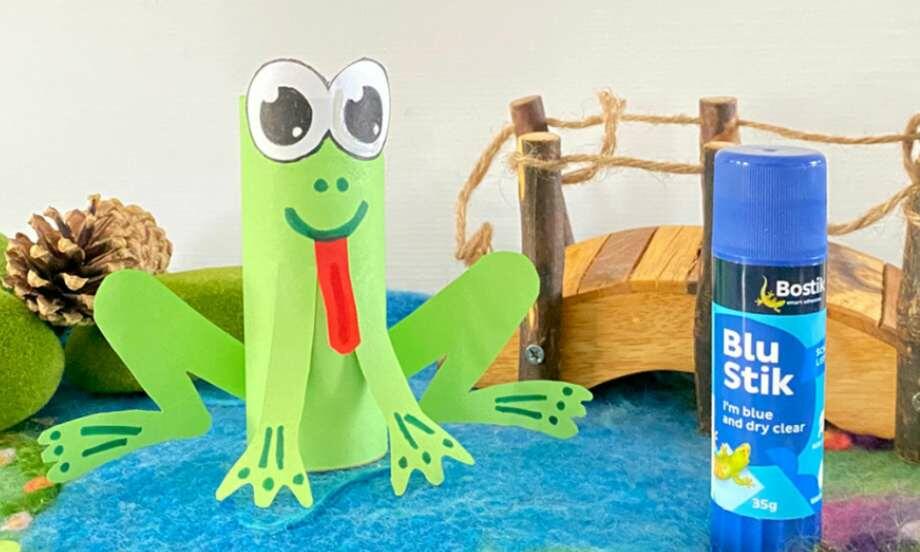
Bostik Frog
Bostik Gecko
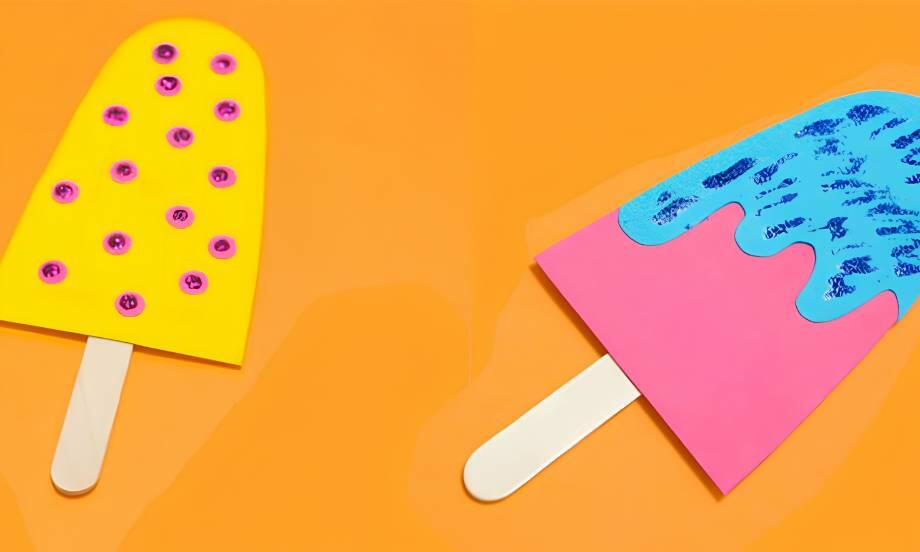
Bostik Icy Pole
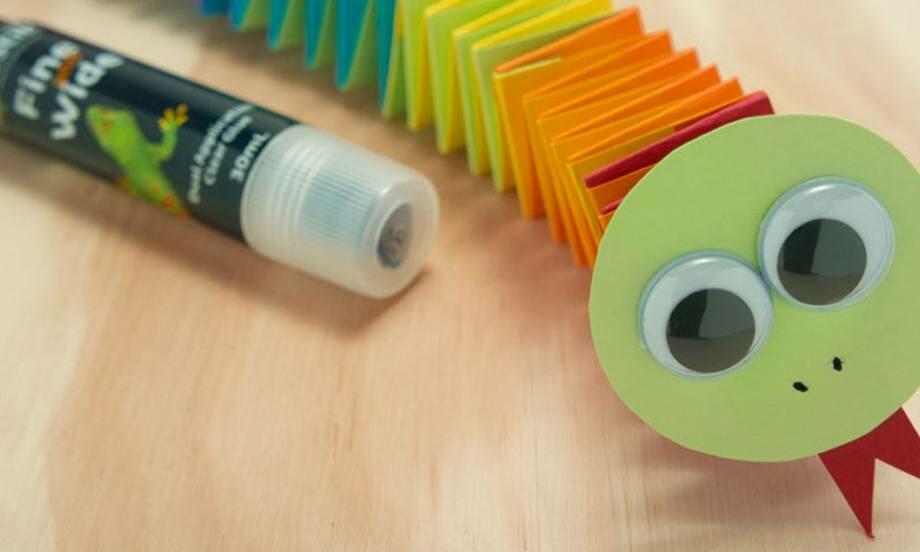
Bostik snake
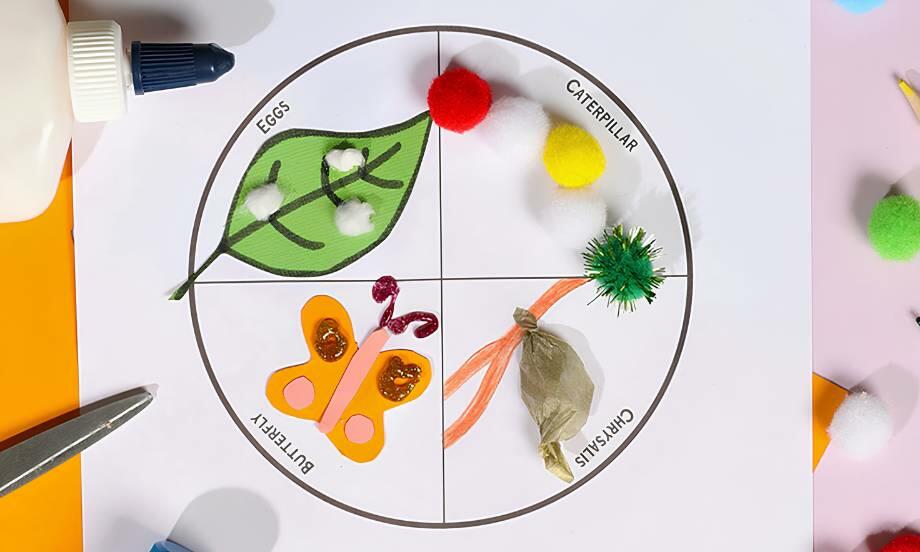
Butterfly Plate Life Cycle
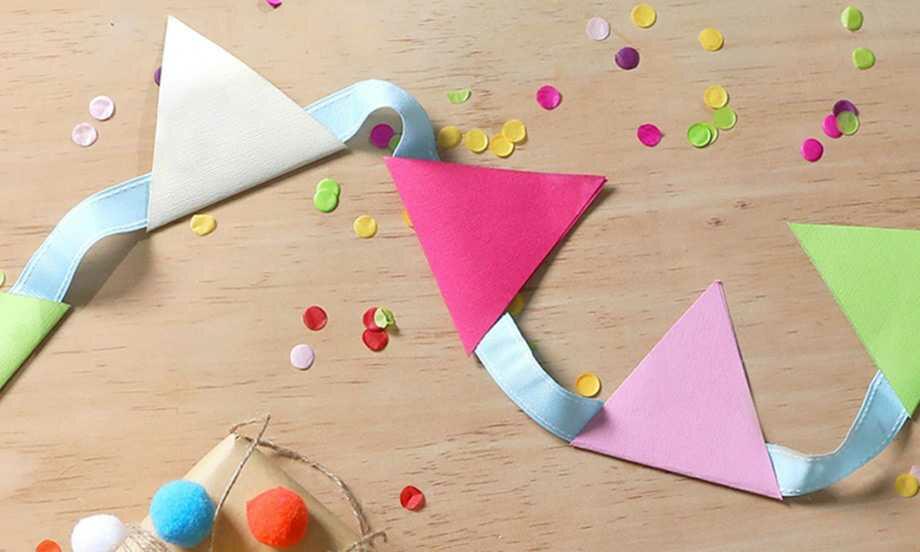
DIY Bunting
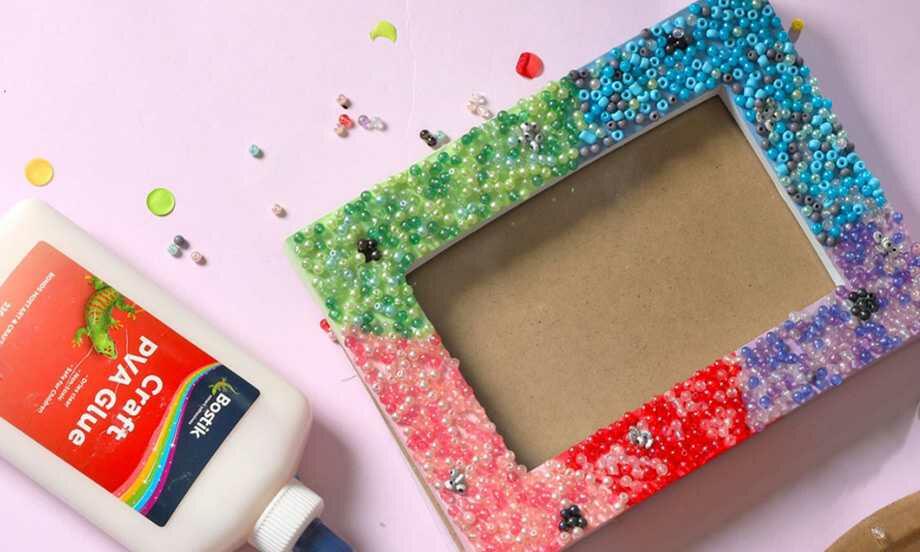
DIY Wall Art
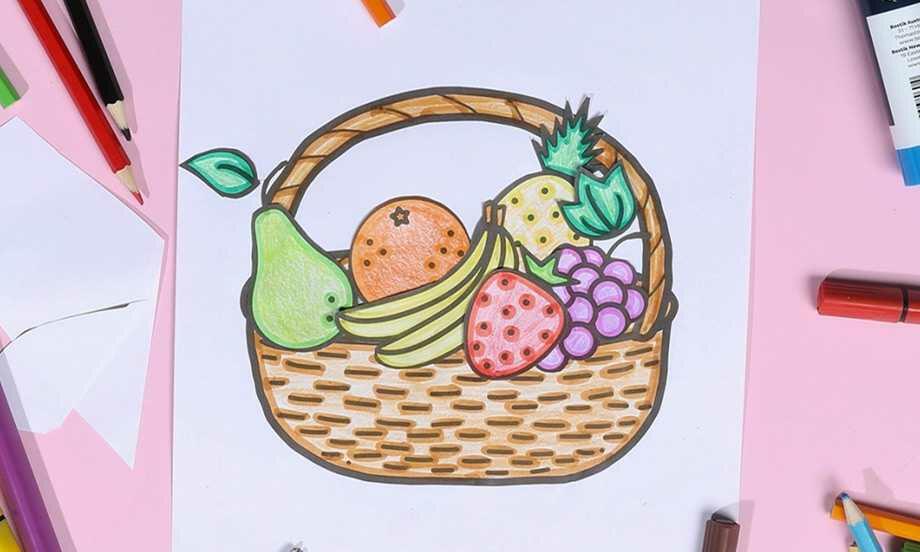
Fruit Basket
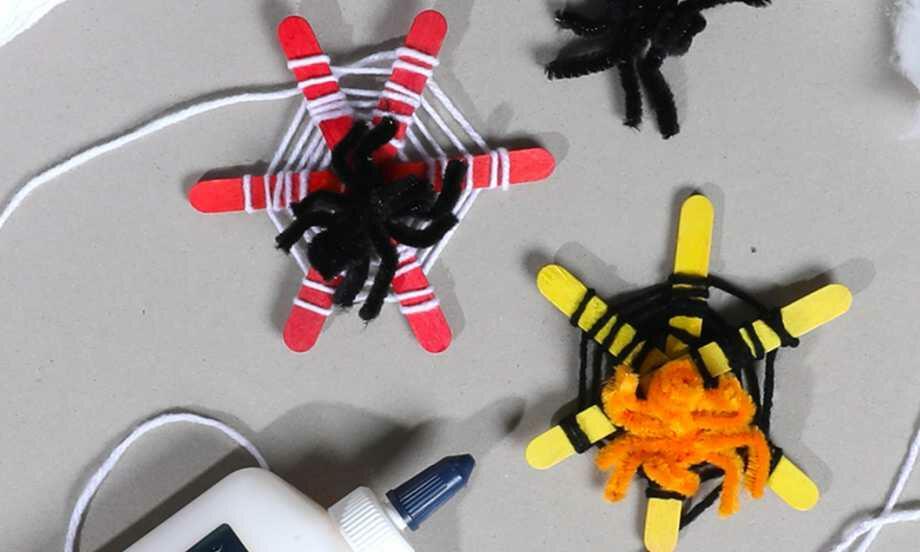
Halloween Spider Web
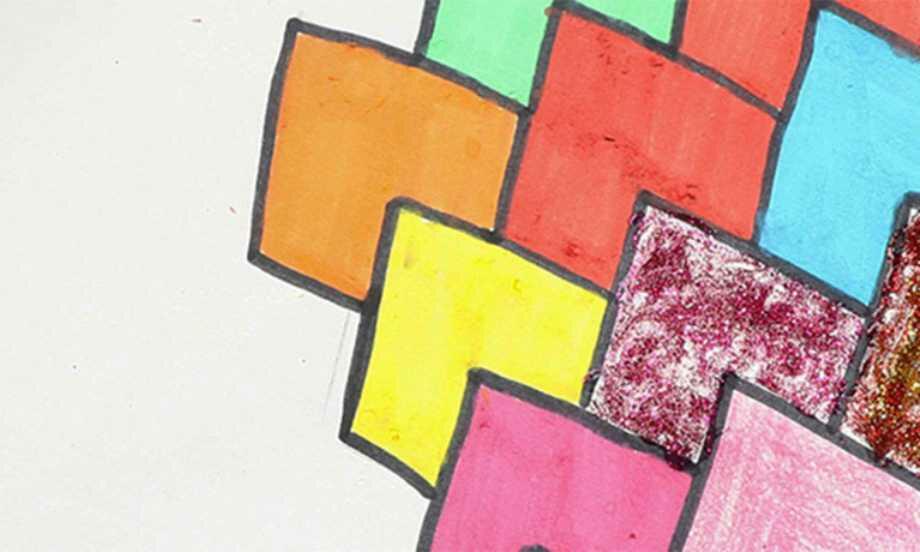
Heart Tessellations
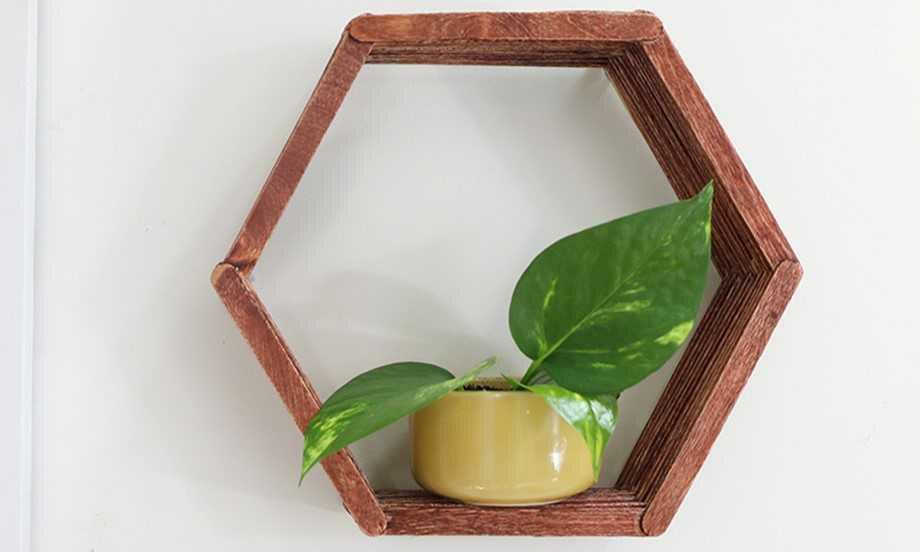
Hexagon Display Shelf

How to do decorations with Blu Tack
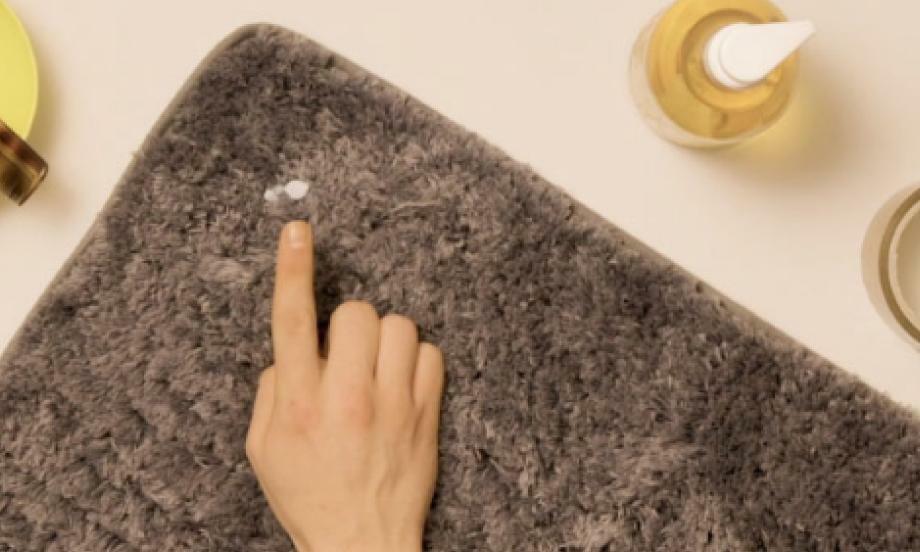
How to remove Blu Tack® from carpet

How to remove Blu Tack® stains from a wall
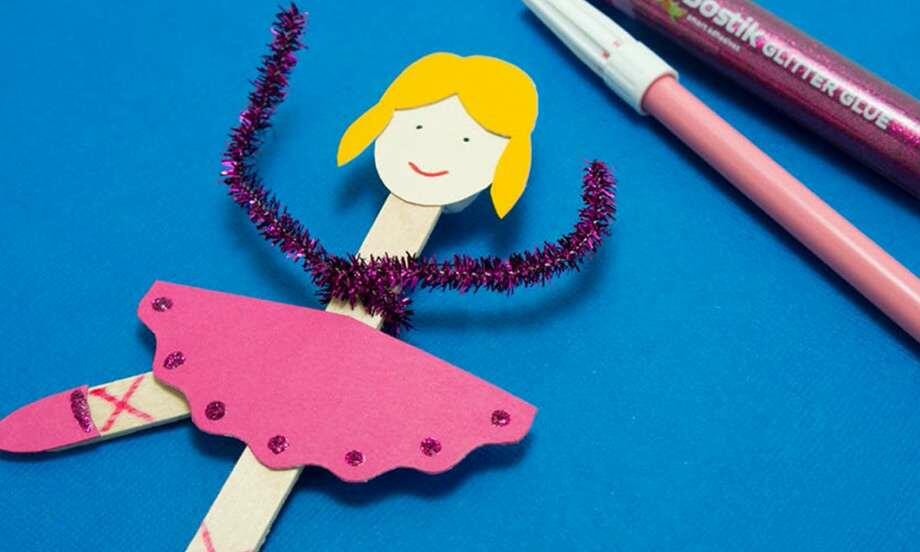
Mini Ballerina
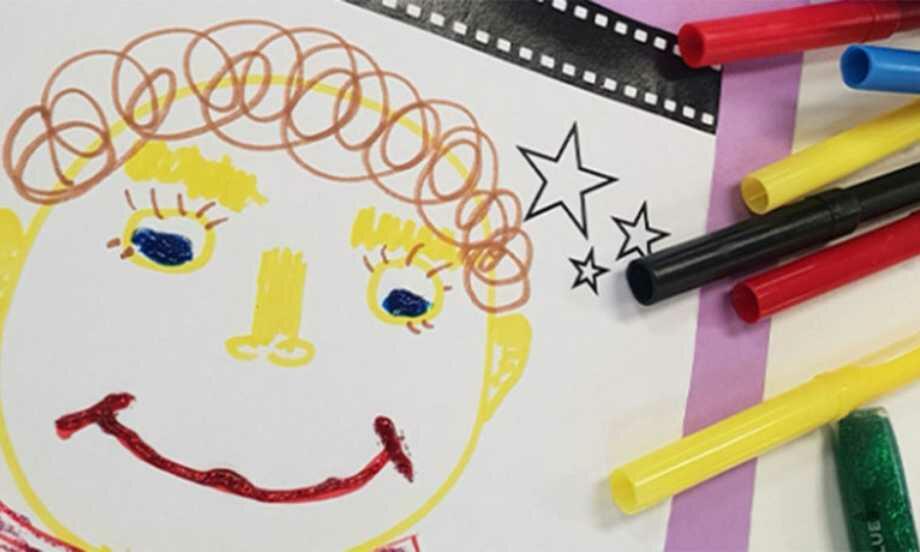
My Name Is
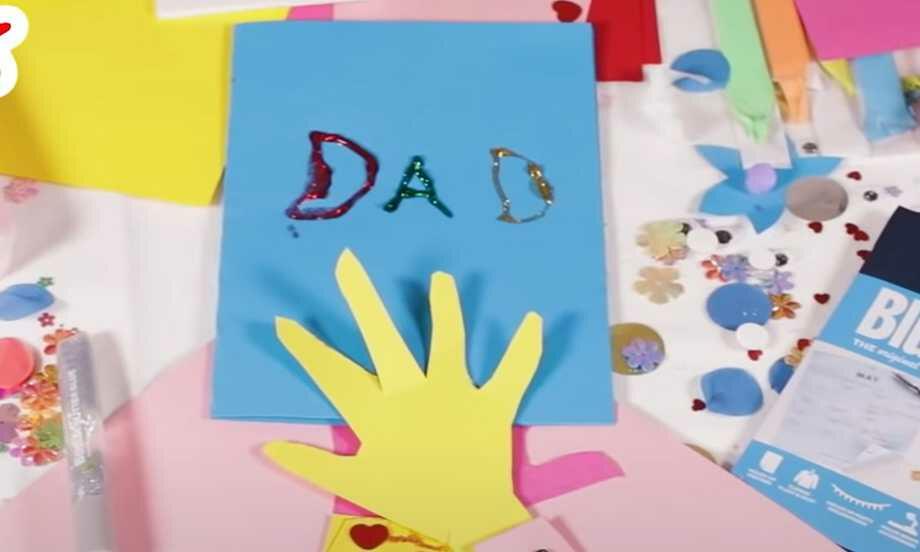
Round Of Applause Card Holder
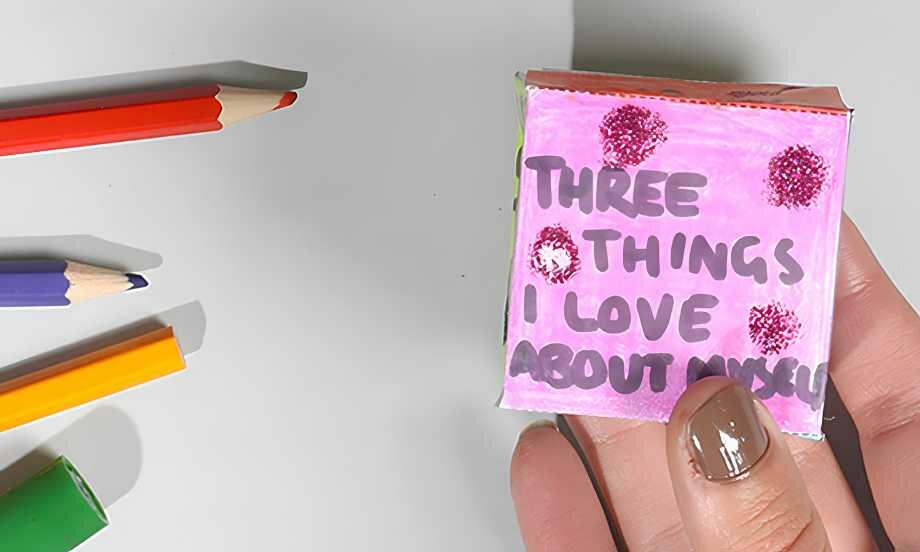
Self Esteem Die
Simple Reverse Prints