How to make a bumblebee craft: a fun DIY activity for kids
Bring a smile to your craft time with this bright and playful DIY bumblebee🐝! This fun bumblebee craft is perfect for kids, sparking creativity and building fine motor skills.
If you’re looking for how to make a bee, this simple bee craft for kids is a great place to start. Using yellow cardboard paper, cut a rectangle to form the bee’s body✂️, then add details using black paper for stripes. Use a bostik glue stick or white glue stick to securely glue paper pieces together for a neat finish.
Create antennae using black paper or pipe cleaners, and decorate with small circles of red paper. Add a cheerful face to complete your adorable bee. This paper craft bee is ideal for bee craft preschool, classroom bee activities, or fun activities for kids at home.
Easy to make and fun to display, this bee art project is a great addition to any spring-themed collection. You can even adapt it into a paper plate bee craft or use a bee template for extra guidance.🌼
Where and When to Use This Craft
This bumblebee craft is perfect for:
- School projects
- Rainy day activities
- Nature or insect themes
- Creative play at home
Quick project summary
Create a fun and colourful bumble bee craft using simple paper shapes and your Bostik glue stick. Start by building the bee’s body with yellow and black paper, then add a rounded head, layered eyes, and a cheerful face to bring it to life. Finish with playful details like antennae, wings, and a stinger. This easy step-by-step activity is great for preschool projects and helps develop creativity while making an adorable handmade decoration.
Instructions
Safety Tips for Kids’ Craft Activities
This bee art and craft activity is a fantastic bee craft template for classrooms or home use. Whether you're planning bee activities, exploring craft ideas, or creating a simple bee craft preschool project, this easy diy bumblebee is sure to delight.
- Always use child‑safe glue
- Supervise when scissors are used
- Wash hands after crafting
- Keep small parts away from very young children
GLUE STICK
WAX TWISTERS
CRAZY CLAY
RAINBOW GLITTER GLUE
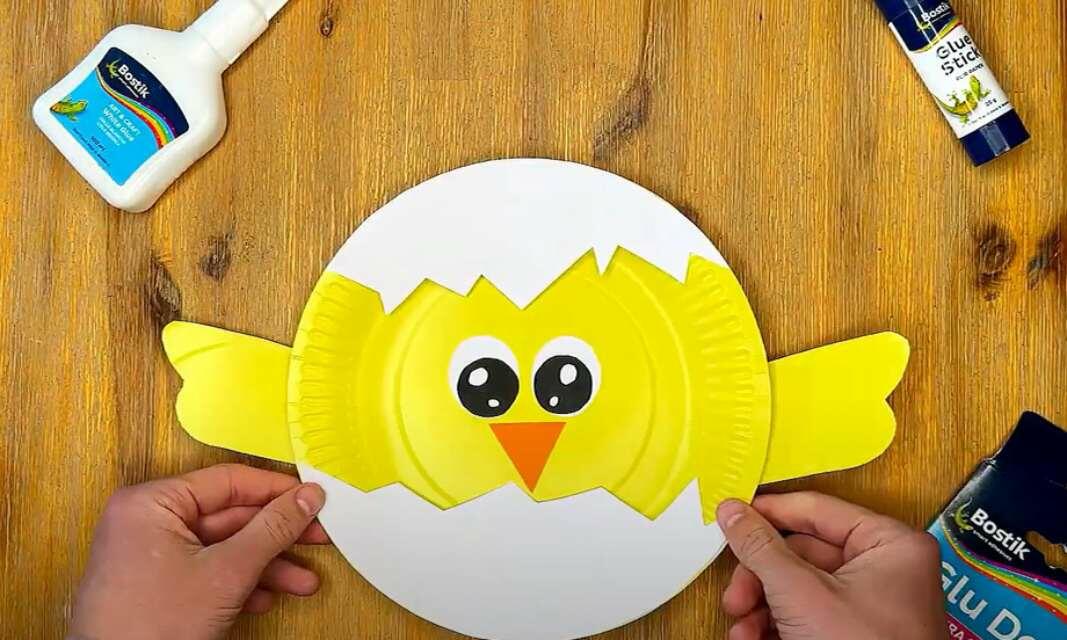
How to make a spring chicken
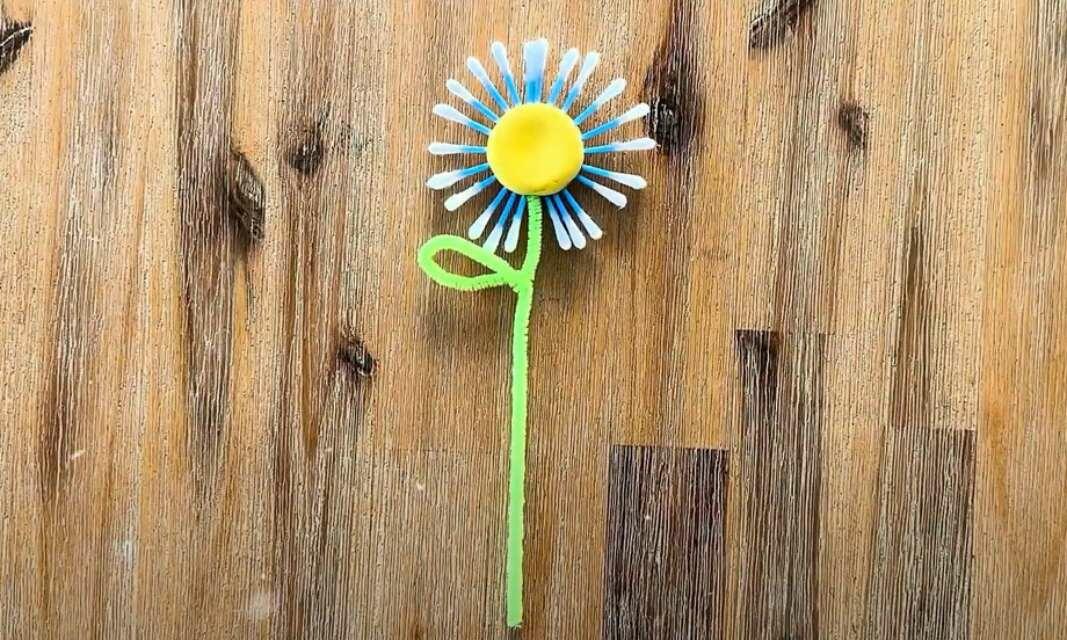
Spring flower craft
Spring Tulip
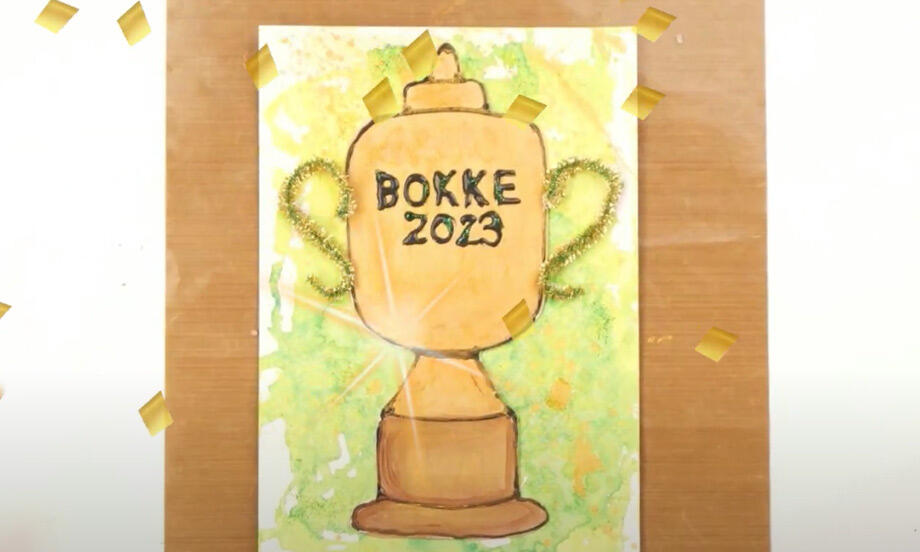
Springbok trophy card craft
6 Easy glitter glue craft ideas
Christmas unicorn baubles
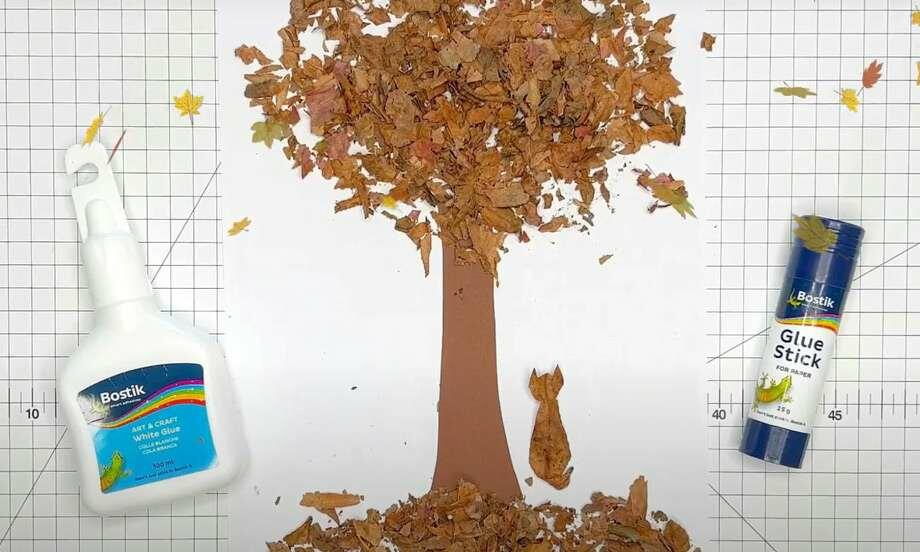
Crafting with leaves
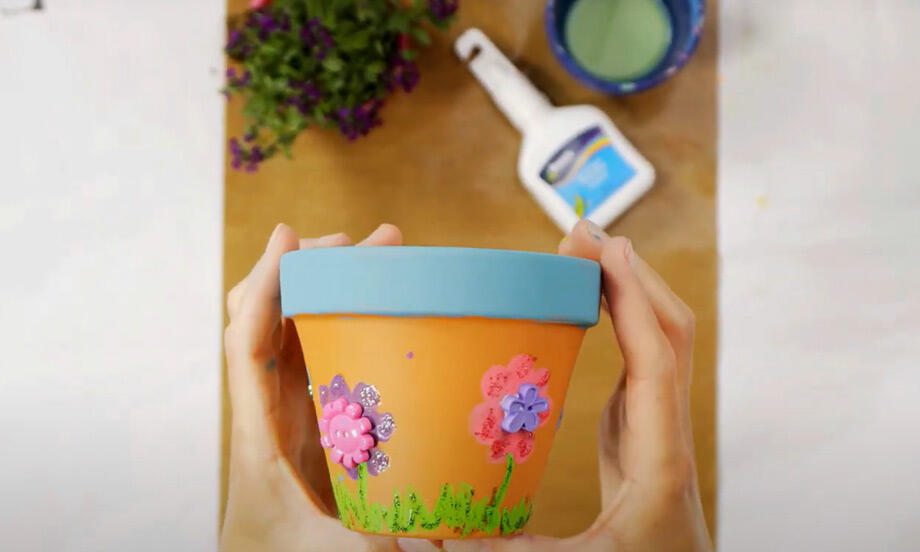
Flower pot decoration
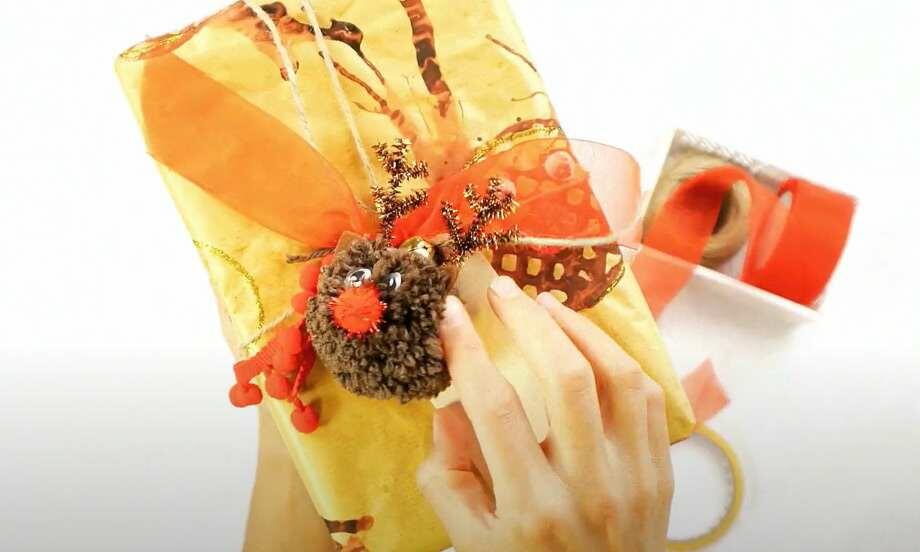
How to make gift wrapping paper
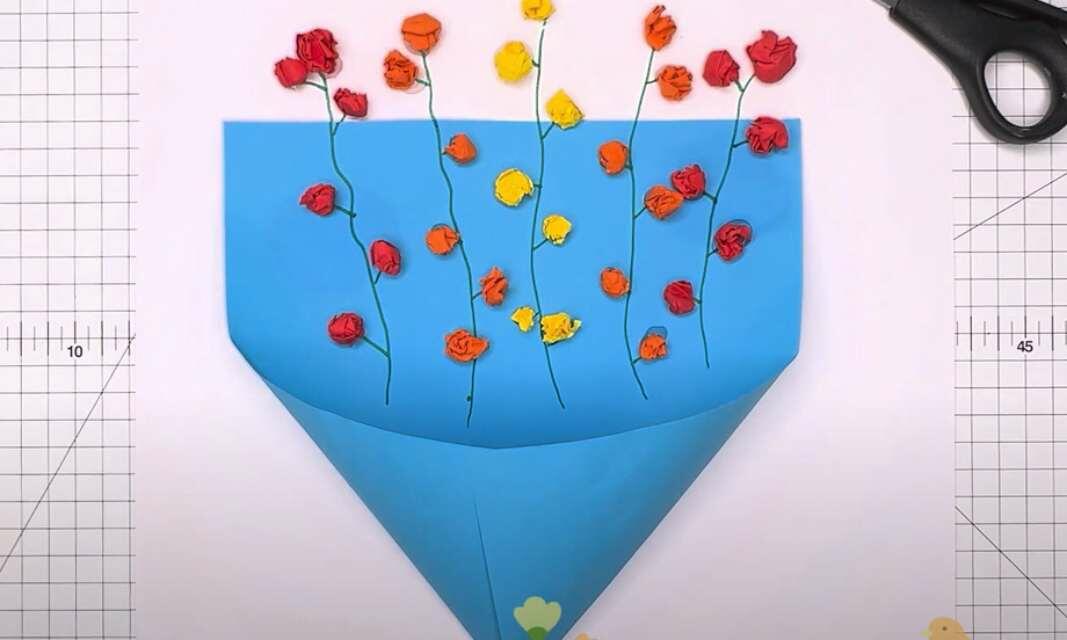
paper flower
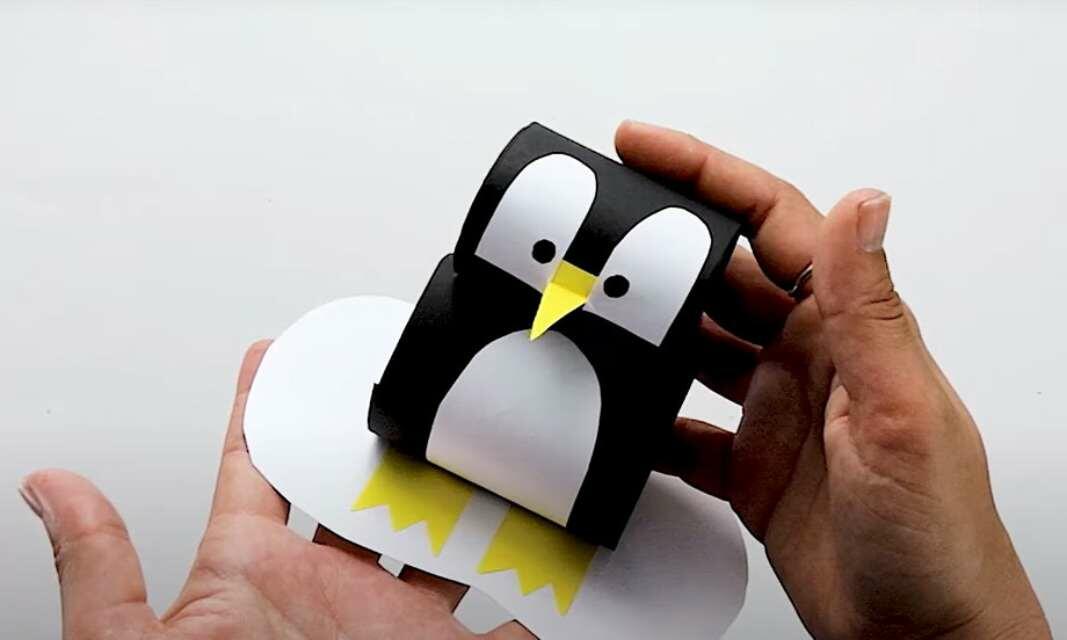
Penguin
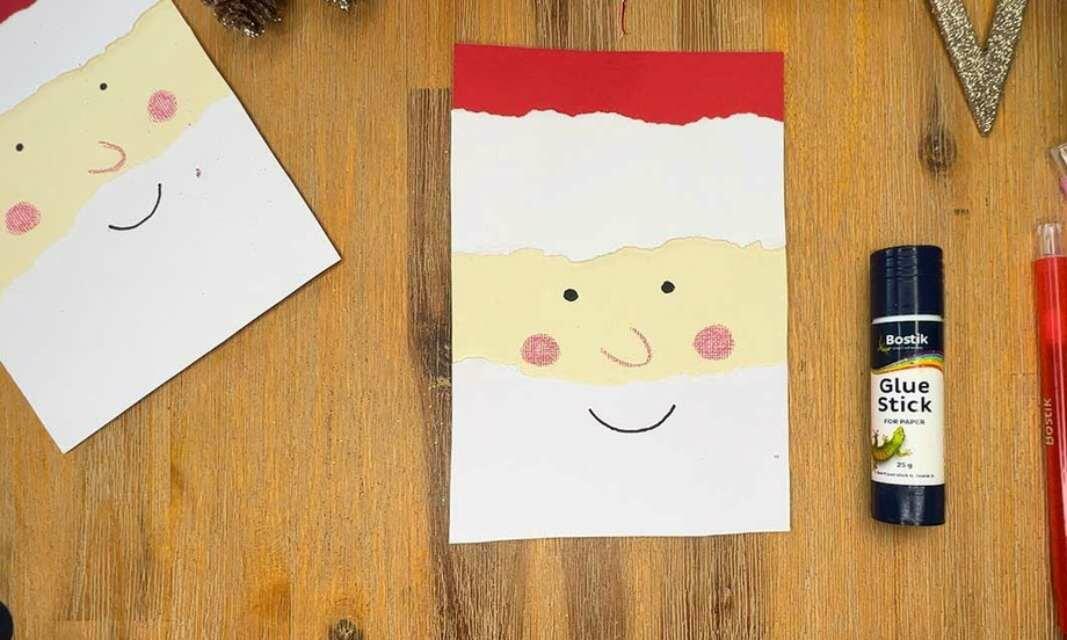
Santa Christmas card
Sew simple pencil bag
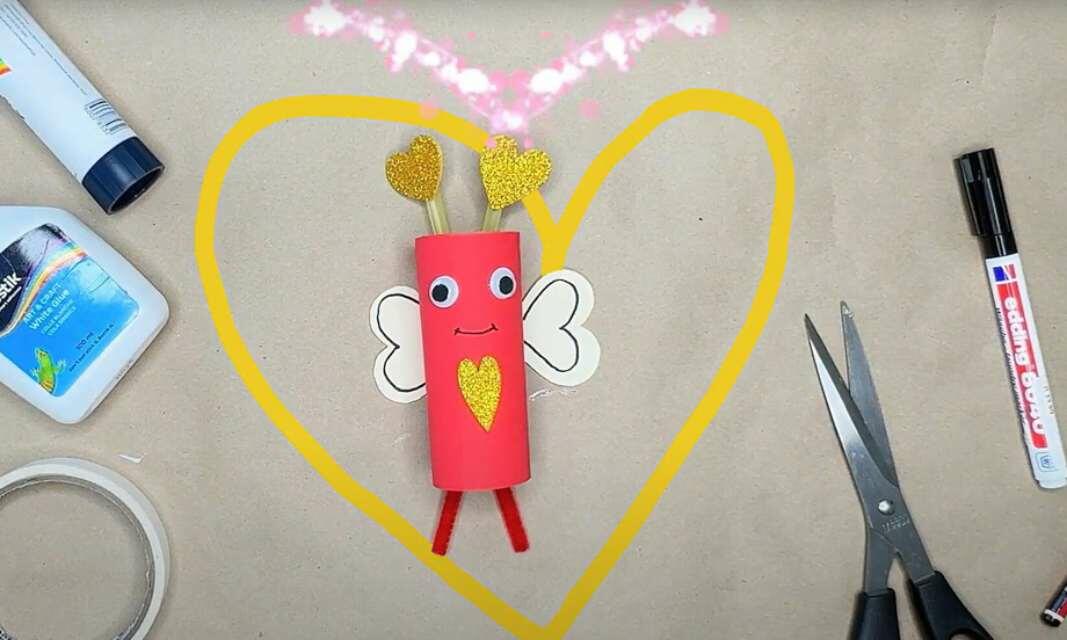
Valentine butterfly
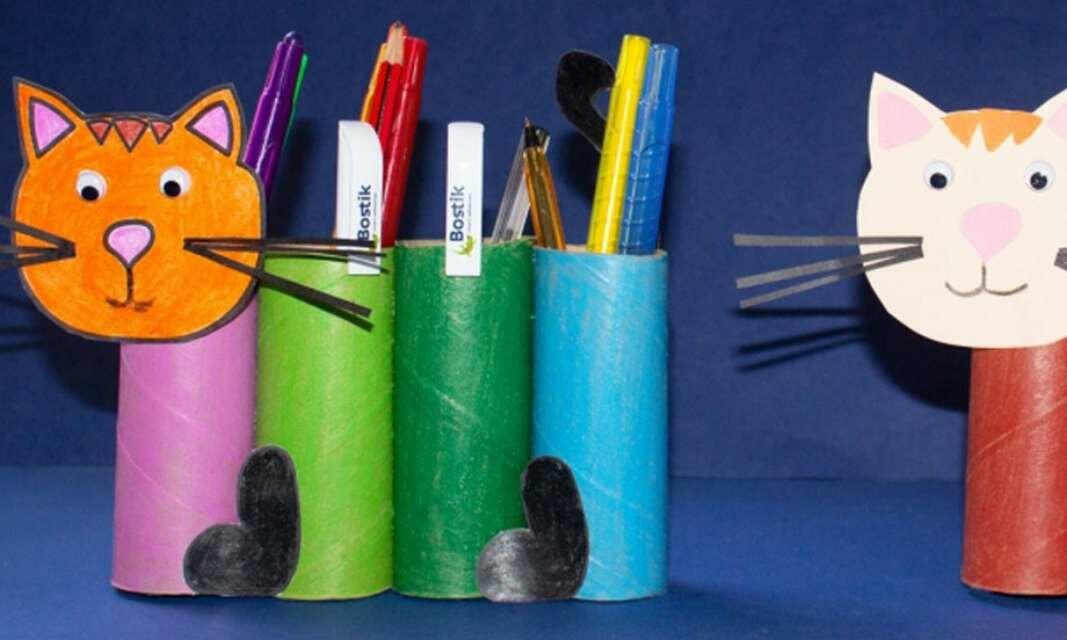
Paper roll cat