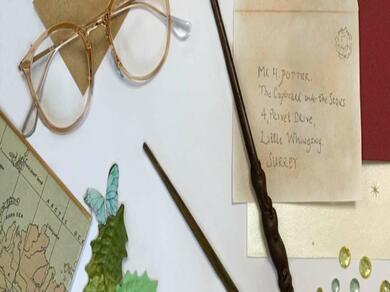
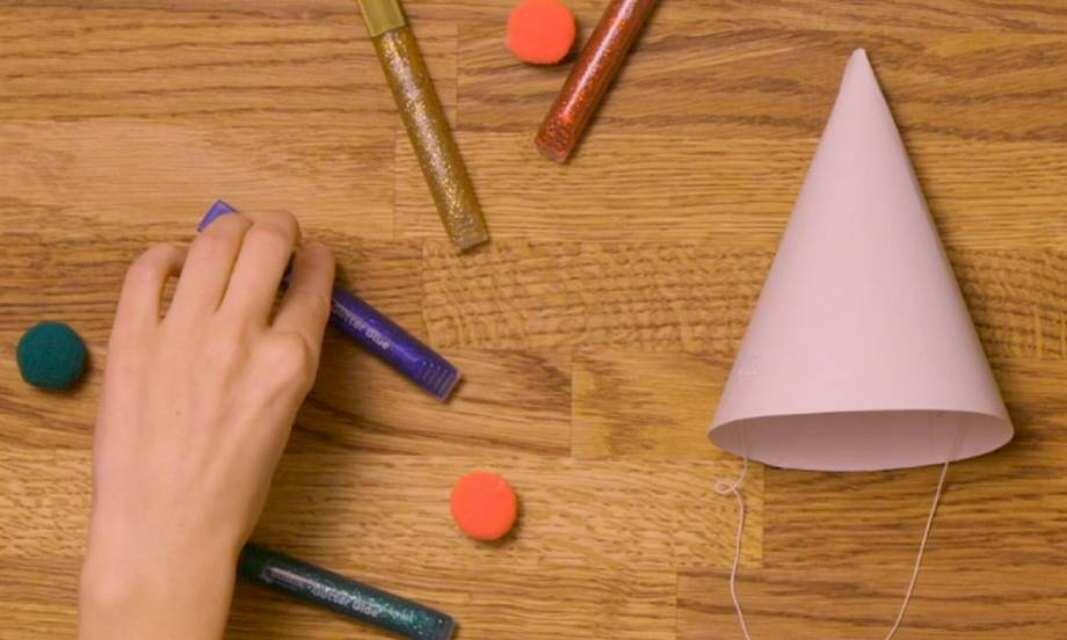
How to make your own wand
Despite the tradition of the wand choosing the wizard, we'd like to think that sometimes the wizard can pick their own magical stick. Today is one of those days...
Welcome wizards, witches, sorcerers, warlocks, and all magic people! We’re going to take you on a journey of enchantment and charm to make your own wand.
Follow our 6 simple steps for this DIY magic wand craft and be equipped to cast spells in just a few magical minutes.
Instructions
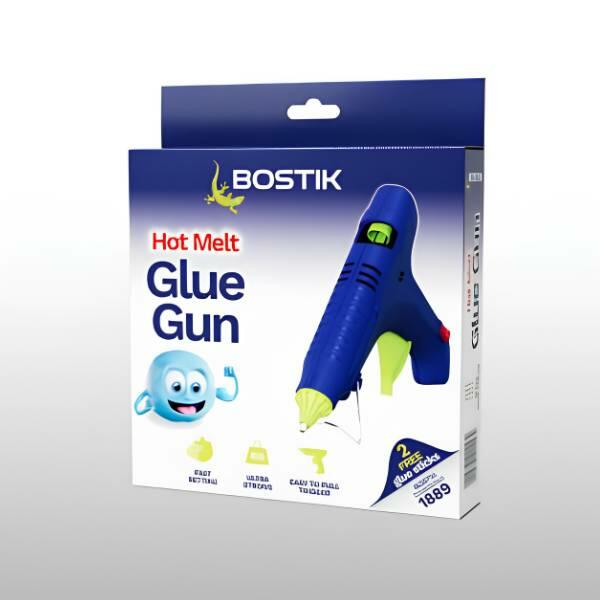
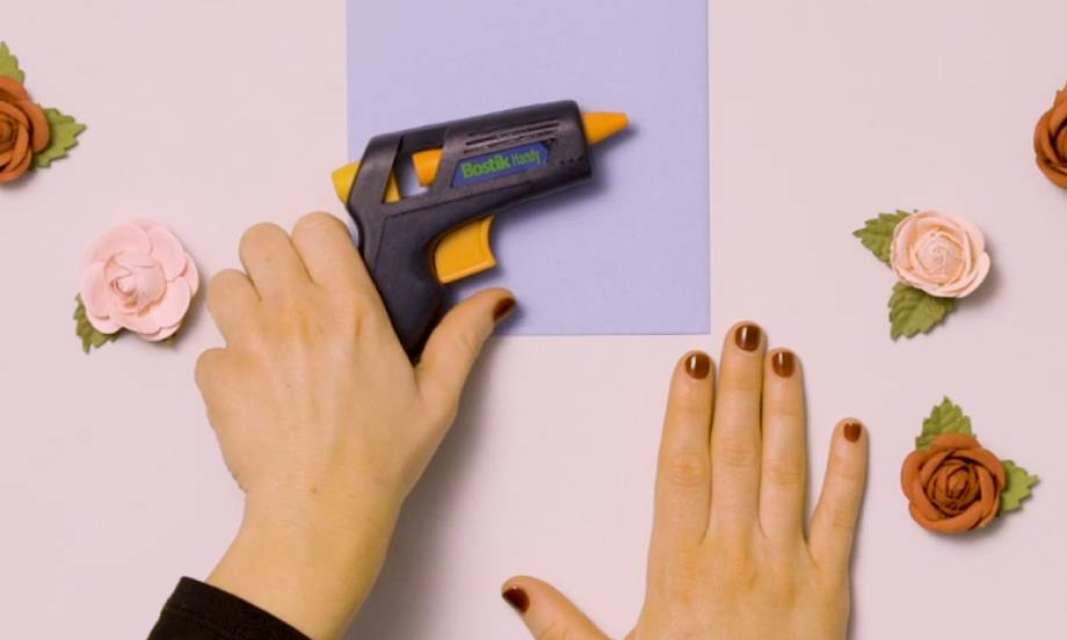
HOT MELT GLUE GUN
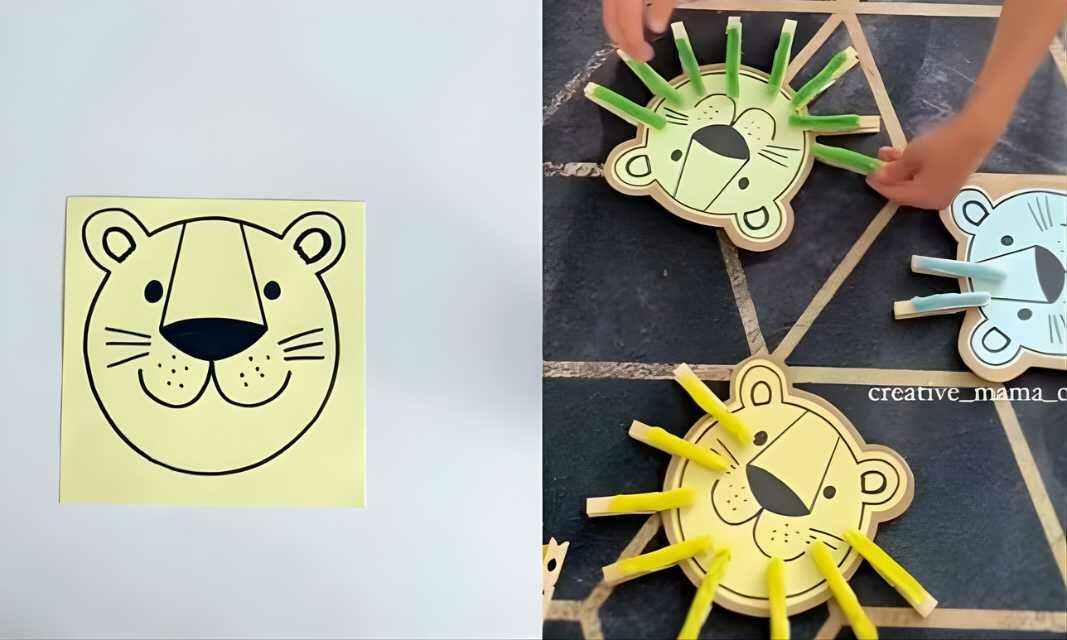
Easy lion craft activity with counting practice for kids
How to create a DIY cake stand or homemade vase

How to create a DIY sun mirror

18 DIY #BluHacks using Blu Tack® Grey

3 simple things to make with lolly sticks
Everything you need to know: Glu Dots
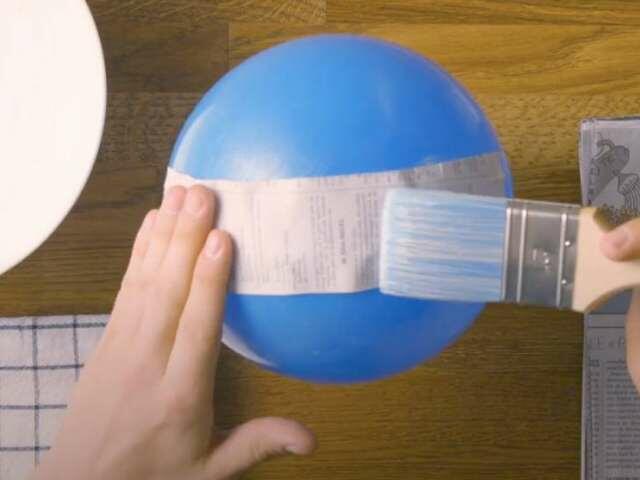
How to make paper maché with Bostik PVA glue
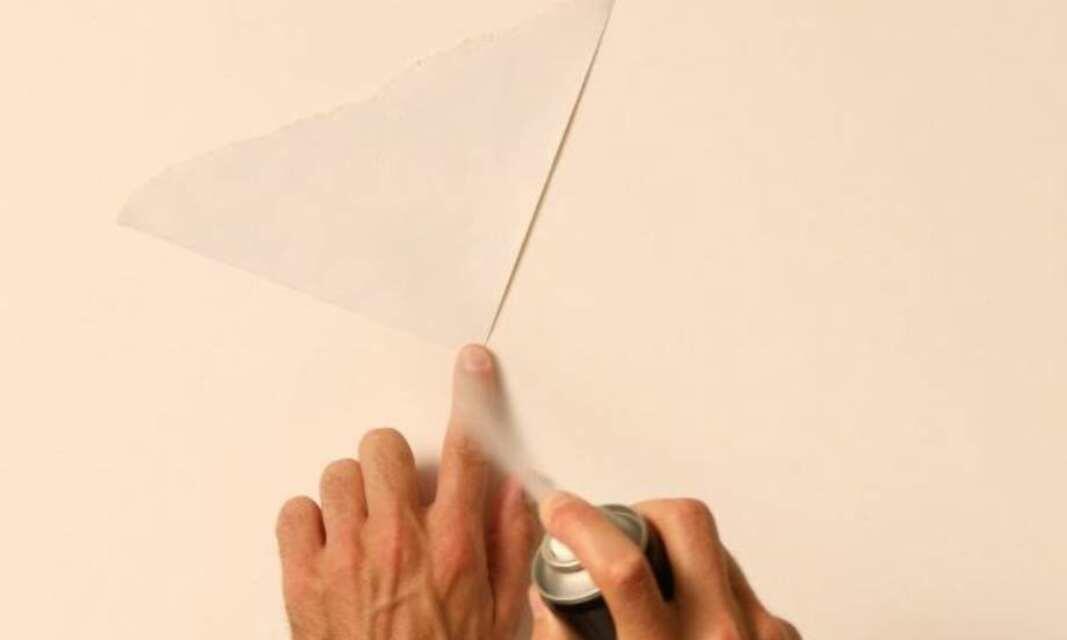
How to use spray adhesive for wallpaper repairs
6 easy glitter glue craft ideas
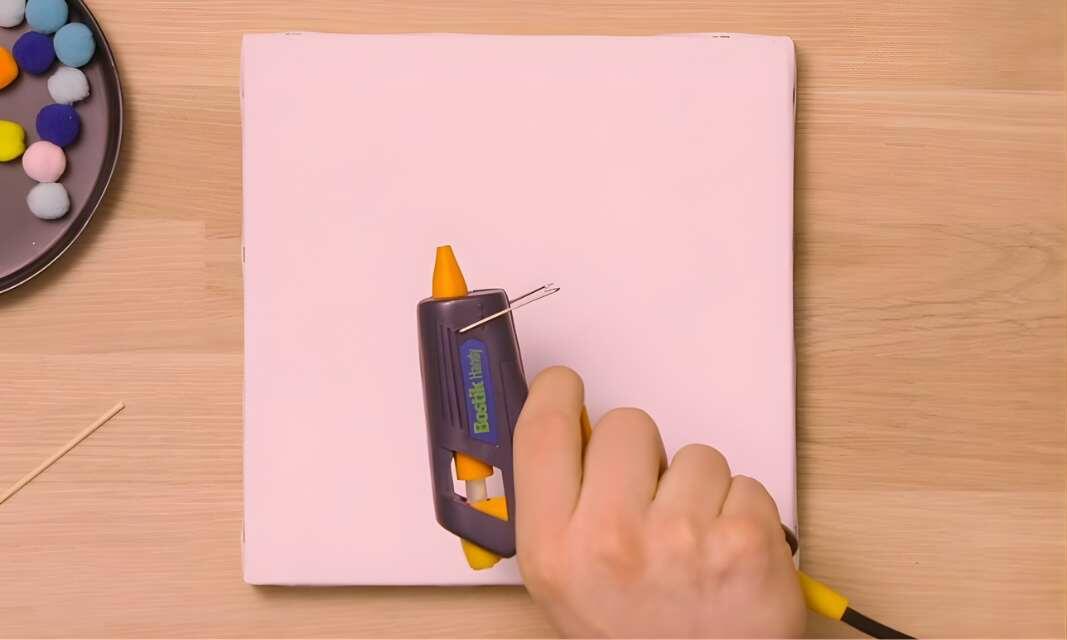
6 simple hot glue gun crafts to do at home
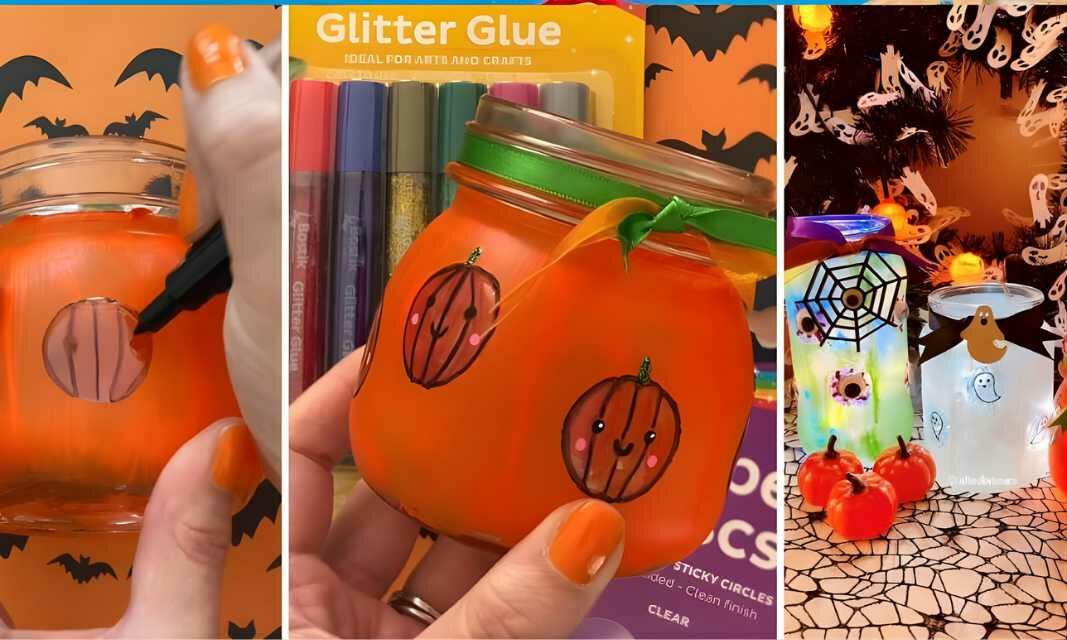
How to create DIY Halloween jar lanterns
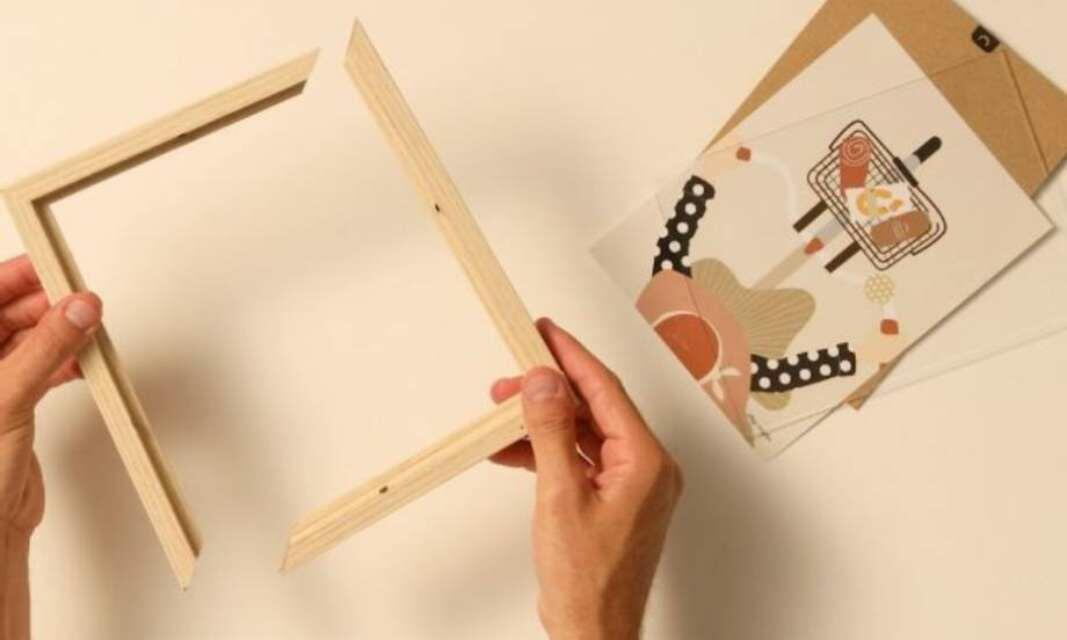
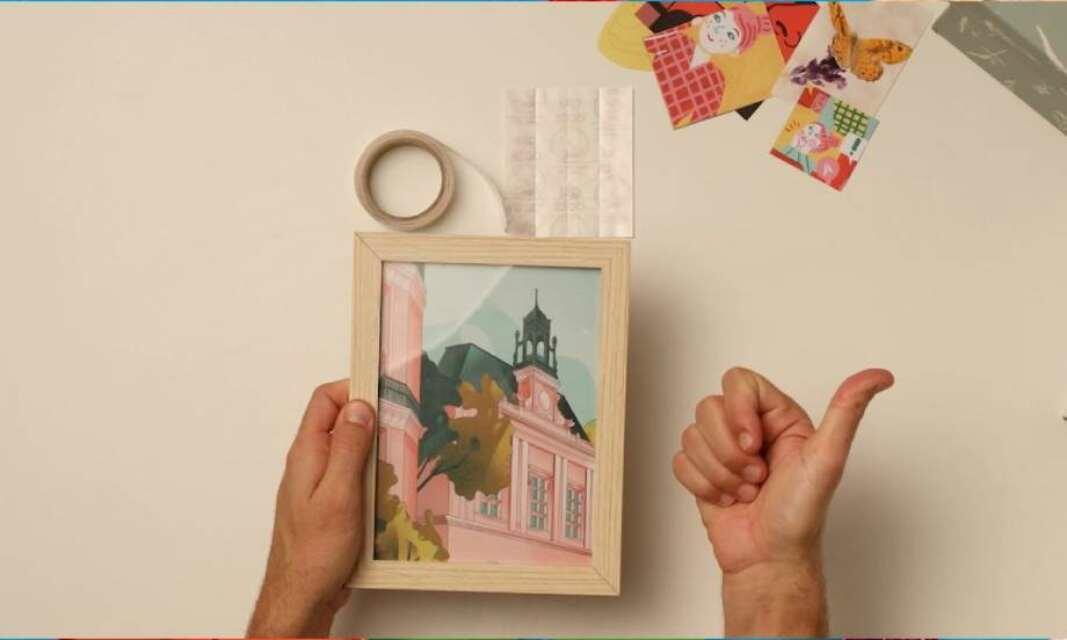
How to fix a broken picture frame with glue
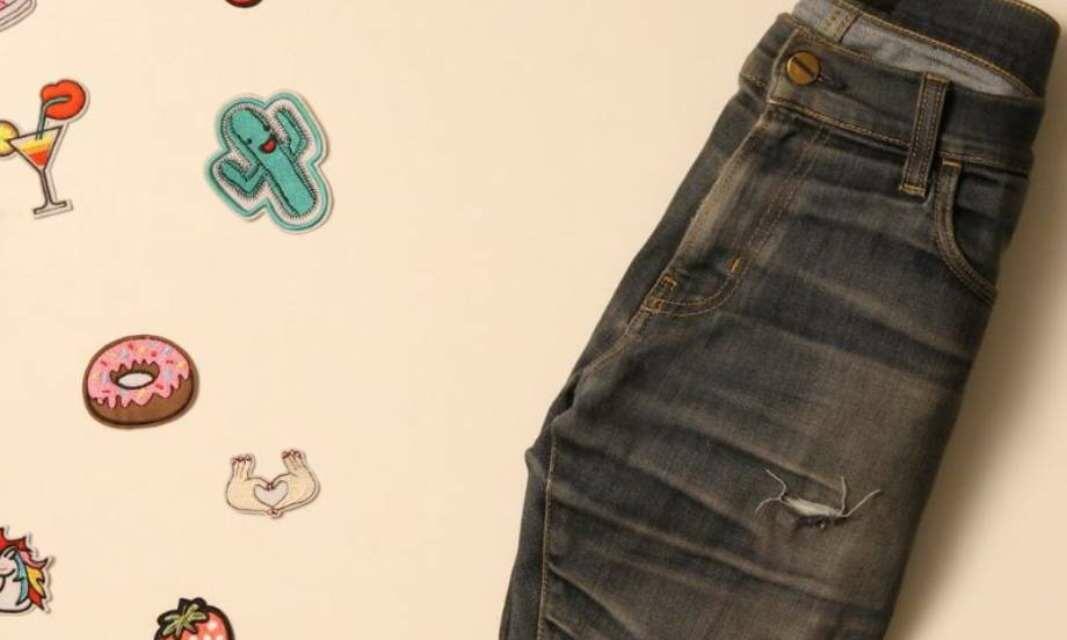
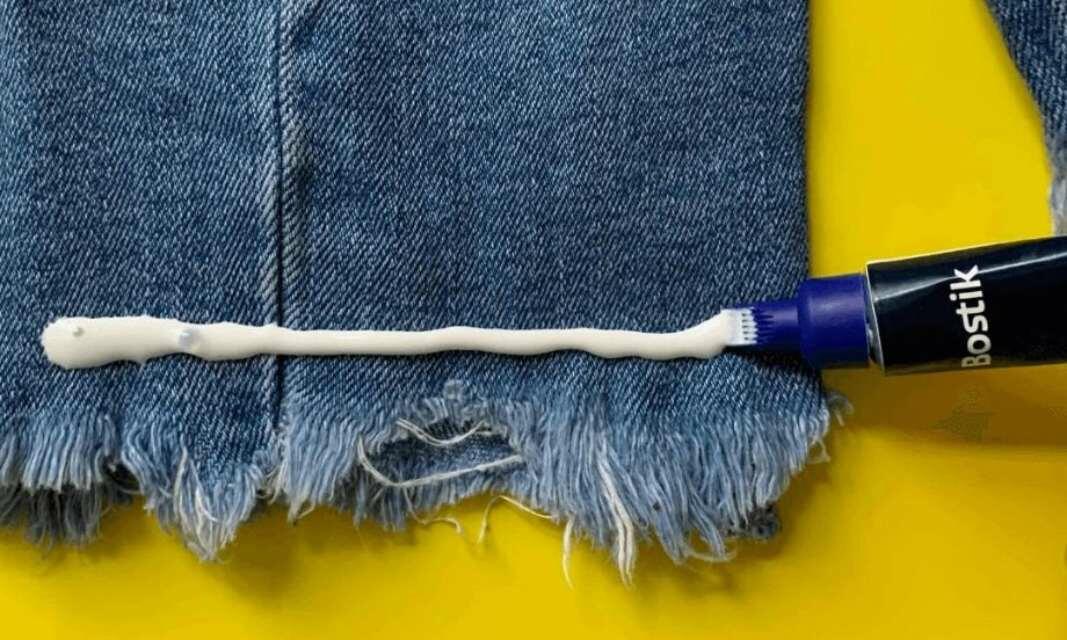
How to fix ripped jeans with fabric glue and a decorative patch
How to read hazard icons on glues
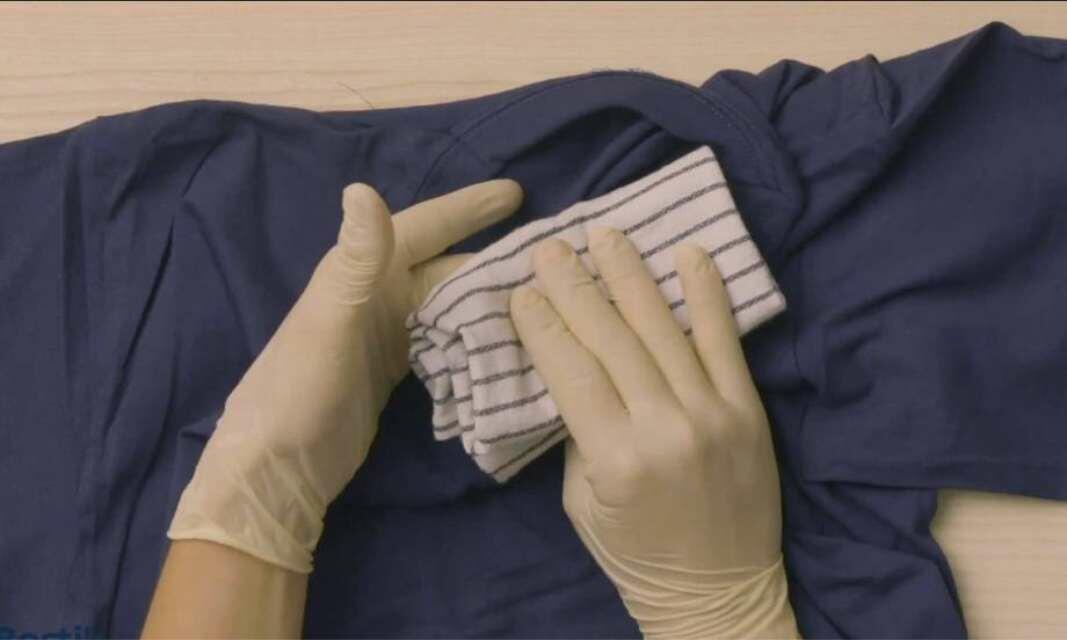
How to remove fabric glue from clothes
How to remove super glue from clothes
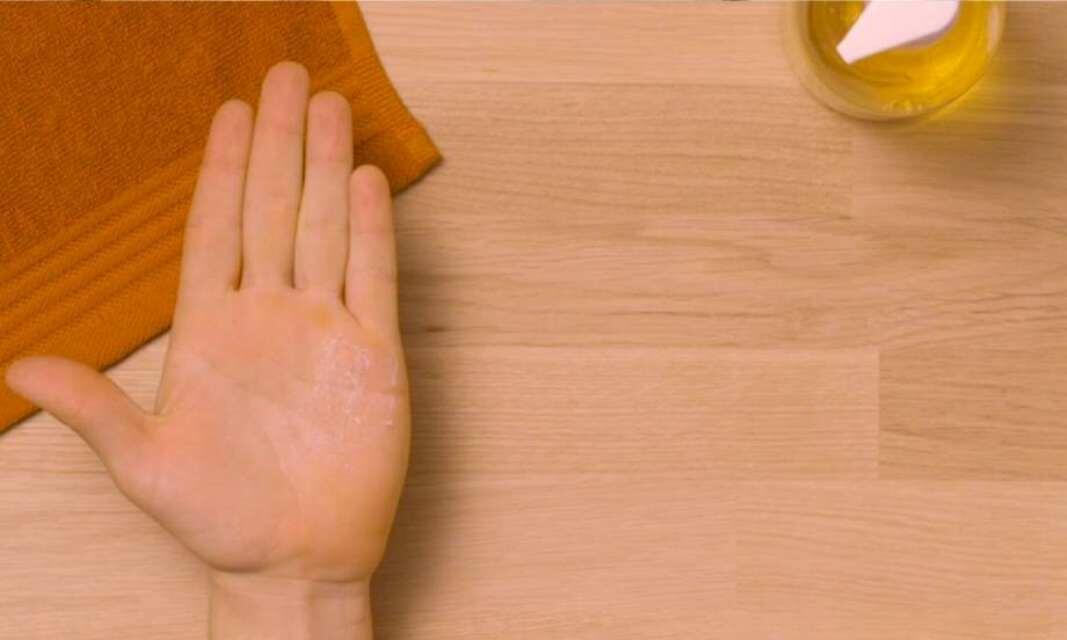
How to remove super glue from skin
How to repair metal objects using super glue

How to store glues at home