How to create a DIY cake stand or homemade vase

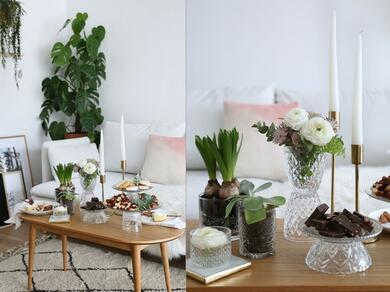
When hosting a party, having a show-stopping centrepiece is a must for many. However, it's especially important if you're the proud creator of some freshly baked goods or the new owner of a bright bunch of flowers.

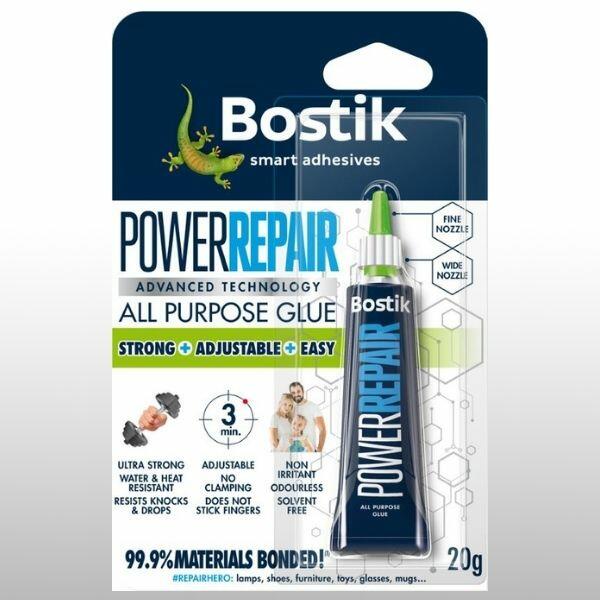
Our step-by-step guide will help you to upcycle old glassware into a DIY cake stand or homemade vase using our innovative UV activated glue, Fix & Flash. This light activated adhesive offers an ultra strong, long-lasting bond to 99.9% of materials, making it the perfect choice for whichever tableware you decide to repurpose.

Explore how to make your own cake stand or DIY vase so it can be the talking point of the table at your next gathering.

Instructions

Disclaimer

We have launched a new and improved version of Fix & Flash. Please note this guide was created using the previous model but is still suitable for the new version. Browse the new Fix & Flash today.

How to create a DIY cake stand

Step 1: Clean your glassware for gluing

Before we get into the gluing, make sure your glassware is clean and dry. You may also want to protect your work surfaces with old newspaper in case of any spillages.

To create a DIY cake stand, start by turning over one of the glasses and apply a drop of Fix & Flash glue on the base of the glass. Then, place the large glass plate onto the bottom of the glass which you just glued.

Step 2: Stick in place and shine the light

Press the button on the key fob to shine the light. Flash the light for approximately 15 seconds on the edges of the bottom of the glass.

Our light activated adhesive will only cure once the light is shining, meaning up until this point, you can position and reposition your item until you're happy.

Step 3: Repeat to create a tiered cake stand

To create a multi-layer DIY cake stand, you will need another glass and a small plate to ensure the stand is balanced and secure.

Repeat steps 1 and 2 to stick your glass to the smaller plate in the same way. Then, attach the stands together by applying Fix & Flash to the rim of the small glass and placing it on the centre of the large plate. Shine the light to set the glue in place and leave up to 24 hours to fully cure. You now have a DIY tiered cake stand.

How to create a DIY vase

Step 4: Stick in place and shine the light

To create your DIY flower vase, you need 2 glasses that are of the same diameter - this will ensure they fit together nicely and are balanced and secure.

Simply apply Fix & Flash glue to the base of one of the glasses and press together so that both bases of the glasses are neatly aligned. Remember, you can position then reposition as much as you'd like until you shine the light.

Then, flash the light onto the base of the glasses for approximately 15 seconds to fix them into place. Stand your new vase on your work surface for up to 24 hours to fully cure.

Good to know

The shorter your glass, the shorter you will need to make the stems of your flowers.

Step 5: Display

Ta-da! You've created a DIY cake stand and homemade vase and they're ready to take the spotlight in the centre of your table. Fill with cakes, pastries, pies, flowers, potpourri, gems or whatever else you like.

Don't forget to tag us in your creations on Facebook and Instagram using the hashtag #CraftWithBostik.

See all products