Create your own decorative magnetic board
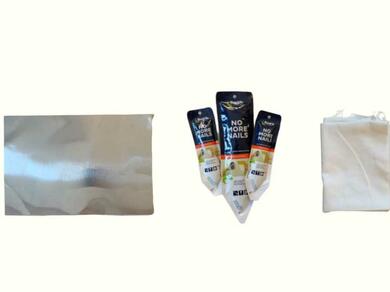
Transform any space into a chic, organized hub with this DIY decorative magnetic board! Start by measuring and cutting wooden pieces (33 × 17 cm) to form a sturdy frame using Bostik No More Nails. Cover a metal sheet with your choice of fabric using double‑sided tape for a visually appealing base. Attach the framed board to the fabric-wrapped metal sheet with adhesive, then secure it to the wall using more No More Nails. In under 30 minutes, you’ll have a functional magnetic display that’s both stylish and wipe-free! 🖼️
Instructions
NO MORE NAILS
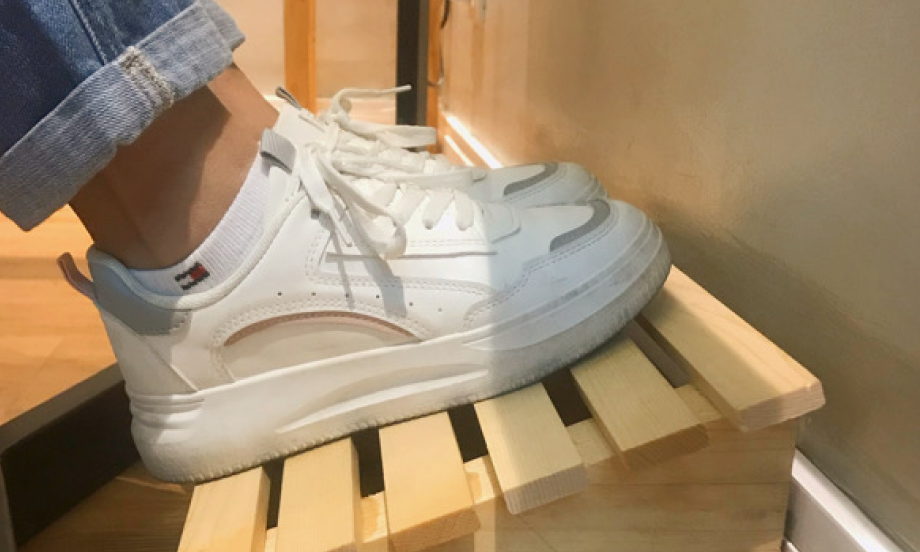
Create a simple, ergonomic, footrest, with no more nails
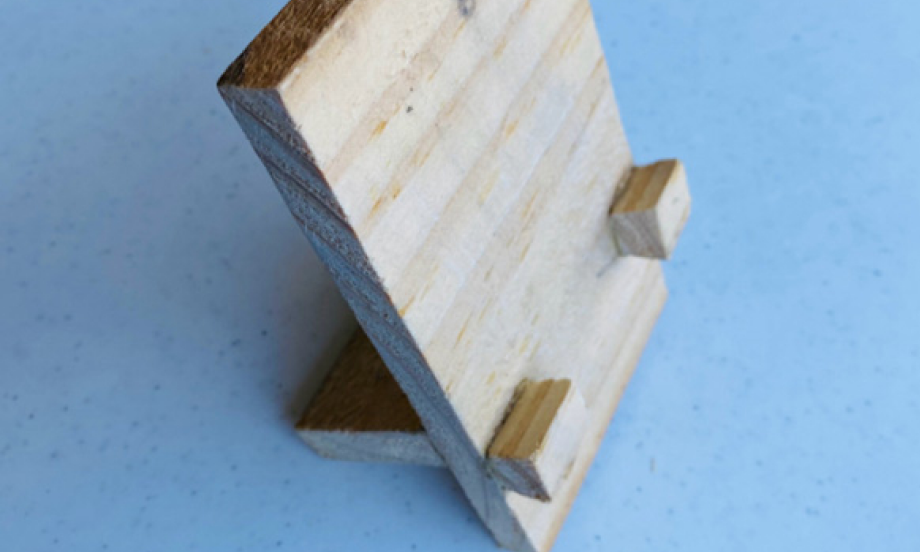
Create your own phone holder

How to create unique action figure bookends with no more nails
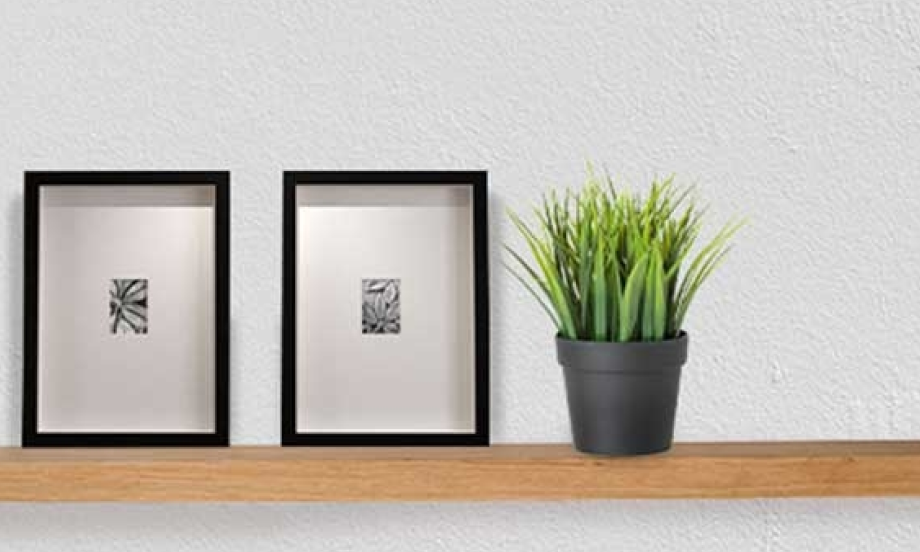
How to install floating shelves with no more nails
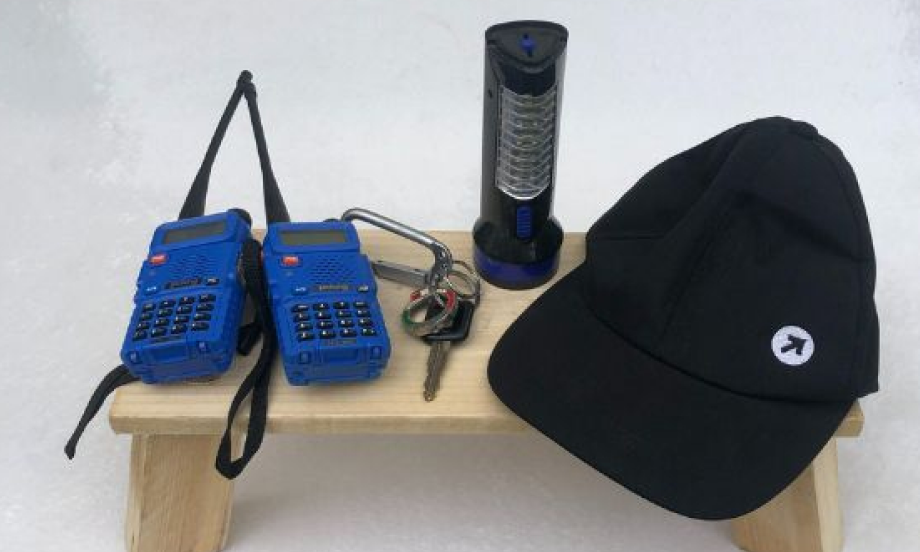
How to make a stool with no more nails