How to create a paper Easter basket

Easter weekend is the perfect time to hop over to the craft table, and we’ve made keeping the kids entertained even easier with this fun Easter craft tutorial.

Follow our simple step-by-step guide to create a paper Easter basket, perfect for collecting chocolate eggs during an Easter egg hunt, decorating the table, or creating a cosy little home for fluffy chicks.

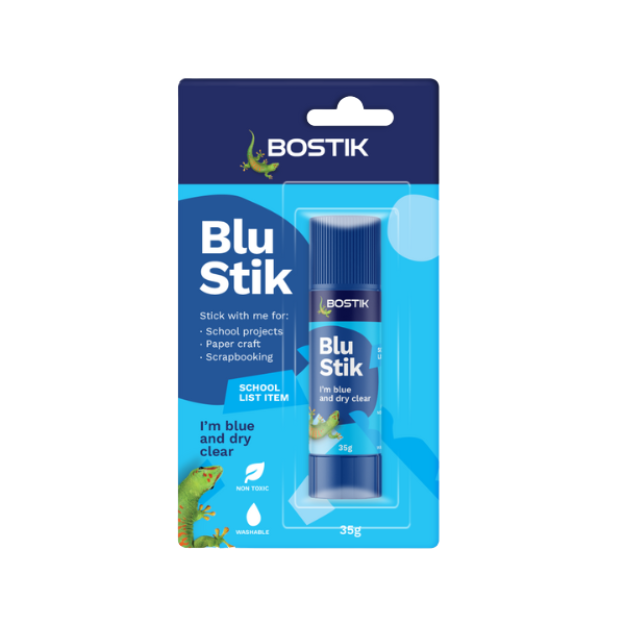
Pick up your pens and pencils, grab your glitter glue, add your own colourful Easter decorations and download our FREE printable Easter basket template to kick-start your weekend of crafting.

Instructions

Step 1: Print the Easter basket craft template

Start by downloading and printing the Easter basket craft template onto white card or paper. Card is a great option if you want the basket to feel a little sturdier, especially if it will be carried around during an Easter egg hunt or filled with small chocolate eggs.

Before you begin, set up a craft space with everything you need close by, including colouring supplies, scissors, glue and any extra decorations. This helps make the activity easy and enjoyable, especially when crafting with little ones.

Tip: Print a couple of extra copies, just in case of colouring mishaps, glue spills or if more than one child wants to make their own Easter basket.

Step 2: Colour in the template

Now it’s time to get creative. Colour in the Easter basket template using pens, pencils, paints, glitter glue or your favourite craft supplies. Kids can keep it classic with soft Easter pastels, or go bright and bold with colourful patterns, rainbow stripes, flowers, chicks and eggs.

Encourage little crafters to personalise their basket and make it their own. They could add names, doodles, stickers, sequins or googly eyes to bring the design to life. This is a fun chance for kids to use their imagination before the basket is folded into shape.

Tip: Use Bostik Glu Dots to add craft embellishments, or Foam Pads to create fun 3D effects that make chicks, eggs and decorations pop from the basket.

Step 3: Cut out the basket and handle

Carefully cut around the paper Easter basket template and handle, following the outline as closely as possible. Take your time around the corners and smaller details so the basket is neat and easy to assemble later.

If you are crafting with younger children, an adult can cut out the main shape first and let the kids help with the simpler sections. Once everything is cut out, place the basket and handle pieces flat on the table so they are ready for folding.

Important: This step involves scissors, so children should be supervised at all times. Younger children may need an adult to help with the cutting.

Step 4: Fold the basket & glue together

Fold each square section along the lines to start forming the basket shape. Press along the folds firmly with your fingers so the edges are crisp and the basket holds its shape more easily.

Next, fold the “glue here” tabs along the dotted lines so they are ready to attach. Apply Bostik BLU STIK to the tabs, then press each one firmly onto the adjoining basket edge. Hold each tab in place for a few seconds to help the glue bond.

Continue until all tabs are secured and the basket has formed a box shape. Don’t worry if it takes a little adjusting, this is all part of the fun of paper crafting.

Step 5: Attach the handle to the basket

Fold the handle along the dotted line, then apply Bostik BLU STIK to each end. Attach the ends to the inside of the basket, pressing gently but firmly to help them stick in place.

Try to position the handle evenly on both sides so the basket sits nicely when picked up. Once attached, leave the basket for a few minutes to dry before filling it with treats or decorations.

Tip: Make sure the handle is centred before the glue dries, so the basket is easy to hold once finished.

Step 6: You're done!

Ta-da. Your paper Easter basket is complete. Leave it to dry for a few minutes before using it, especially if you’ve added glitter glue, stickers, sequins or 3D embellishments.

Once dry, add ripped tissue paper inside the basket to create a little nest. Then fill it with chocolate eggs, use it for an Easter egg hunt, place it on the Easter table, or turn it into a cosy home for fluffy Easter chicks.

This simple Easter craft is a fun way to keep kids busy over the long weekend and gives them something handmade to enjoy once the decorating is done.

See all products