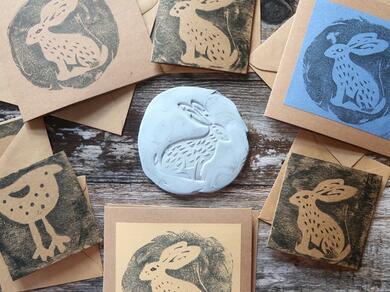
Simple Reverse Prints
Discover the art of creating stunning reverse prints with our Simple Reverse Prints project! This tutorial will guide you through a creative process using Bostik Blu Tack®. Perfect for adding a unique touch to your home decor or as personalised gifts, this DIY technique allows you to explore the beauty of negative space and intricate designs. Follow our step-by-step instructions to master the art of reverse printing, transforming ordinary surfaces into eye-catching artworks.
Follow this step-by-step tutorial from our friends at Craft Invaders.
Instructions

BLU TACK®
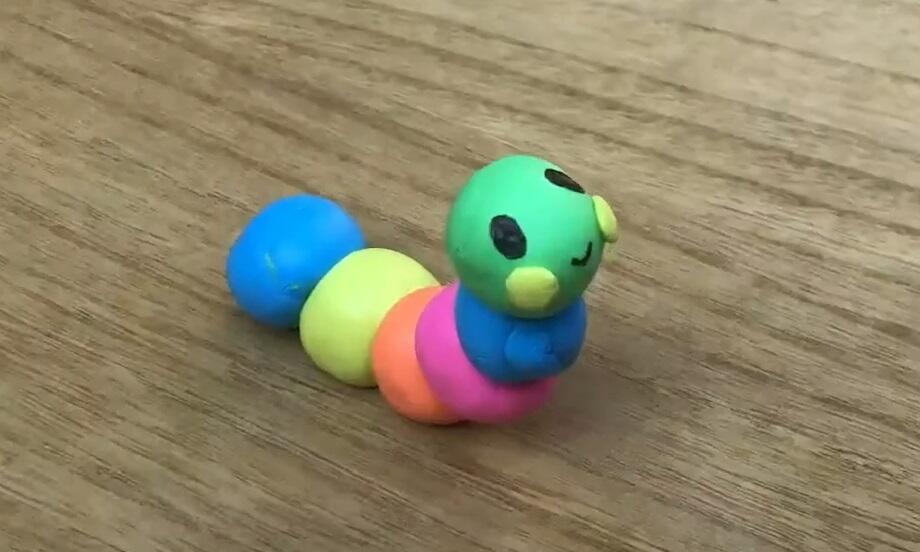
Blu Tack® Animals
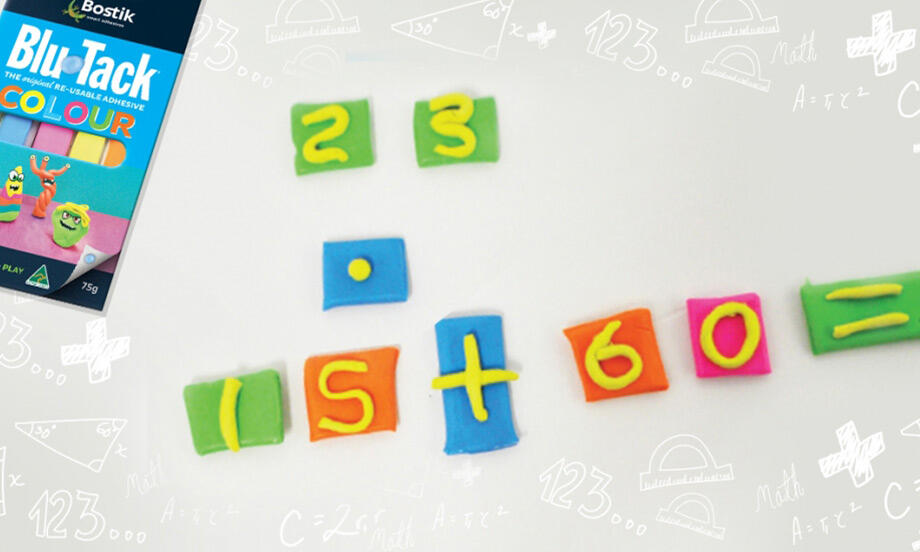
Blu Tack® Calculator
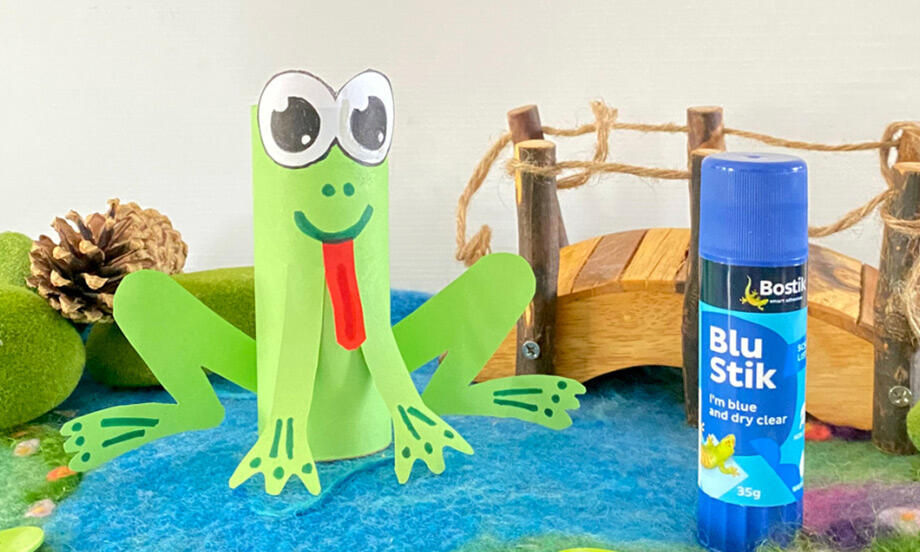
Cardboard Frog
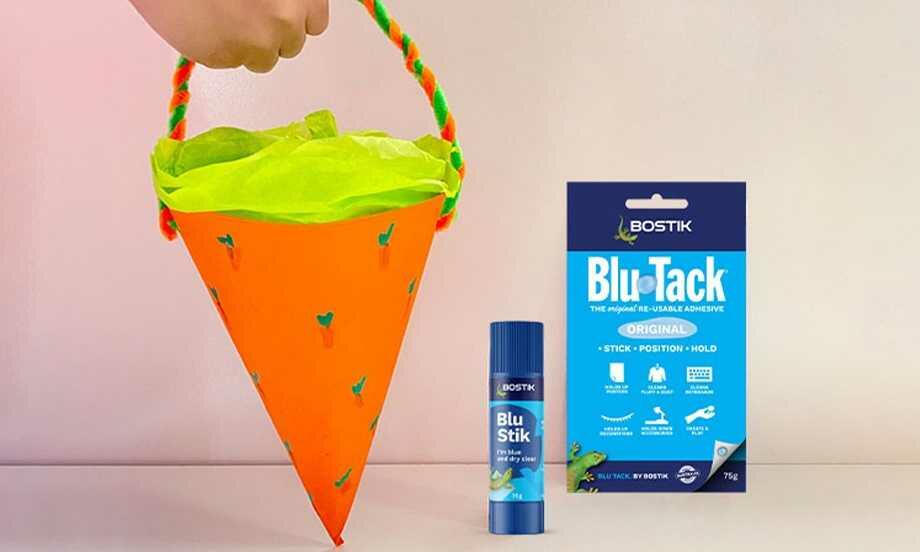
Easter Egg Basket
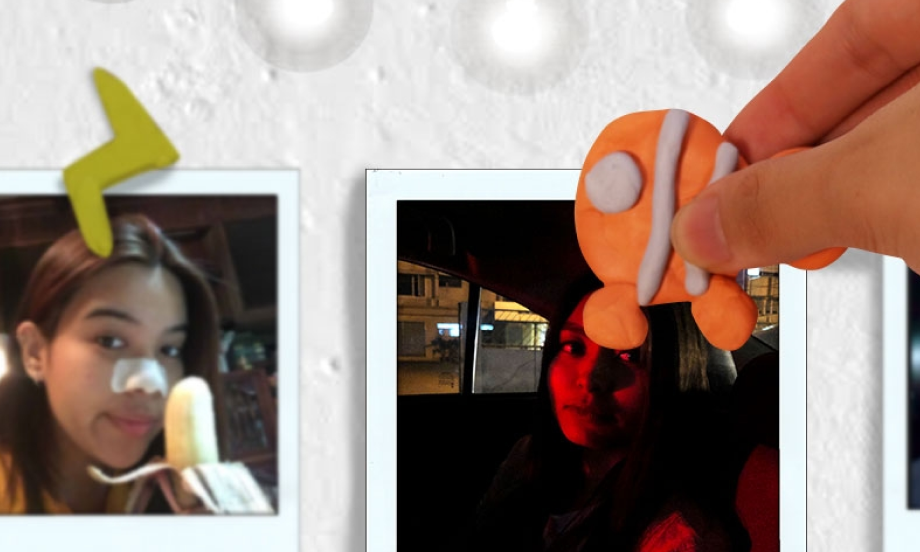
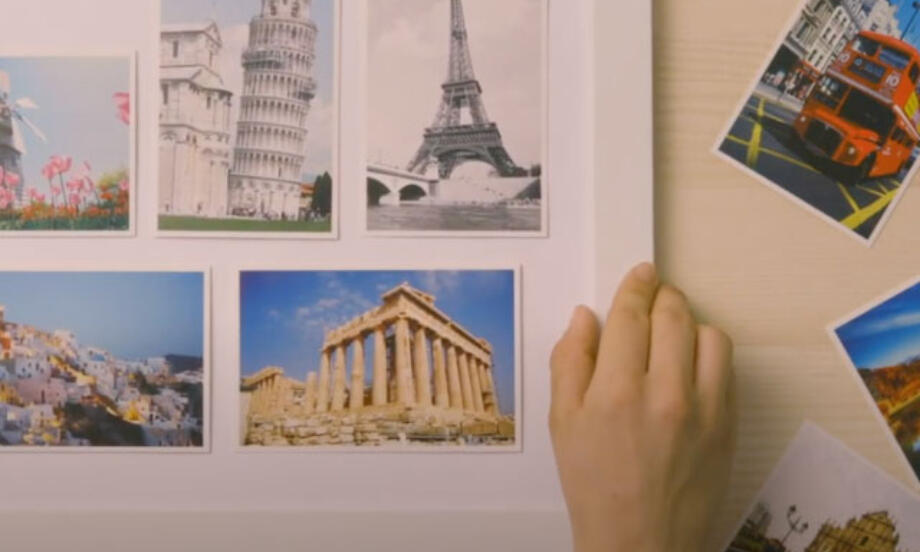
Easy Way To Display Your Photos Using Blu-Tack

Family tree project
How To Block Unnecessary Light With Blu-Tack
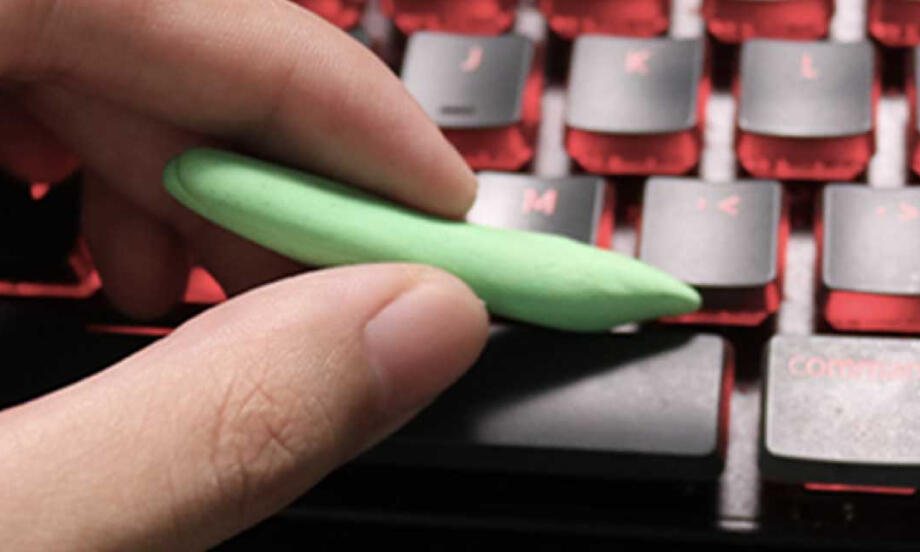
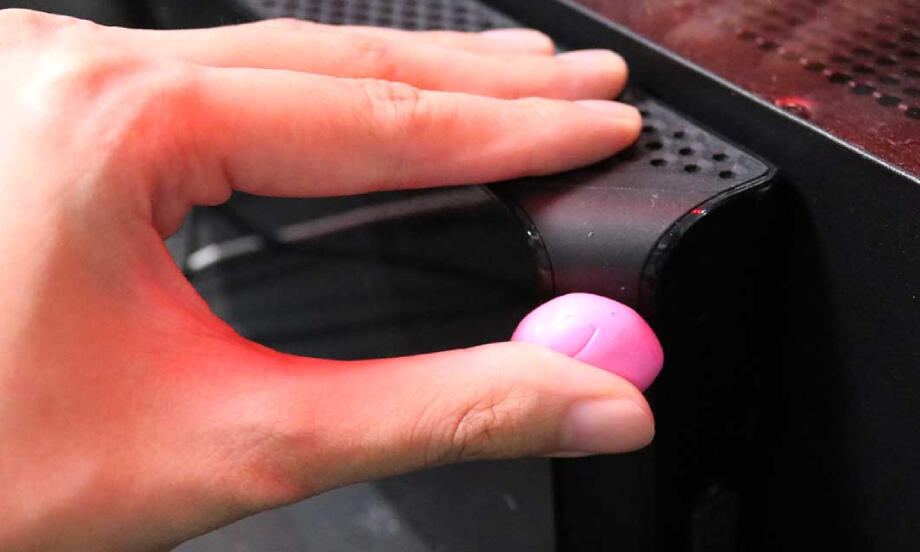
How To Clean Your Keyboard With Blu Tack

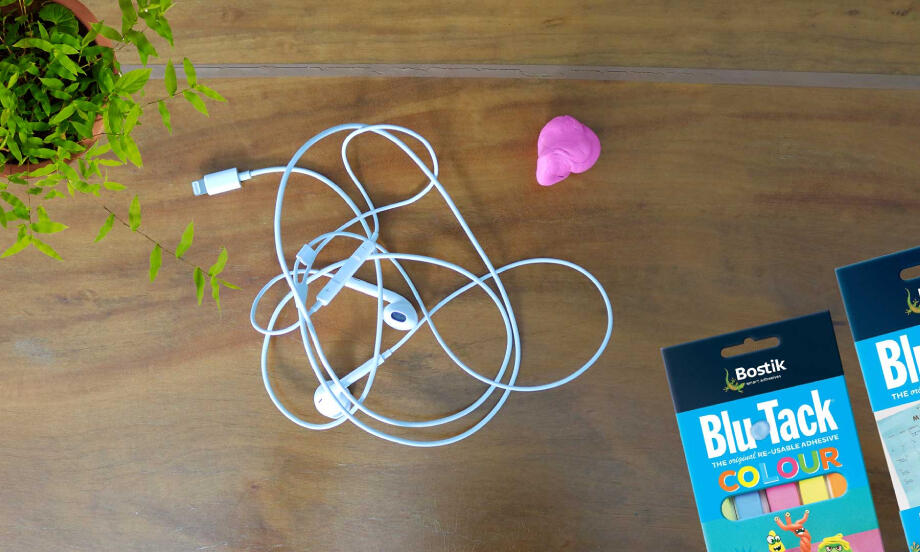
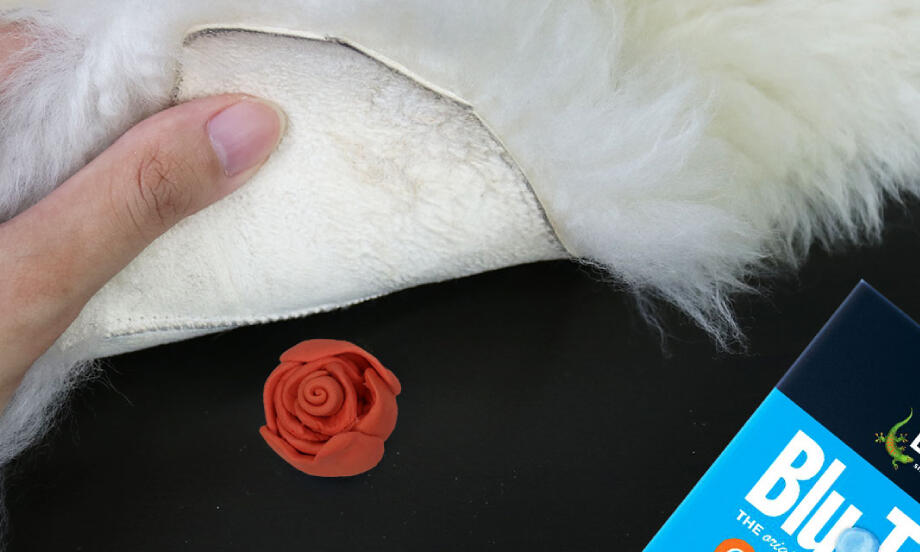
How To Create Mini Sculptures With Blu-Tack
How to do decorations with Blu Tack
How To Keep Your Floor Rugs In Place Using Blu-Tack
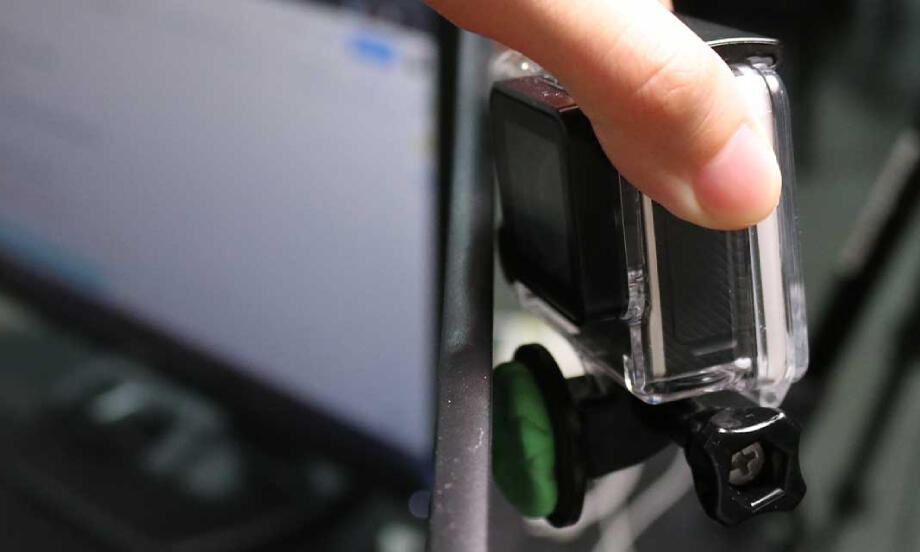
How To Mount Your Camera Using Blu-Tack
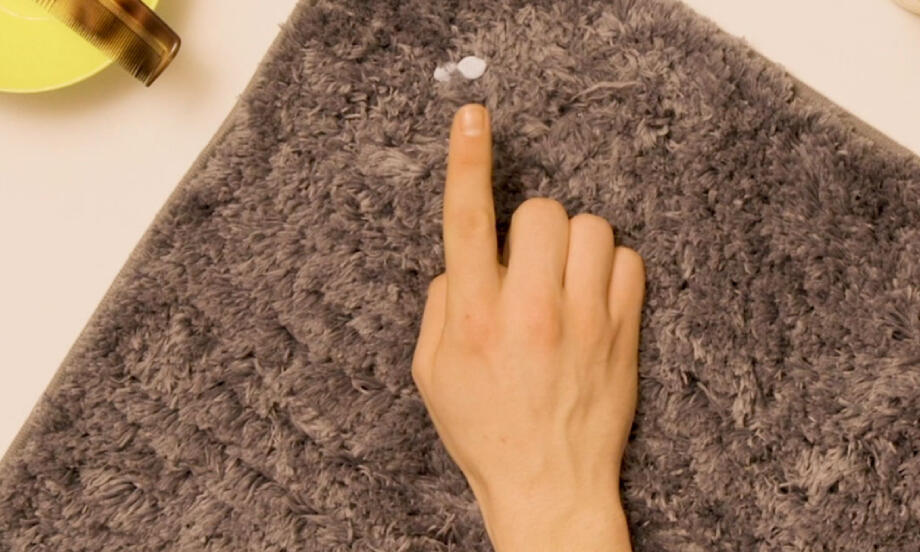
How to remove Blu Tack® from carpet
How to remove blu tack® stains from a wall