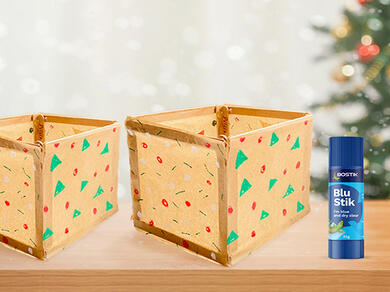
Main countries
  • 6-8 YEAR OLDS
  • Christmas

CHRISTMAS LANTERNS

Shine a light this Christmas with our Christmas Lanterns craft project 🎄

This project was made by our Bostik Buddy, Sonia - follow her on Instagram!

STEP 1: GETTING READY

Make sure you have everything you need and find a clean surface to work on.

STEP 2: MATERIAL PREPPING

Cut out 4 12cmx12cm baking paper squares. Plug in and turn on your loaded Bostik Glue Gun.

STEP 3: DECORATING 

Using the acrylic markers to decorate the 4 baking paper squares as desired (it doesn't matter which side you decorate). Allow to dry. 

STEP 4: FORMING SQUARES 

Lay 2 pop sticks vertically parallel to each other about 12cm apart. Using your Bostik Glue Gun glue a pop stick horizontally across the top tips of the vertical pop sticks. Repeat for the bottom tips.

This should form a pop stick square, repeat to form a total of 4 pop stick squares.

STEP 5: COVERING THE SQUARES 

Using your Bostik Blu Stik / Glu Stik / Green Stik, glue the decorated baking paper sides down to the sides of the pop stick squares. Make sure you’ve glued the undecorated side down, so the decorated side faces upwards. Cut any excess baking paper that hang off the pop stick square edges.

Repeat for the 3 other pop stick squares. 

STEP 6:  ATTACHING THE SQUARES 

Take 1 pop stick square and glue along 1 side to another pop stick square side using the Bostik Glue Gun. Repeat this for the other pop stick square. You should now have 2 party lantern corners. Allow the glue to dry. 

STEP 7: FINAL TOUCHES

Using your Bostik Glue Gun, glue along the side on 1 party lantern corner to the side of the other party lantern corner. Glue together the other 2 sides. Allow to dry.Â