How to use a hot glue gun: step-by-step guide
Glue guns are a handy tool for craft projects, hobbies, and quick household repairs. From DIY decorations to fixing broken items and tackling everyday projects, our step-by-step guide will help you use the Bostik Hot Melt Glue Gun.
What to do before you start glueing
If you’re looking for how to use a hot glue gun, the Bostik HG3 Hot Melt Glue Gun makes DIY projects, household repairs, school assignments, and creative tasks simple and convenient. Designed for easy application, this hot glue gun helps you bond a wide range of materials quickly and cleanly. Follow these step-by-step instructions to get started safely and achieve reliable results every time.
- Fit the metal stand into the slots near the nozzle at the front of the Bostik HG3 Hot Melt Glue Gun.
- Insert a Bostik Hot Melt Glue Stick through the grip ring at the rear of the glue gun.
- Press the trigger several times until the glue stick is securely positioned inside the gun.
- Plug in the hot glue gun, a light at the rear will illuminate to show that the unit is operating.
- Place the glue gun on its stand and allow it to heat up for approximately five minutes before use.
How to use a hot glue gun for stronger bonds
Getting the best results from your hot glue gun starts with proper preparation and correct application.
Step 1: Prepare your surfaces
Before using your hot glue gun, make sure both surfaces are clean, dry, and free from dust, grease, or debris. For best adhesion, surfaces should be at room temperature, as cold materials can cause the hot melt adhesive to cool too quickly and reduce bond strength.
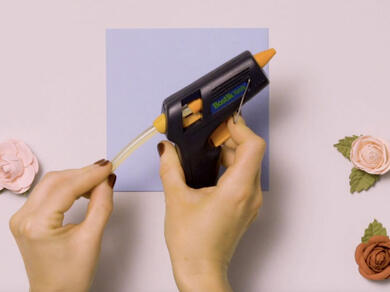
Step 2: Apply the hot glue
Press the trigger gently until glue begins flowing from the nozzle. Apply the adhesive to the surface that is typically harder to bond smooth materials such as metal, ceramics, and some plastics often require adhesive first, while rough or porous surfaces usually bond more easily.
There’s no need to spread the glue manually. For foam materials, apply the adhesive in an “S” pattern to the surface rather than directly onto the foam. For fabric projects, use a smaller “S” pattern to improve hold.
Step 3: Join materials quickly
Once the adhesive has been applied, press the surfaces together as quickly as possible for the strongest bond. Hot melt glue begins cooling immediately, so working quickly helps deliver better adhesion. Apply firm pressure while the glue sets.
Step 4: Reload your glue gun
To maintain a continuous flow of adhesive, insert another glue stick into the back of the gun when needed. Allow a few minutes for the new stick to heat properly before continuing. Avoid forcing the trigger, as this may clog the gun.
After using your hot glue gun
Turn off and cool down
Once your project is complete, switch off and unplug your Bostik hot glue gun. Allow it to cool completely before storing it safely. Always leave the glue stick inside the gun — removing it from the rear may damage the unit.
Remove excess glue
Small drops of dried glue can be carefully scraped away once cooled. Any remaining adhesive can be softened and removed from most surfaces using a warm knife. Always test delicate surfaces first, as hot glue or cleaning methods may cause damage.
Allow maximum bond strength
Hot glue sets quickly once cooled and becomes dry and hard. For heavier applications or important repairs, allow your bonded items to sit for a few hours to achieve maximum adhesion.

Need-to-know: Bostik Hot Glue Gun range
Bostik Mini Hot Melt Glue Gun
The Bostik Mini Hot Melt Glue Gun is designed for arts and crafts, hobby projects, home décor, and light household repairs. Its compact design fits comfortably in your hand and features easy trigger action for controlled glue application. When paired with Bostik Mini Glue Sticks, it bonds fabric, wood, leather, most plastics, ceramics, and metal quickly and cleanly.
Bostik HG3 Hot Melt Glue Gun
The Bostik HG3 Hot Melt Glue Gun is built for larger DIY projects, household repairs, craft work, and home improvement tasks. Designed to work with Bostik HG3 Glue Sticks, it delivers fast, clean adhesion across materials including wood, leather, fabric, ceramics, metal, and most plastics. Its easy-load design and trigger action make it a reliable choice for frequent users.
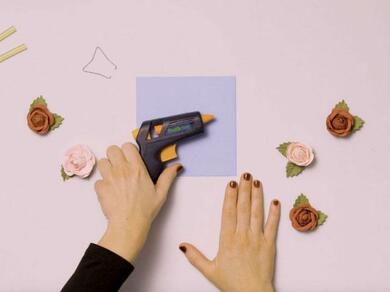
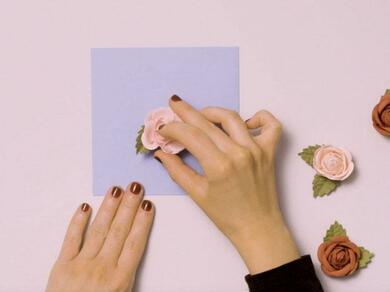
Hot Glue Gun craft ideas
Looking for creative ways to use your hot glue gun? Check out these ultra-simple ideas for some new ways to use your Bostik Hot Melt Glue Gun, or take a look at our other craft projects.
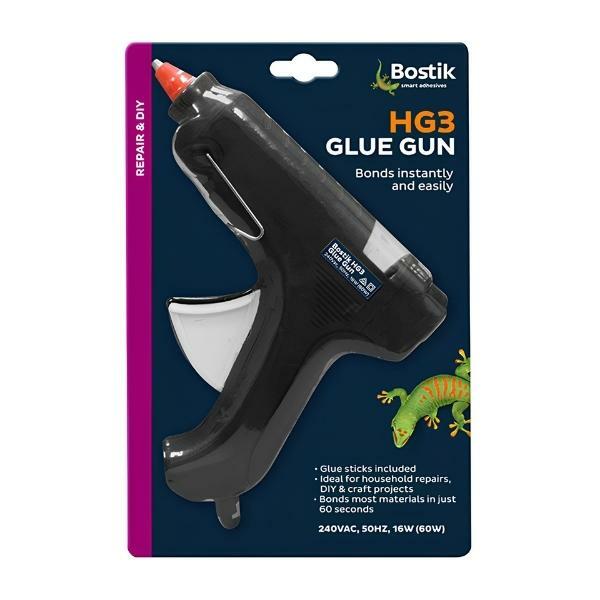
HG3 HOT MELT GLUE GUN
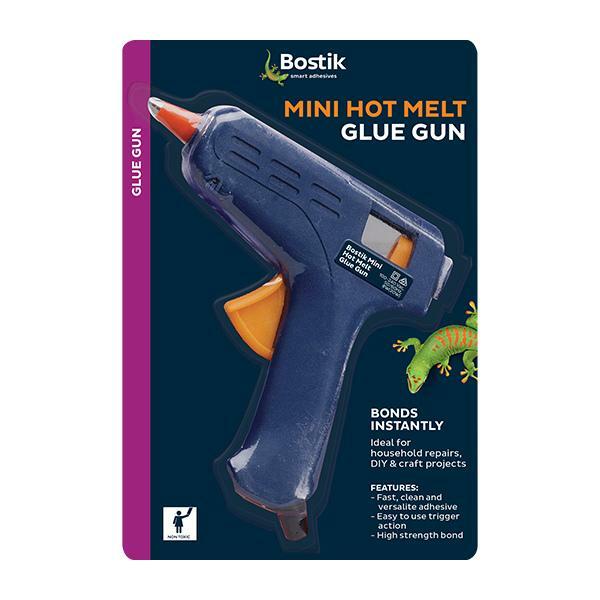
MINI HOT MELT GLUE GUN
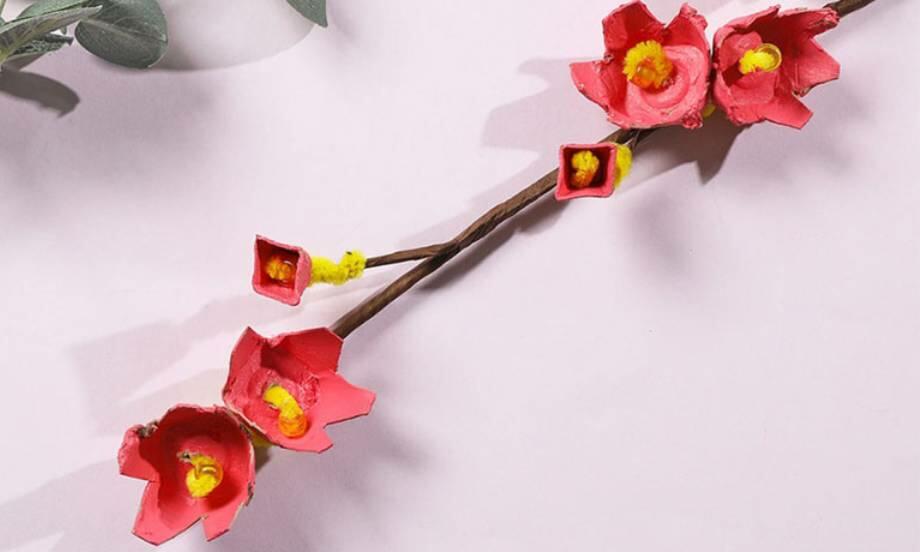
Cherry Blossom Branch
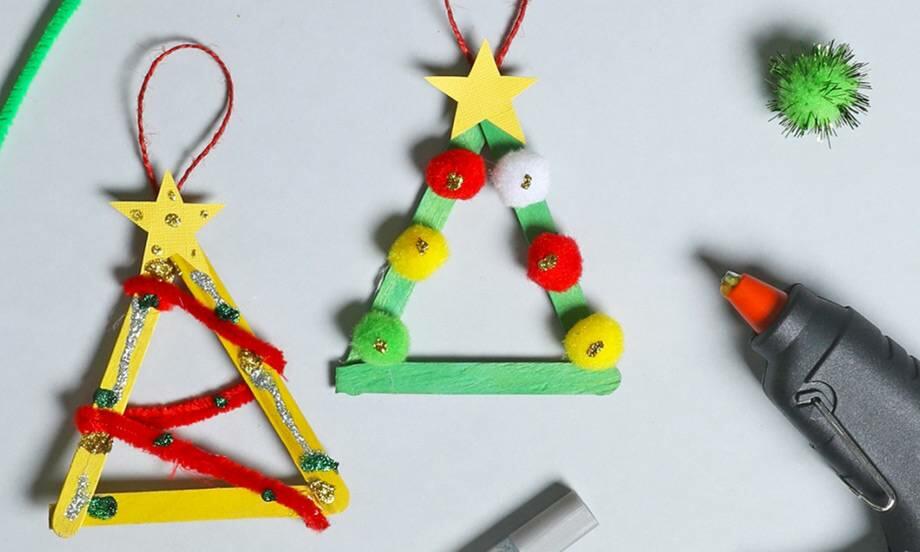
Christmas Tree Ornaments
DIY solar oven
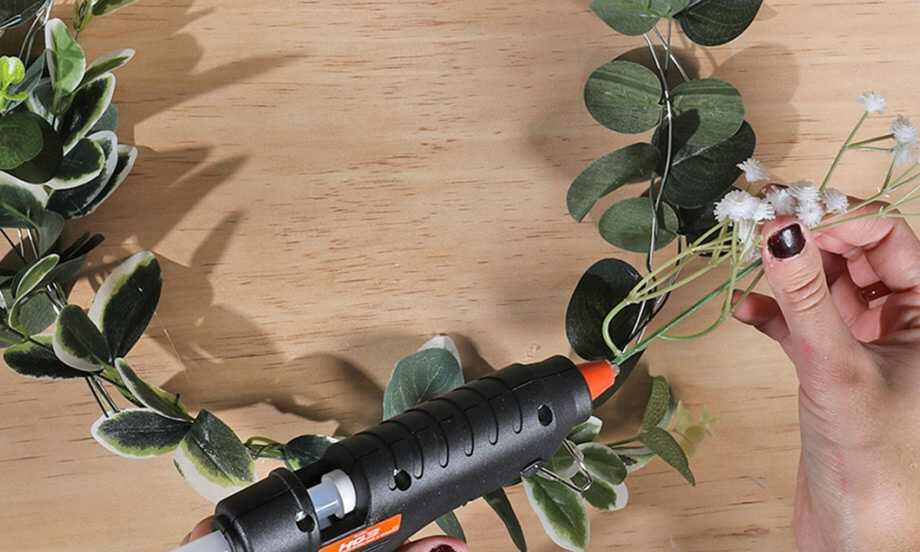
DIY wreath
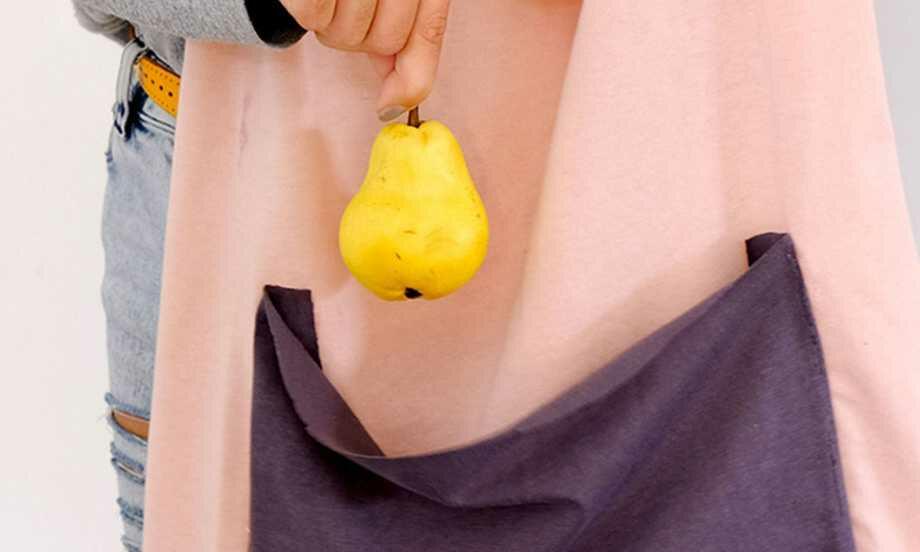
Eco Bag
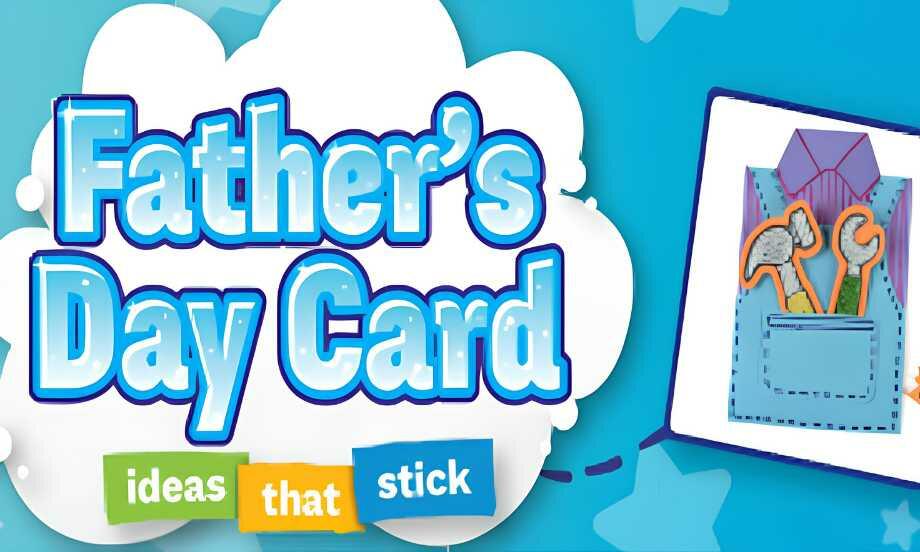
Father's day tradie card

Recycled Vase
How to remove super glue from clothes