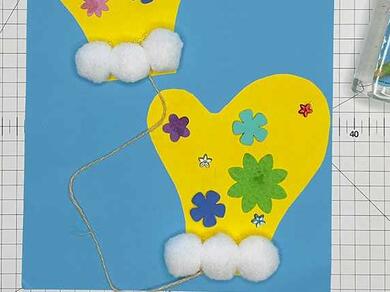
Winter mitten craft
Create a cozy, seasonal keepsake with this DIY Winter Mitten Craft🧤! Draw and cut mitten shapes from colorful cardstock, then stick them onto your background using Bostik Glue Stick. Decorate freely with craft shapes like stars or hearts using Bostik Paper Glue for a strong, clear finish. Add fluffy cotton ball trims at the mitten tops and attach a string for hanging—making this charming design perfect for winter décor or festive kid-friendly craft sessions! ❄️
Instructions
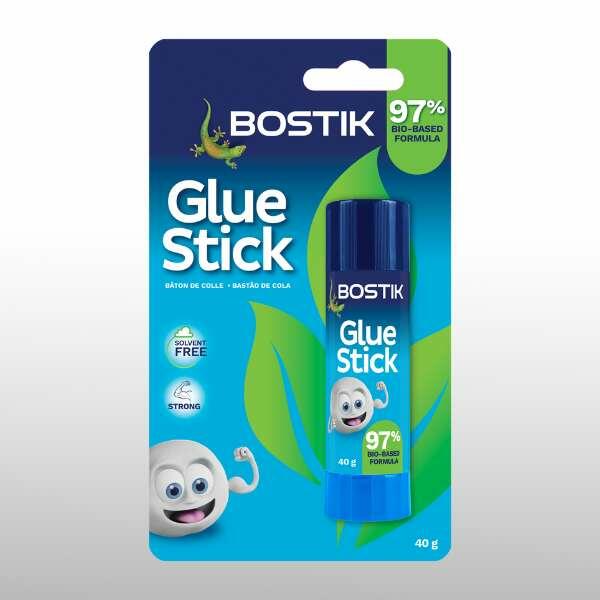
GLUE STICK
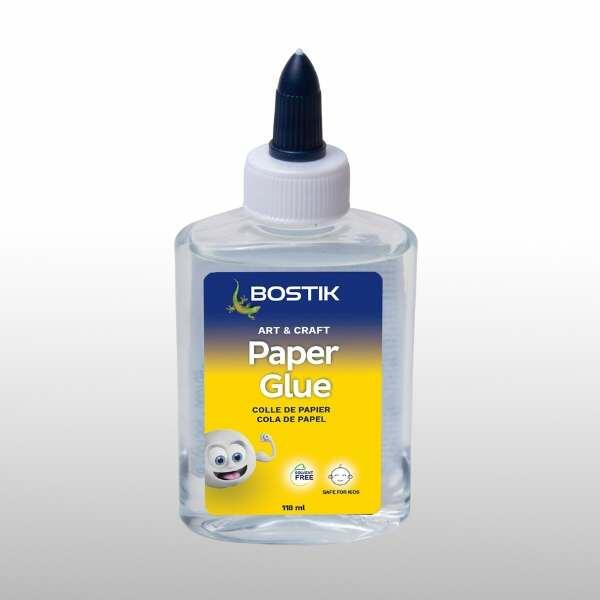
PAPER GLUE

CUT 'N PASTE
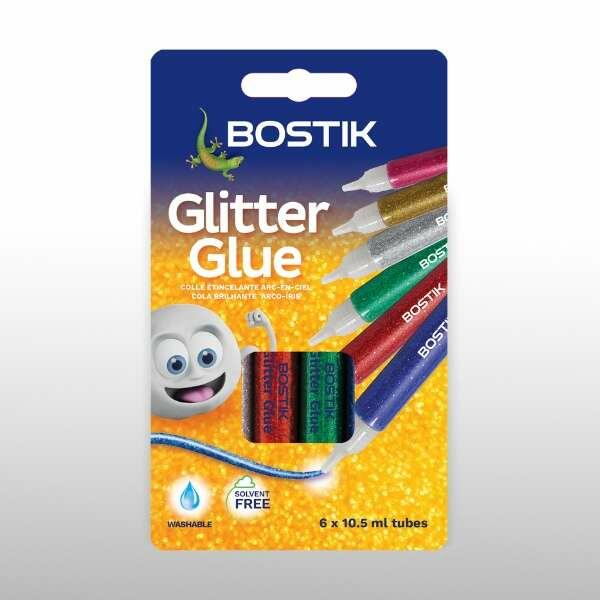
RAINBOW GLITTER GLUE

Christmas jolly gift tags
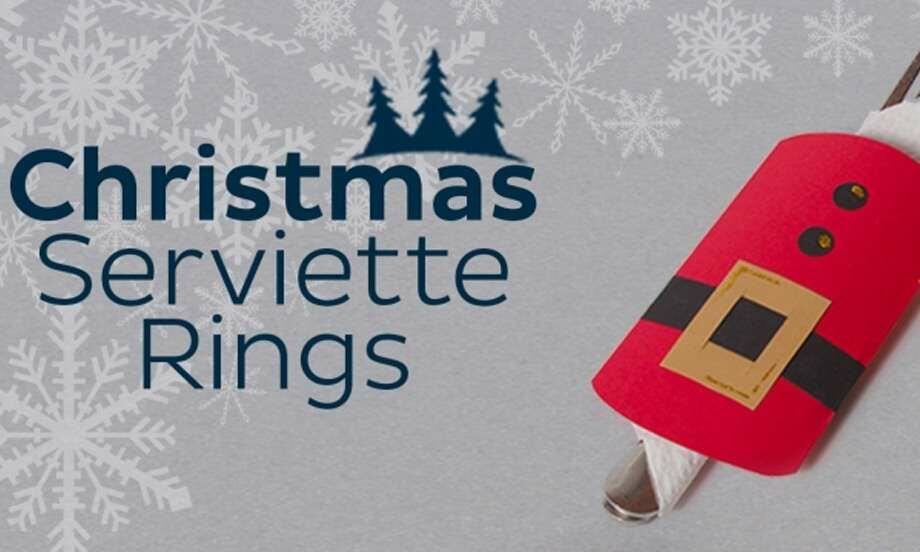
Christmas serviette rings

Christmas unicorn baubles

Snowman
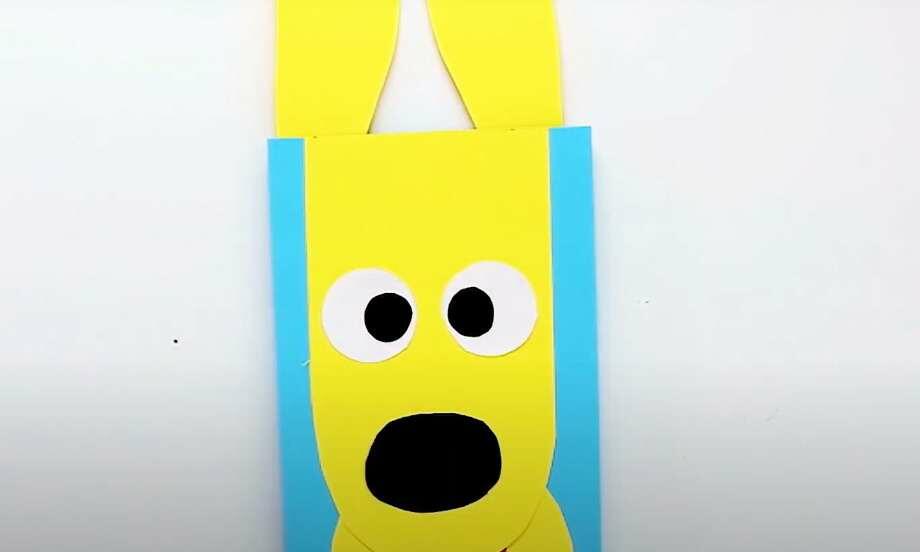
Animated paper dog

Best Dad in the world award
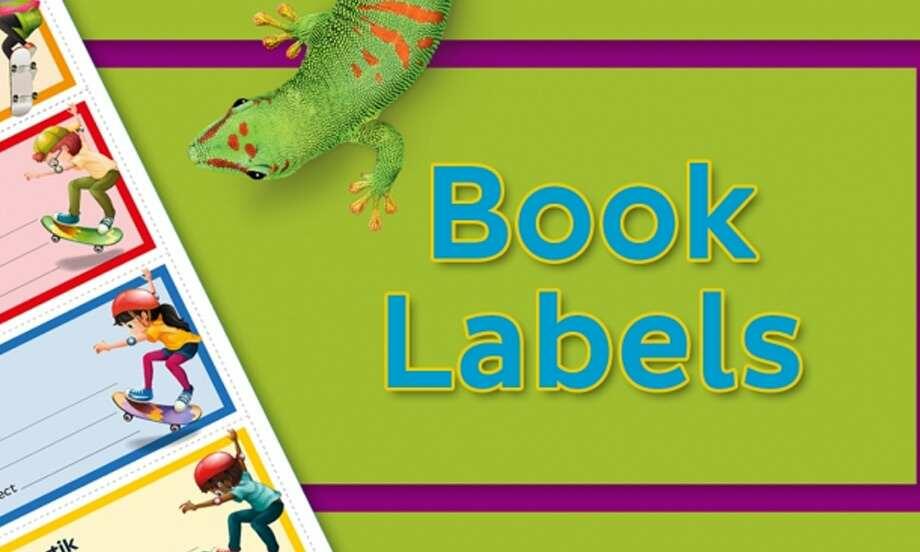
Book labels
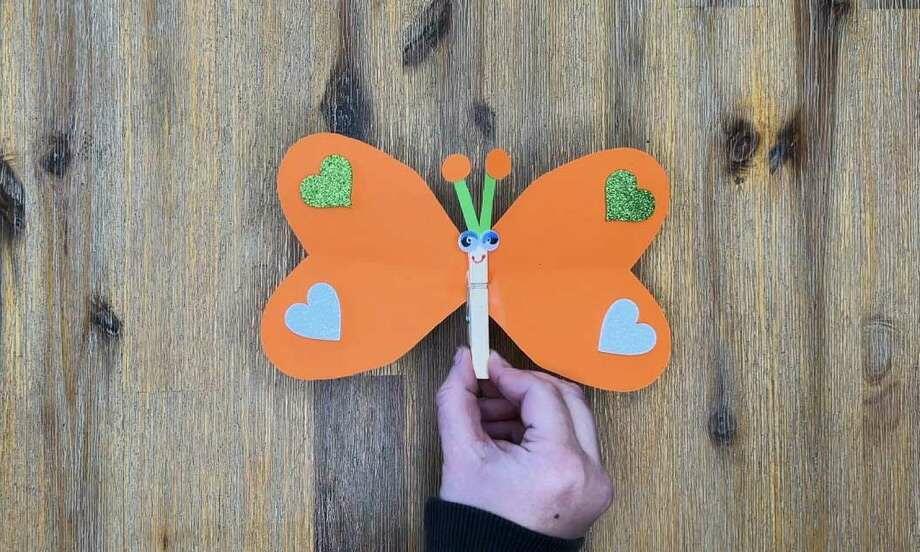
Butterfly craft
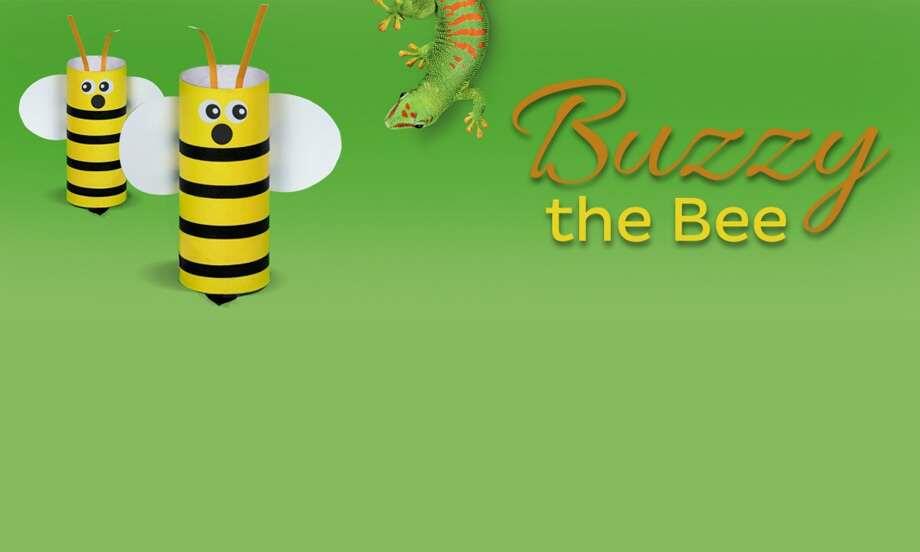
Buzzy the bee
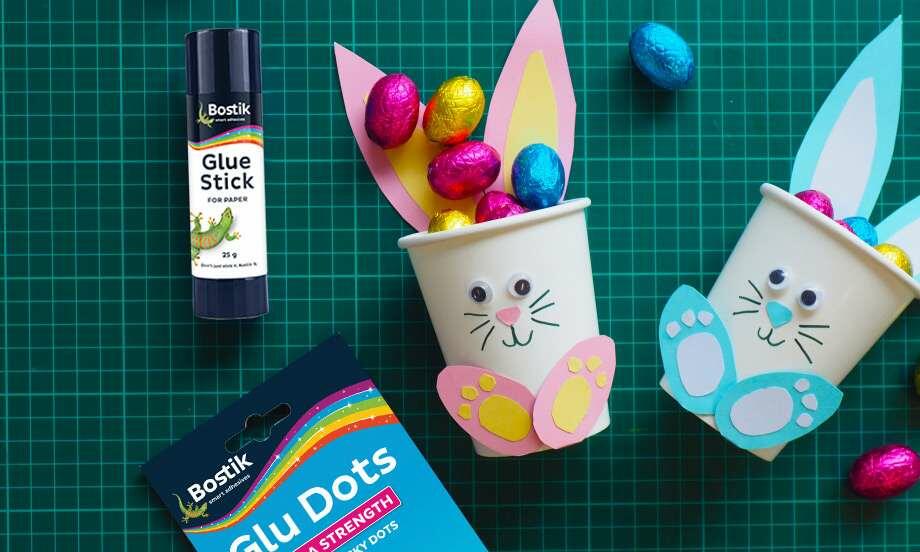
Easter cup bunnies

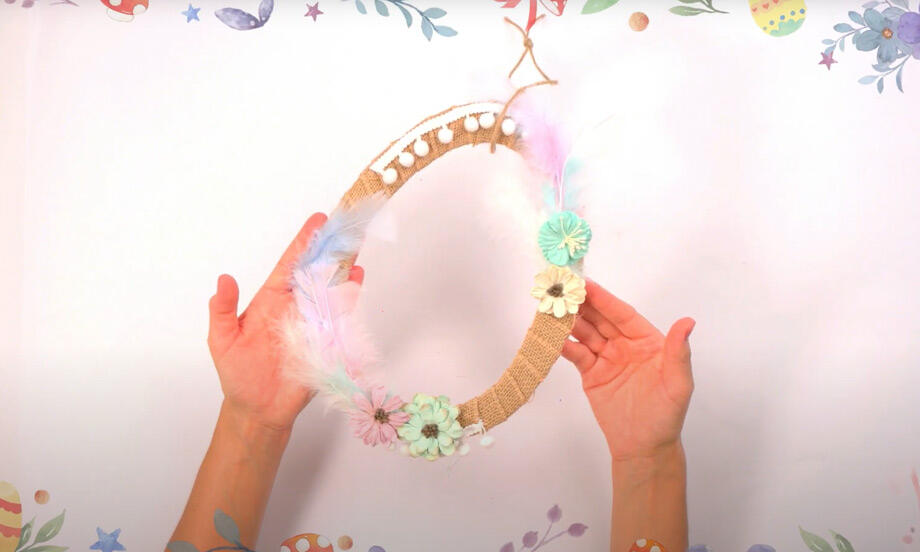
Easter garland

Emoji door hangers

Family tree

Halloween bats
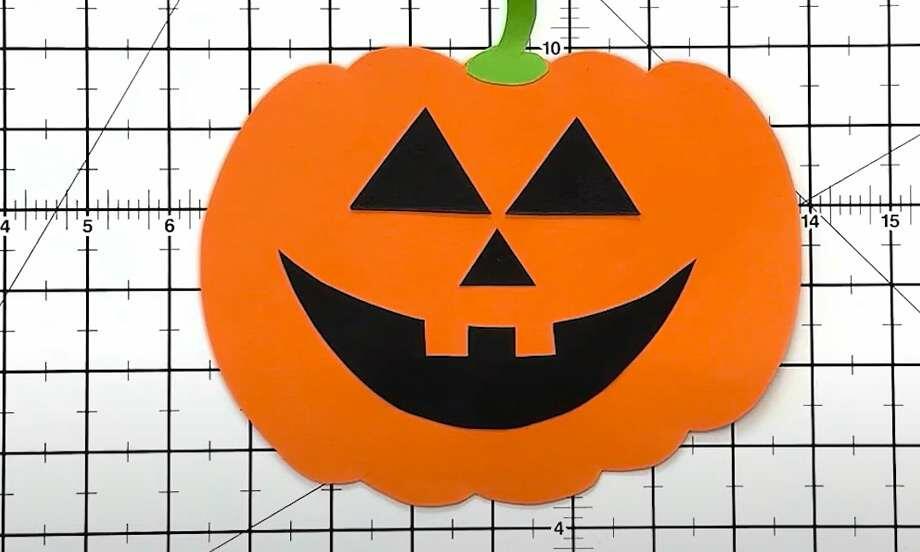
Halloween decoration pumpkin craft
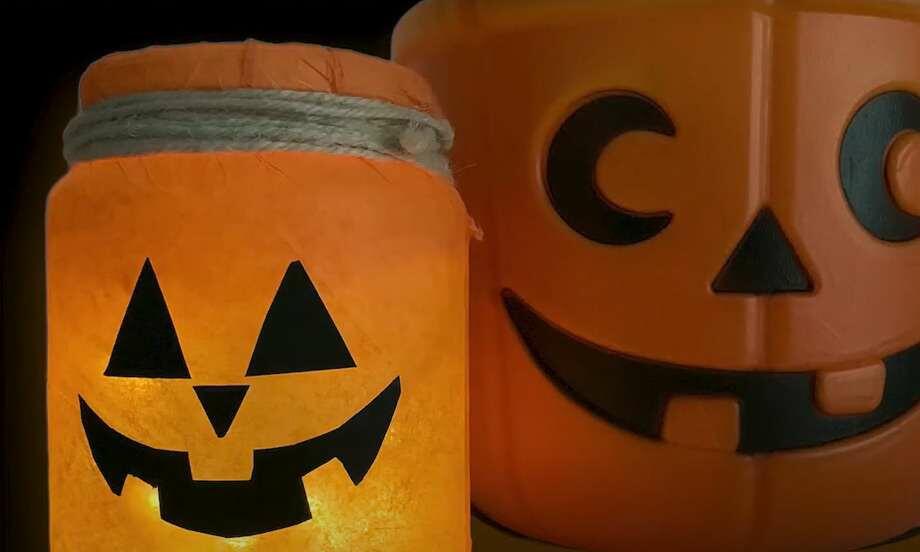
Halloween lantern
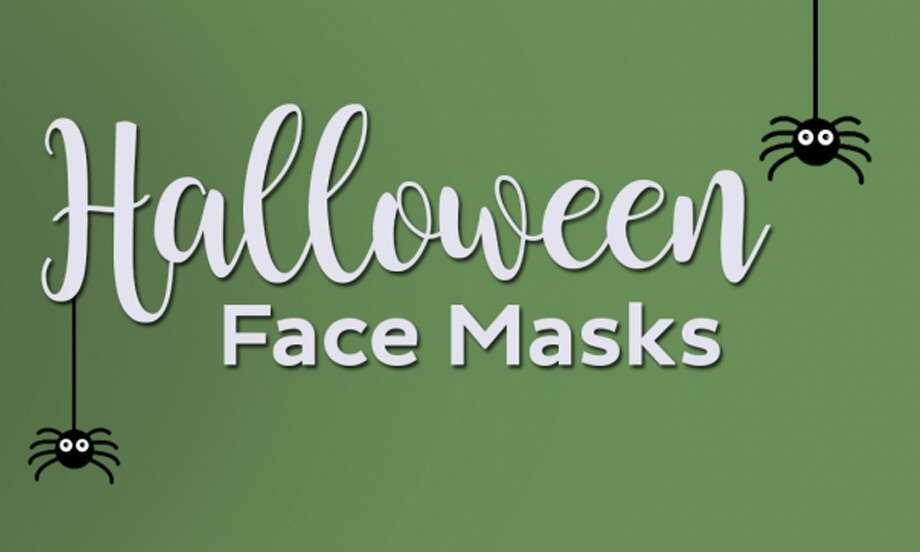
Halloween masks
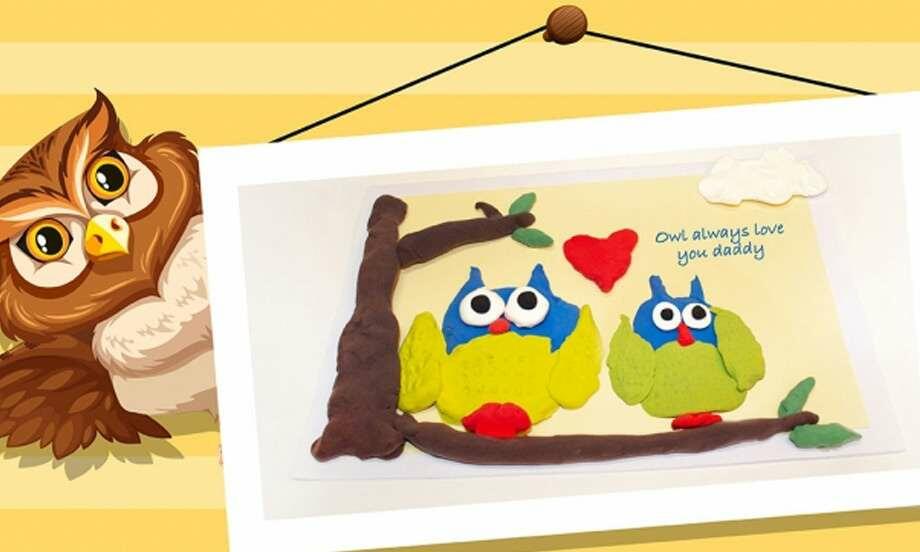
Handmade Father's day owl card
How to make a decorative easter egg
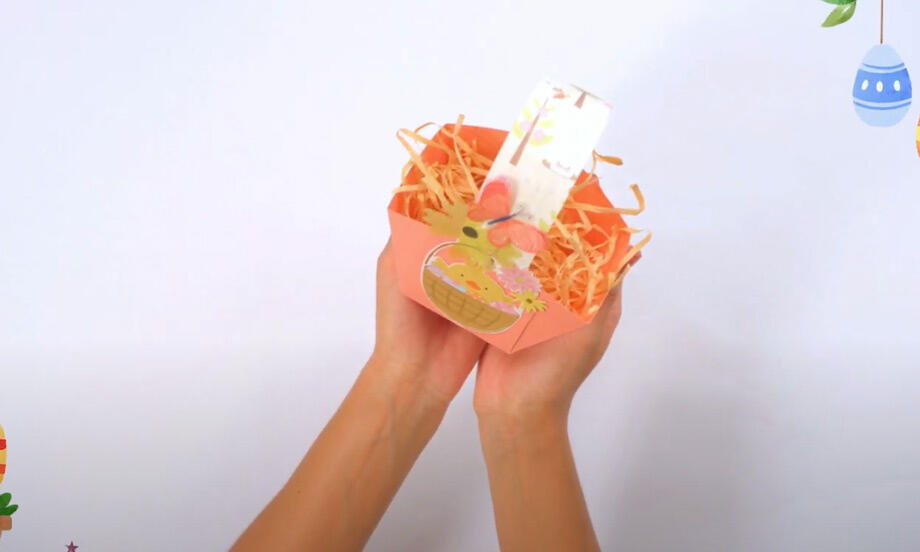
How to make an Easter basket
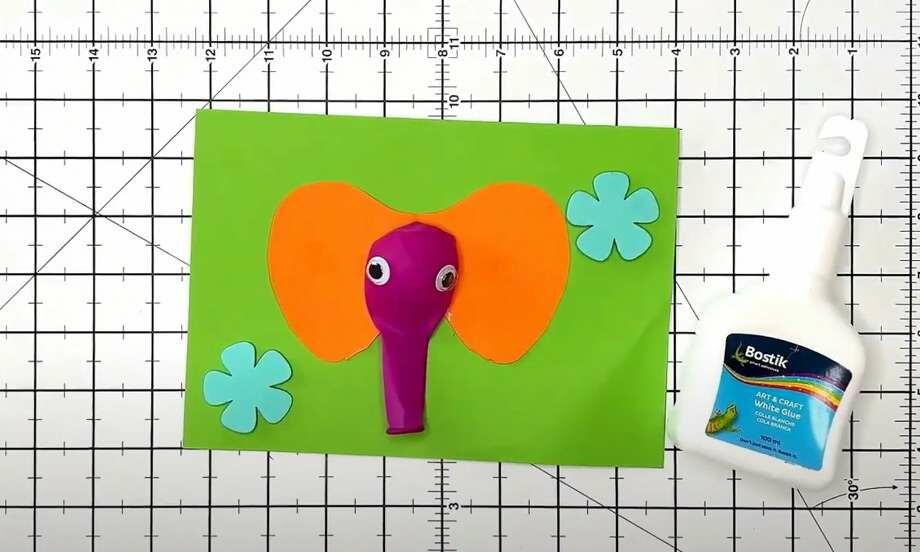
How to make an elephant greeting card
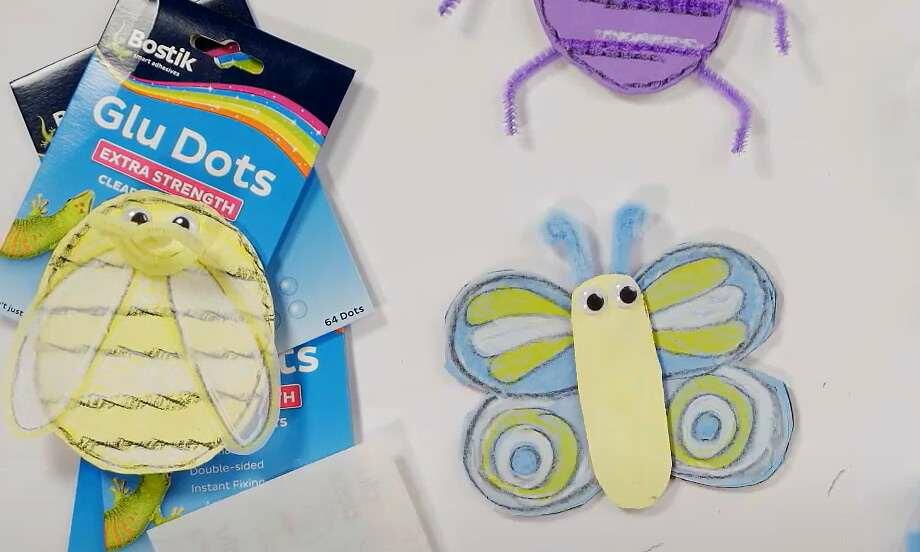
How to make craft bugs
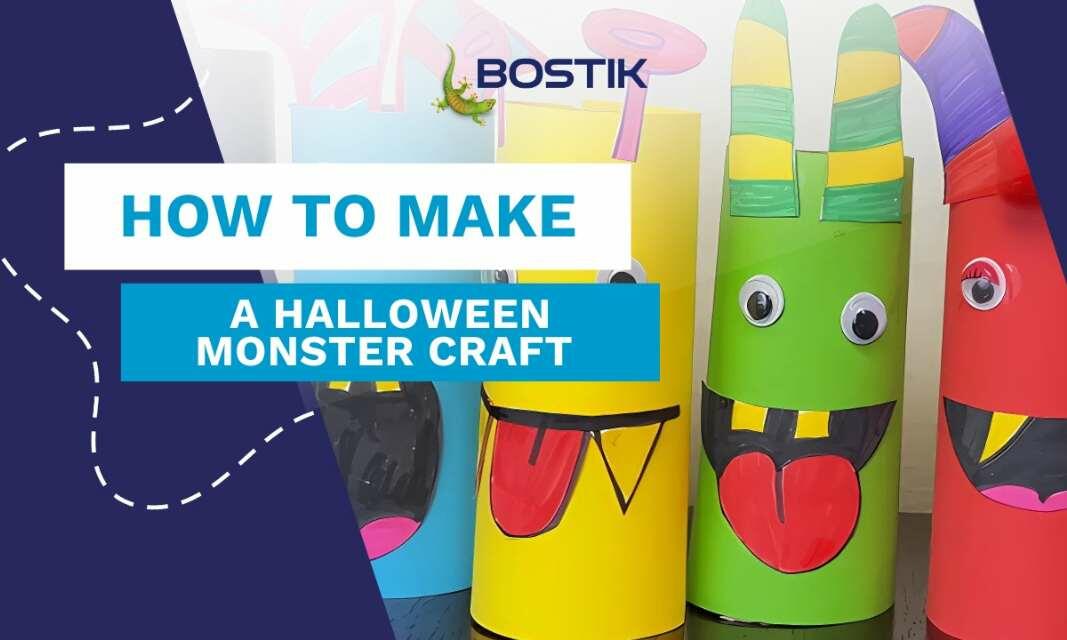
How To Make Monster Crafts for Kids Halloween
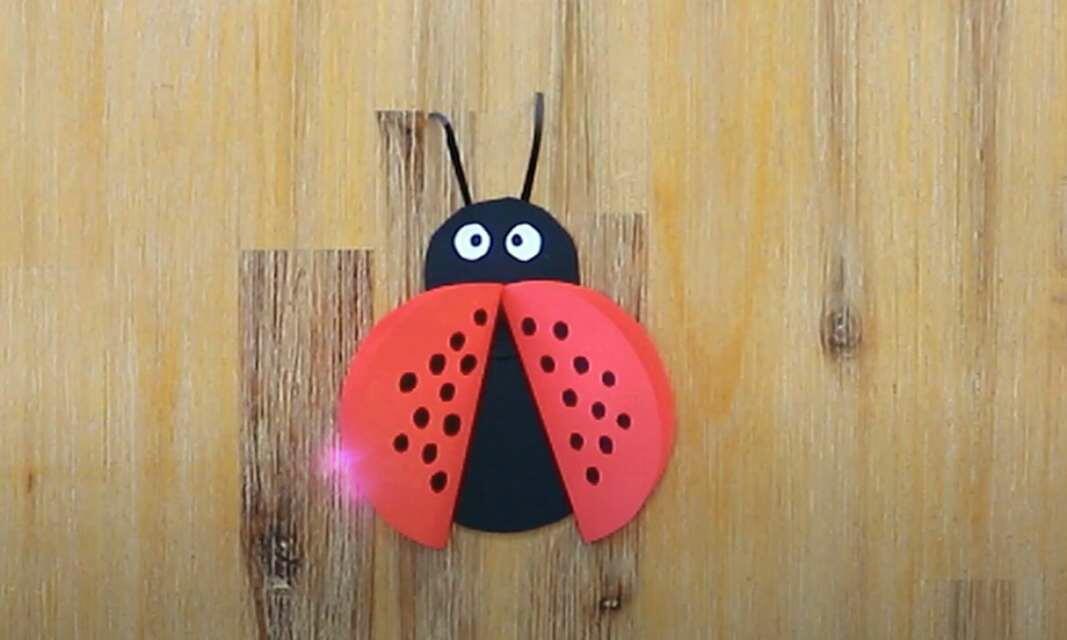
Ladybug
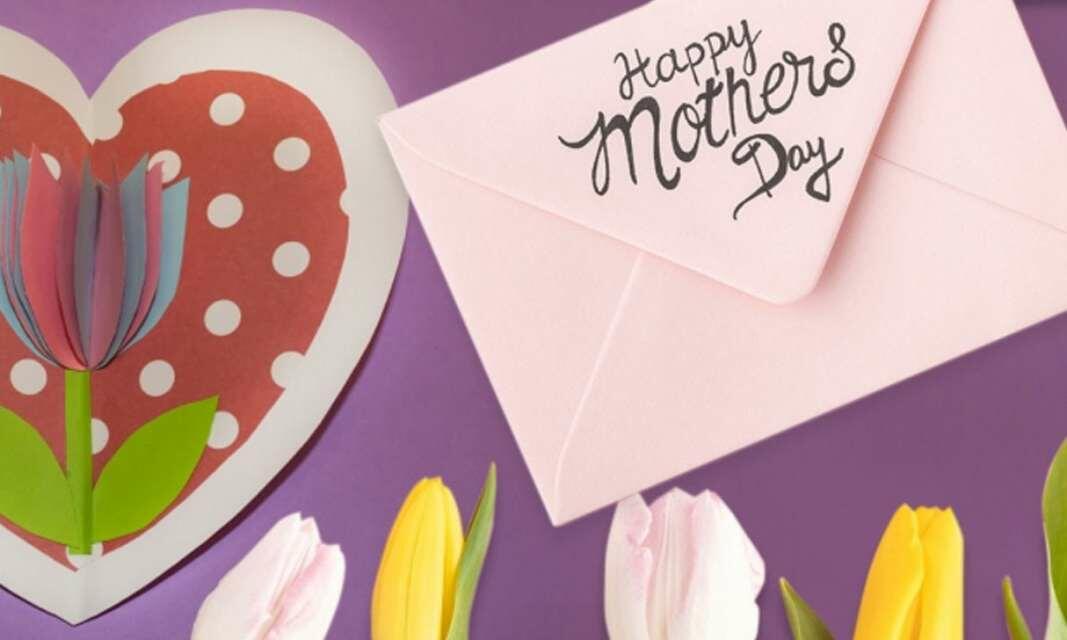
Mother's day card
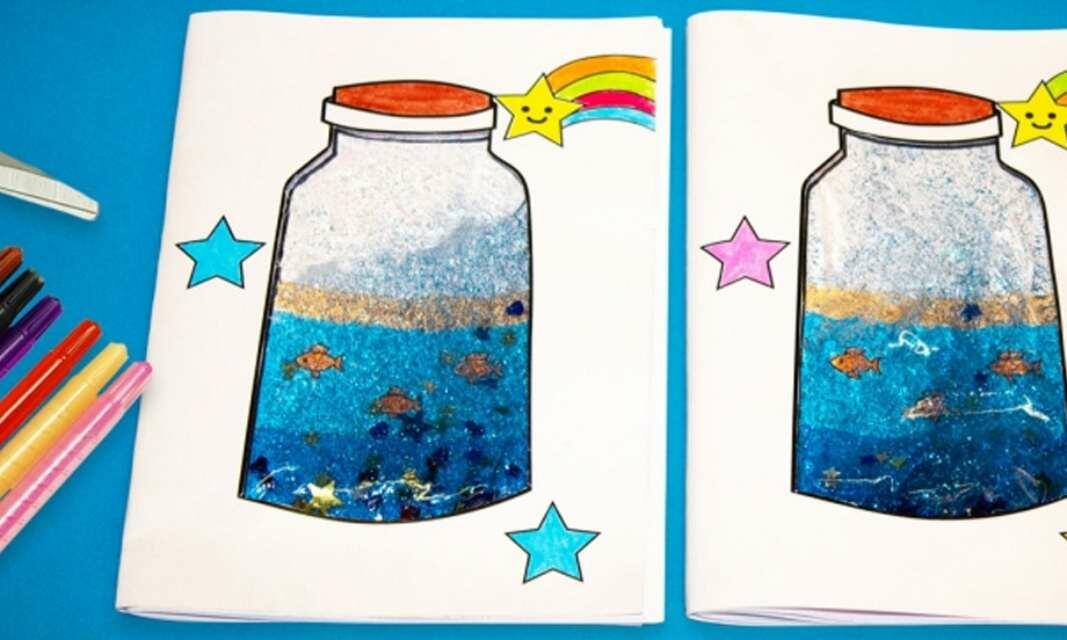
Ocean notebook
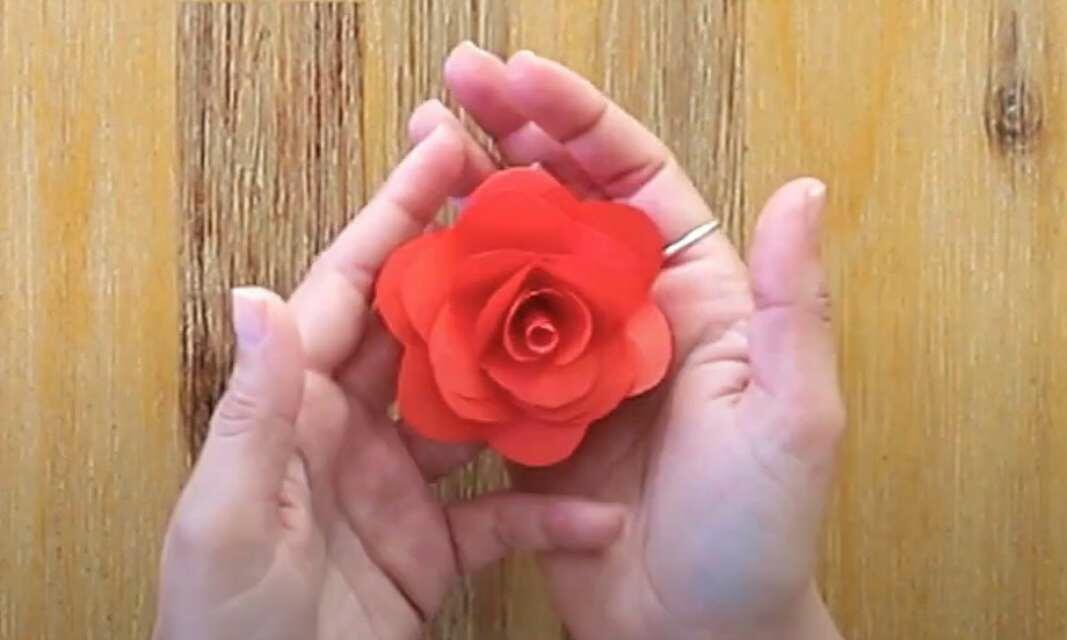
Paper rose
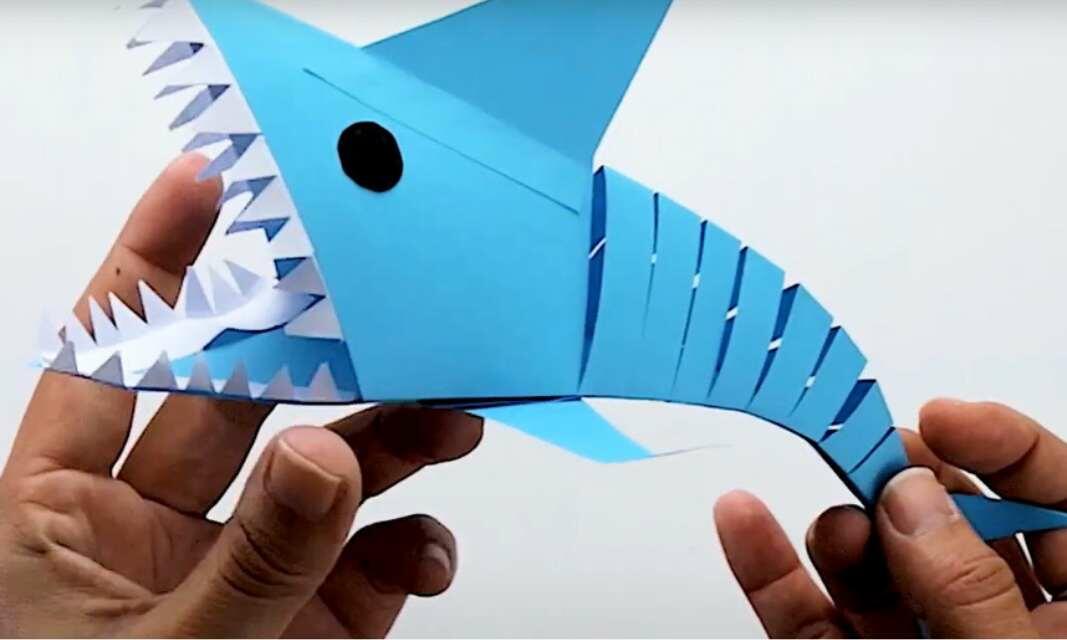
Paper shark
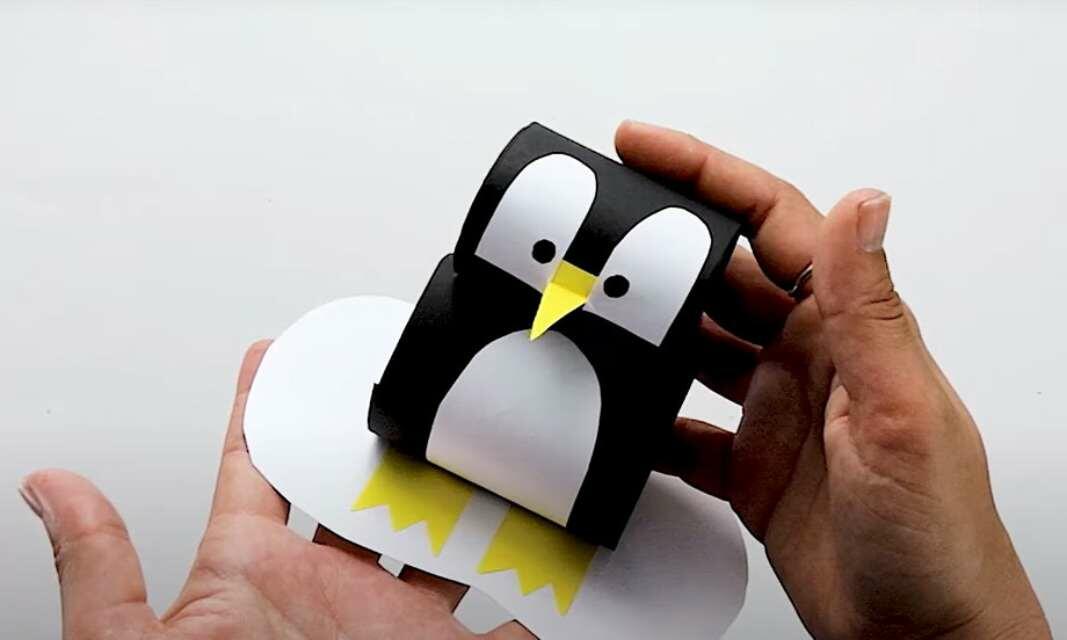
Penguin
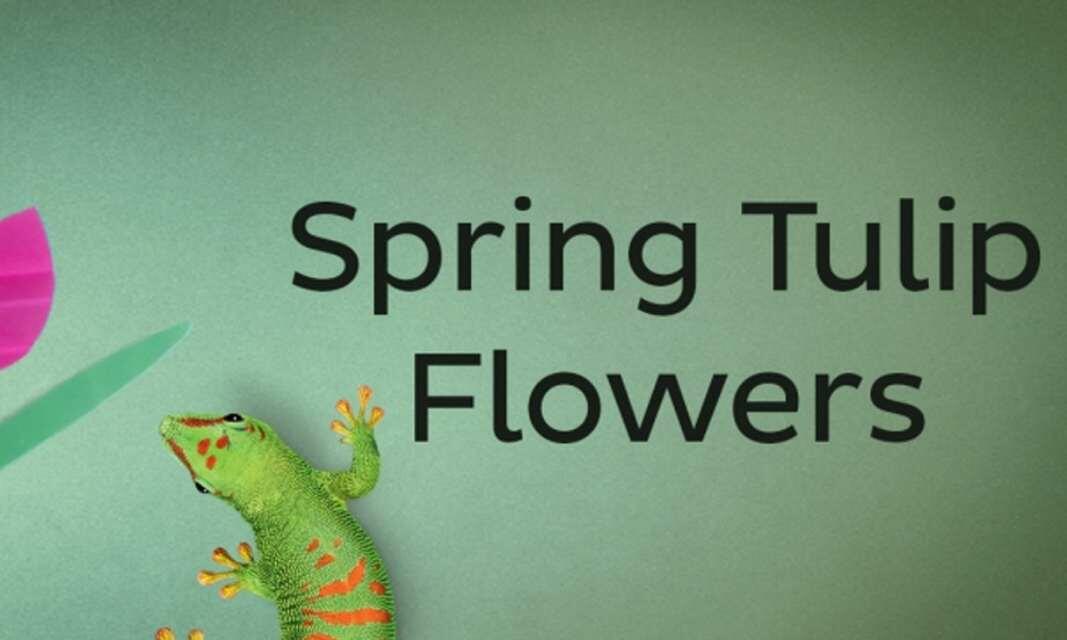
Spring Tulip
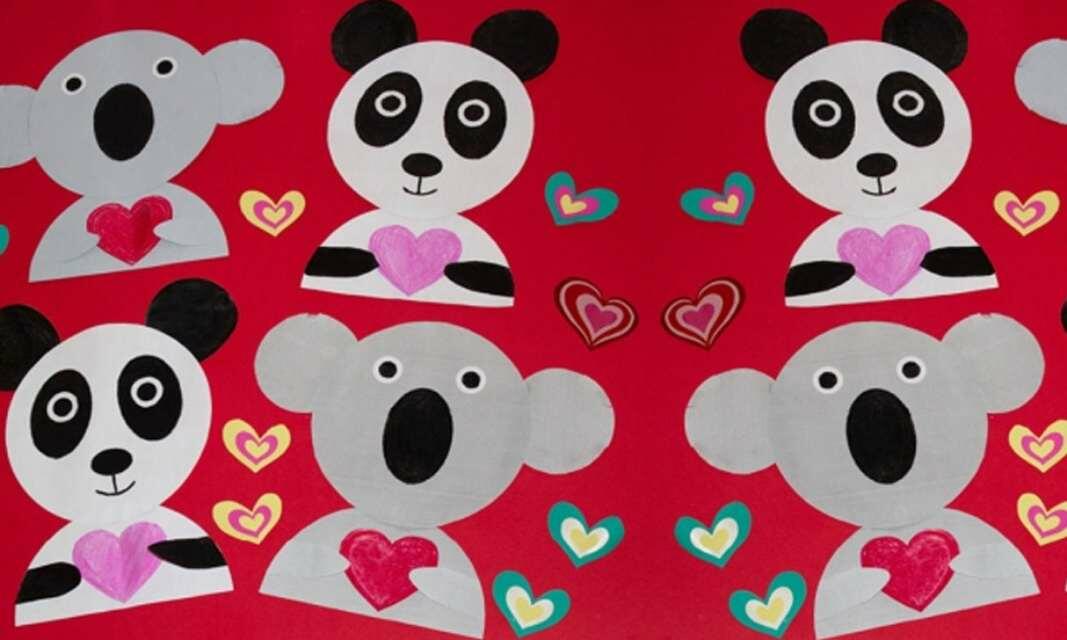
Valentine's day animals

Wedding jam jars

Wedding match boxes