Sew simple pencil bag
Transform old jeans into something stylish and practical with this DIY upcycled denim pencil bag! 👜 Use Bostik Sew Simple adhesive to bond the fabric—no sewing needed—then insert a zip and add any final personal touches for a custom look. It’s a smart and eco-conscious craft that every school kit needs. Creative, functional, and sustainable: this project is a fun way to give old clothes new life. ♻️

Instructions
SEW SIMPLE
GLUE STICK
NEON TWISTERS
WAX TWISTERS

Best Dad in the world award

Book labels
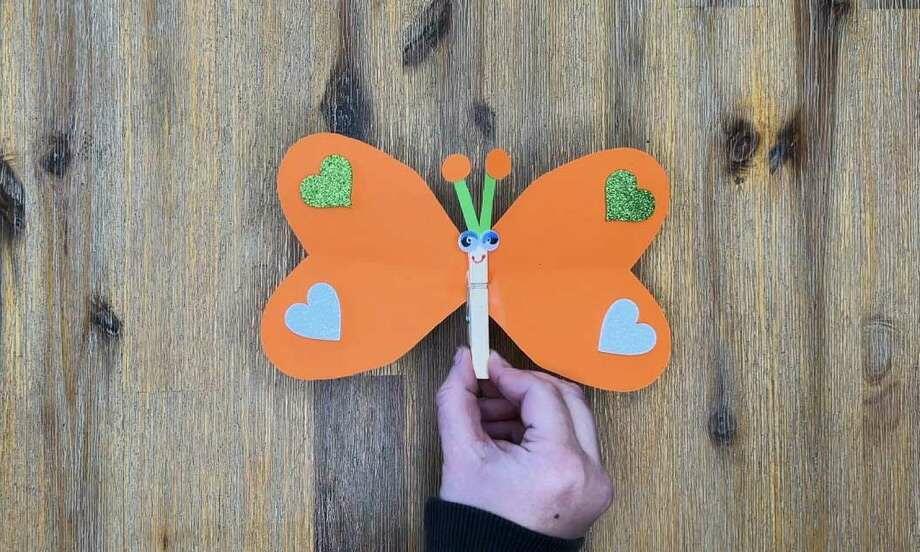
Butterfly craft

Buzzy the bee

6 Easy glitter glue craft ideas

Christmas unicorn baubles
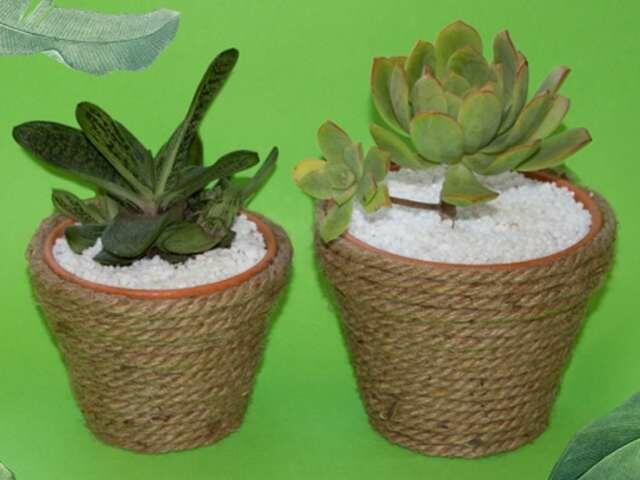
DIY upcycled planter pots

DIY wooden peg trivet
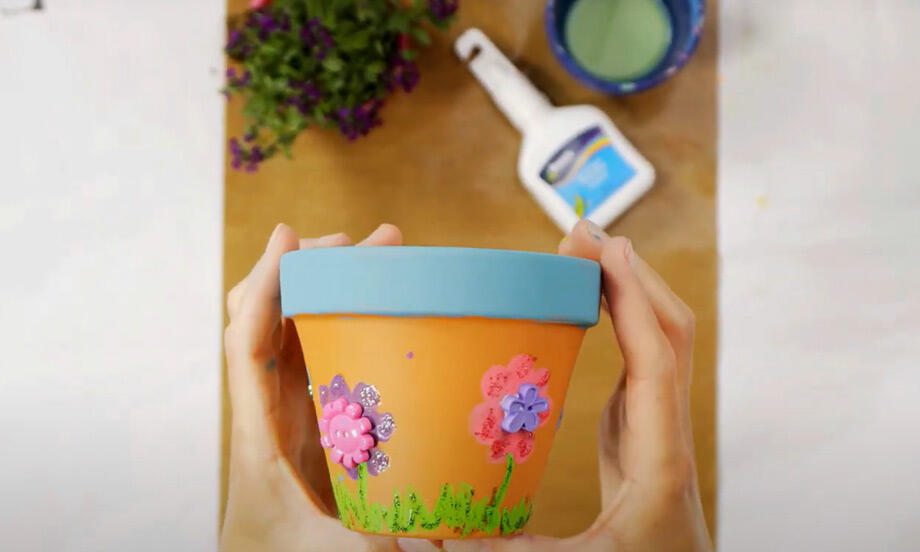
Flower pot decoration

How to Fix a Unicorn Headband with Bostik Sew Simple
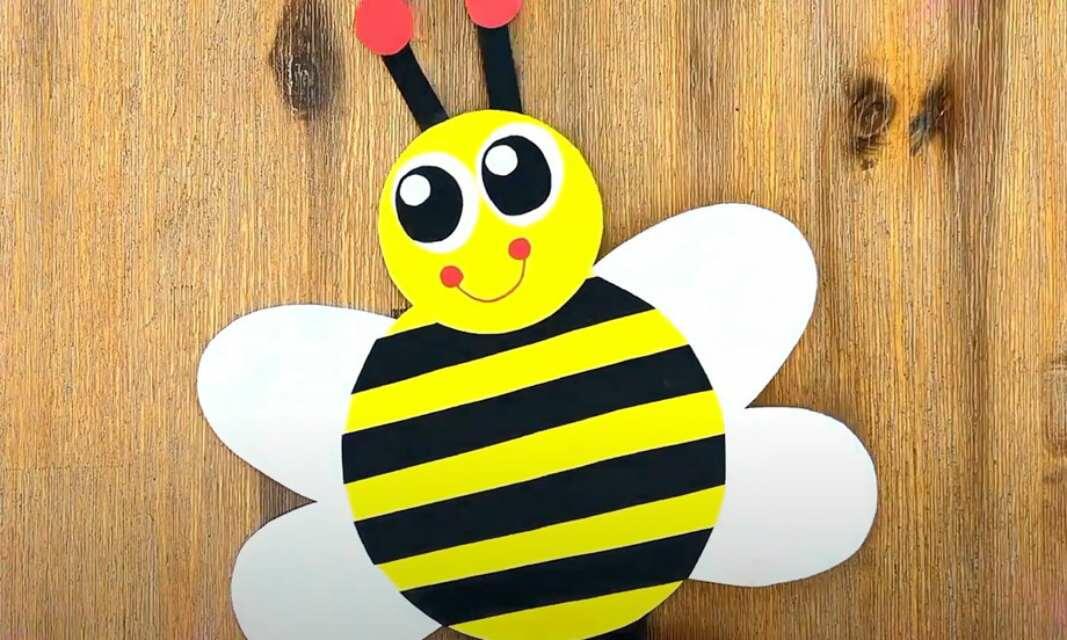
How to make a bumblebee craft: a fun DIY activity for kids
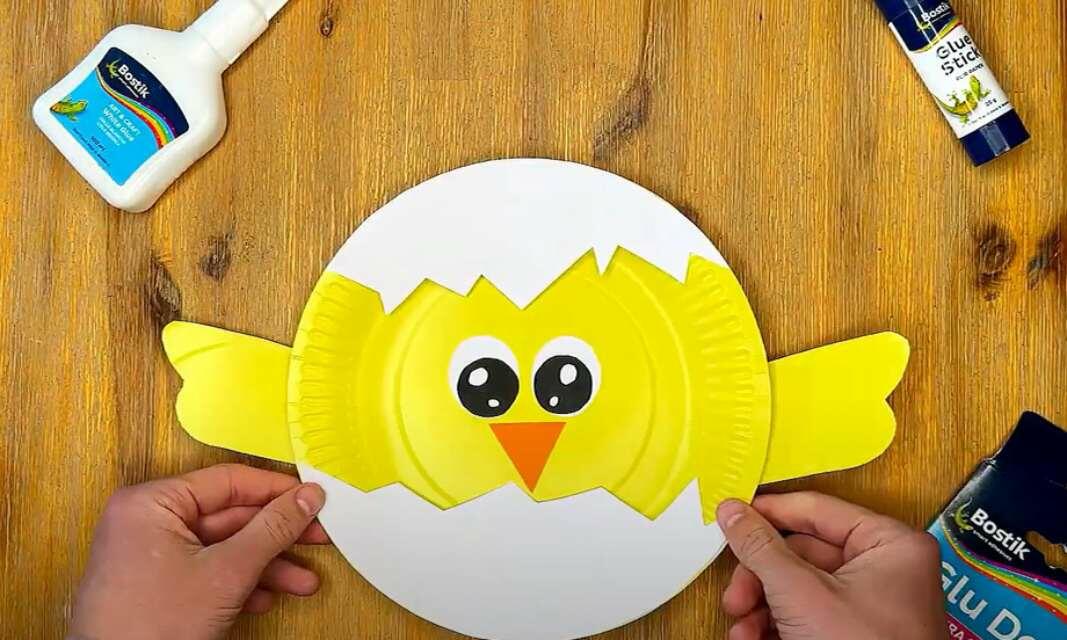
How to make a spring chicken
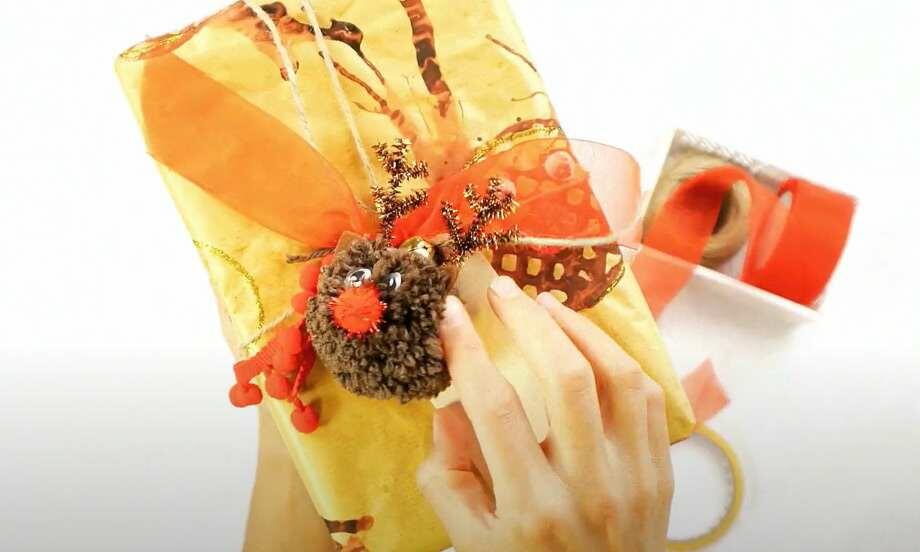
How to make gift wrapping paper
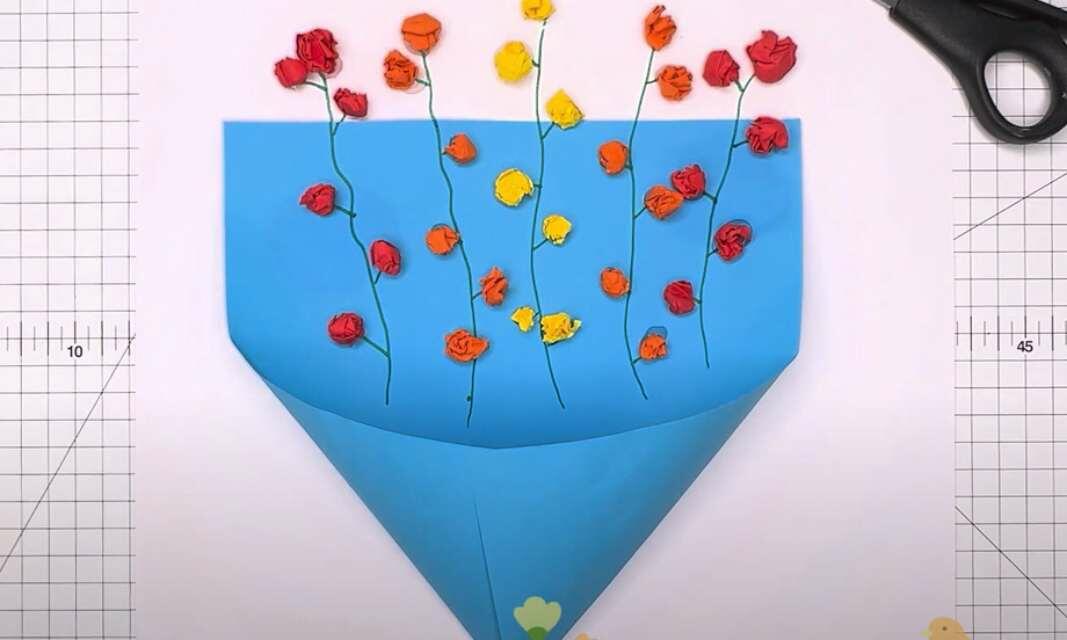
paper flower
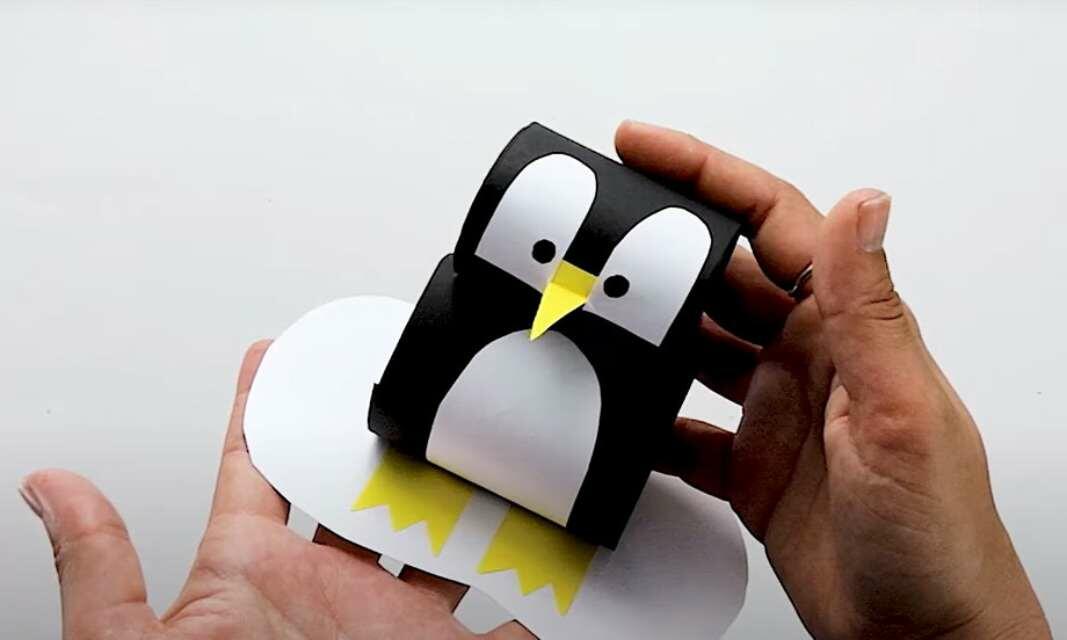
Penguin
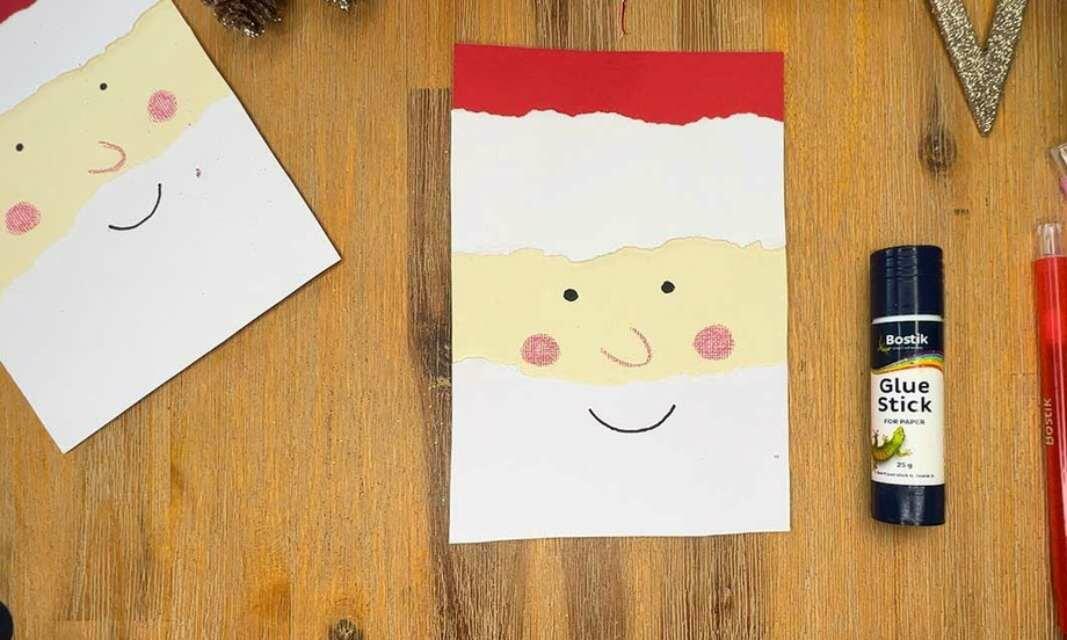
Santa Christmas card
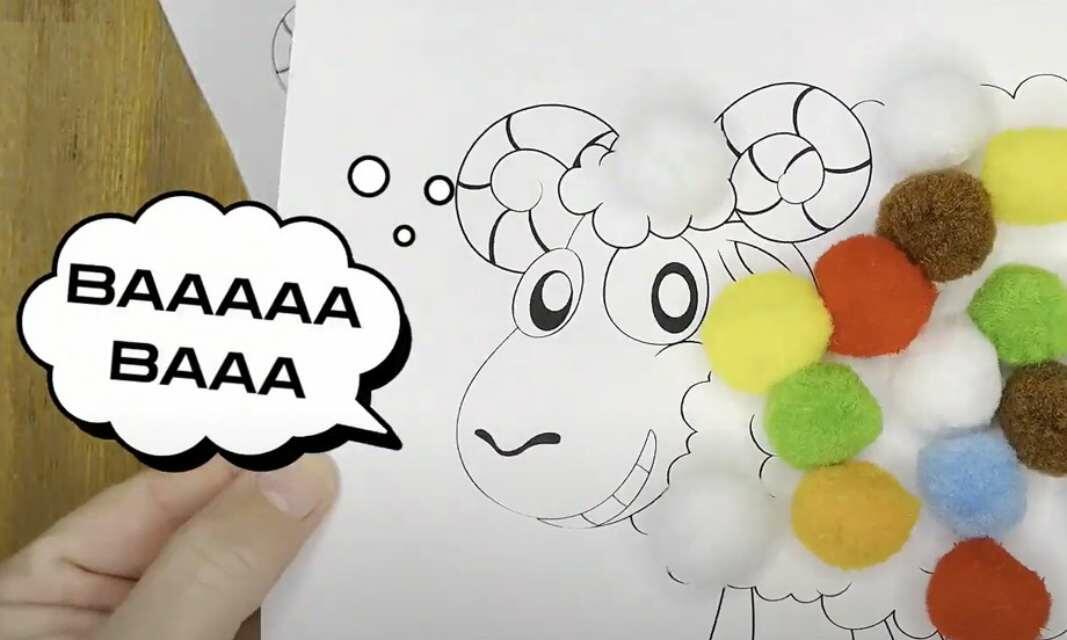
Sheepishly fun craft idea for small kids
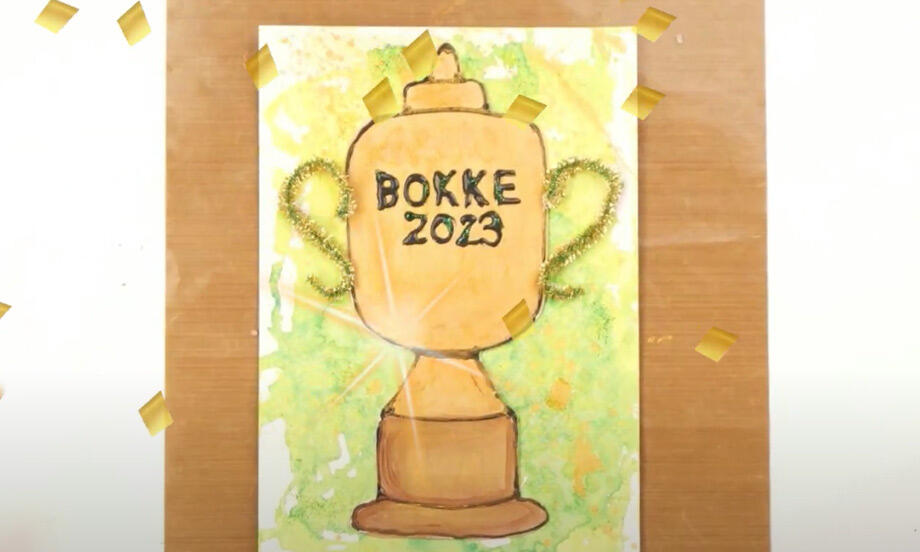
Springbok trophy card craft
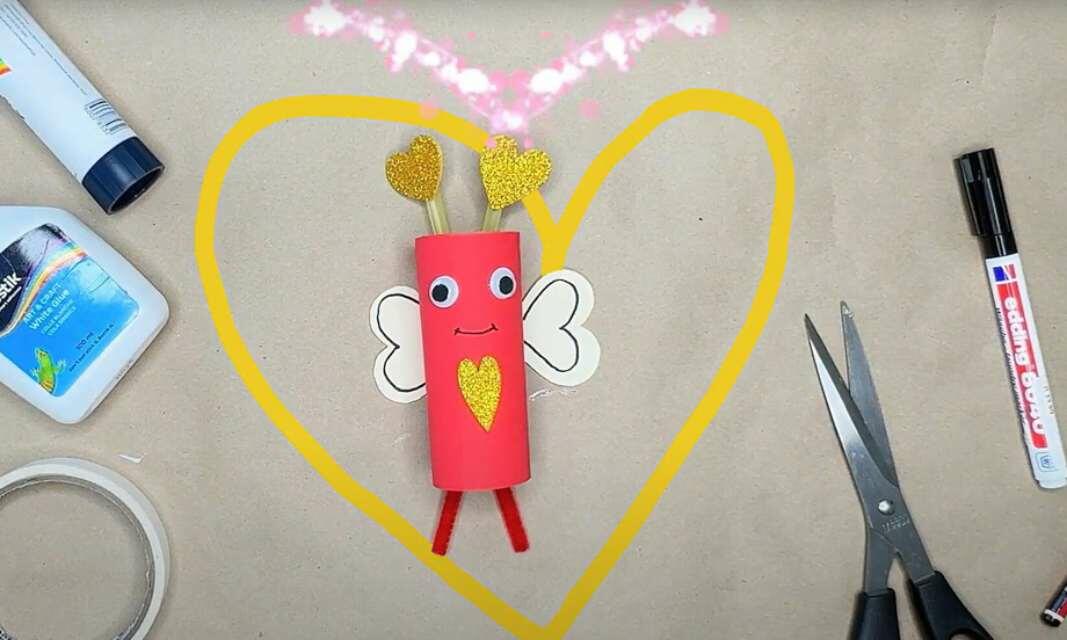
Valentine butterfly

Gift tag craft
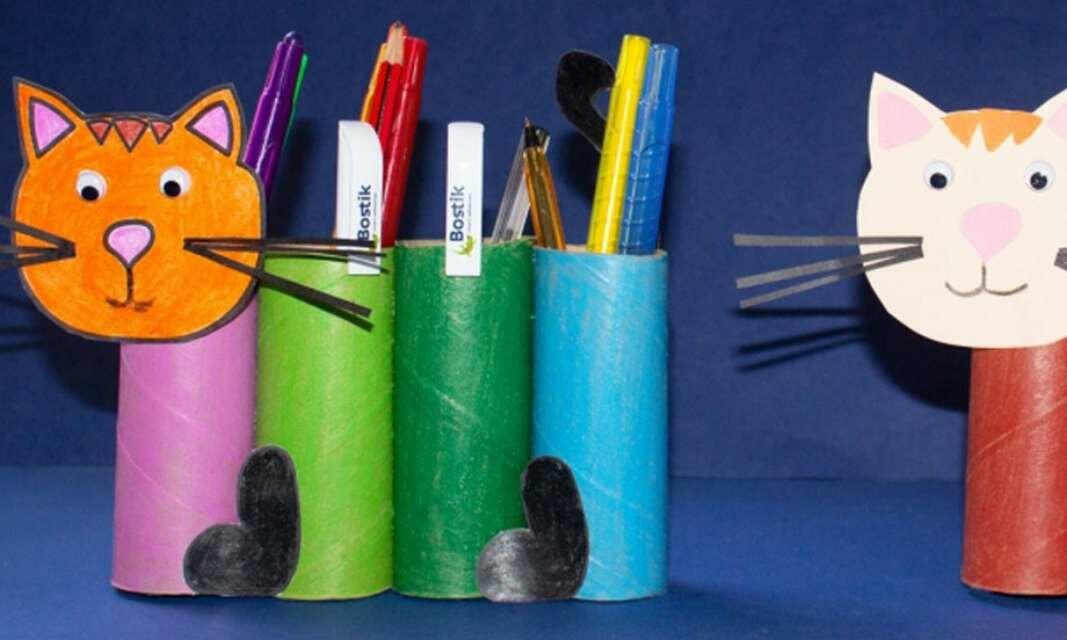
Paper roll cat