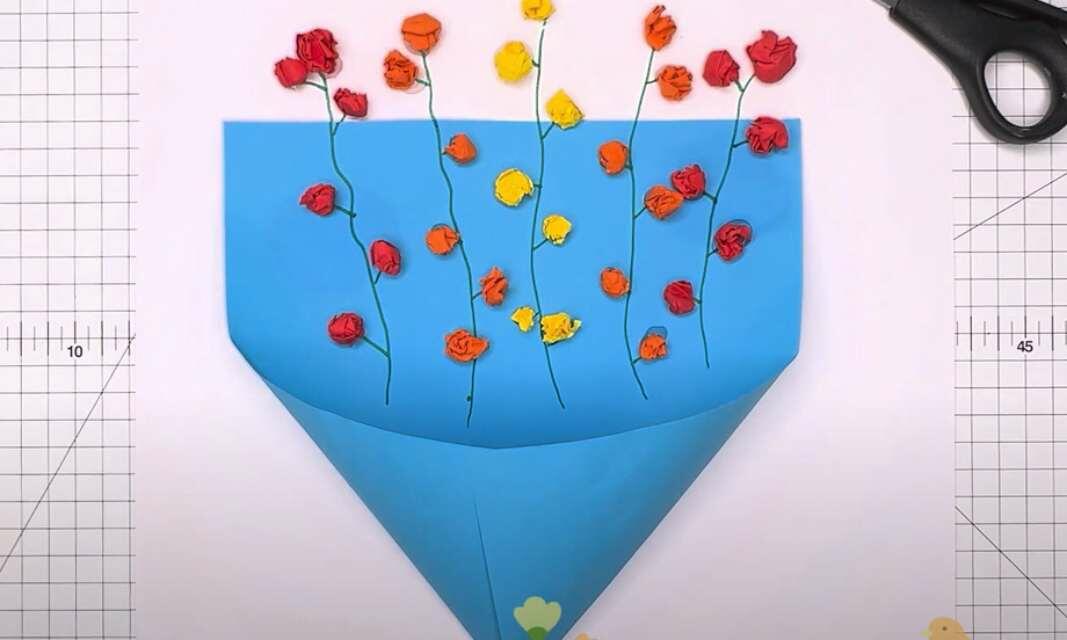
Paper rose
Craft a timeless floral accent with this elegant DIY Paper Rose 🌸 project! Begin by cutting your colored paper into four 10 cm squares and folding each twice to form triangles. Trim rounds from each triangle and open them to reveal flower-like shapes. Sequentially remove one petal from each to create a layered effect. Roll each layer around a pencil for gentle curvature, then assemble from largest to smallest using Bostik Paper Glue, resulting in a lush, dimensional rose. Simple, beautiful, and graceful, ideal as décor, thoughtful gifts, or charming tabletop accents.✨
Instructions

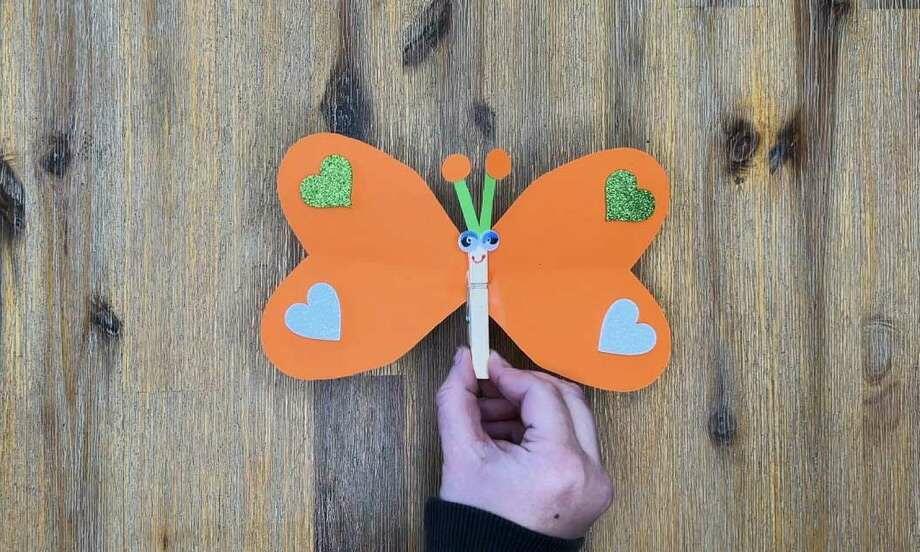
Butterfly craft
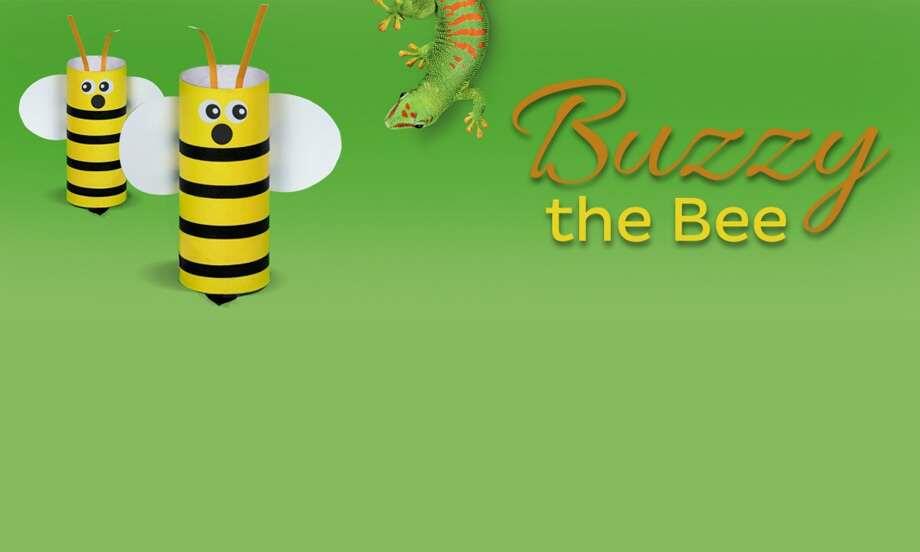
Buzzy the bee

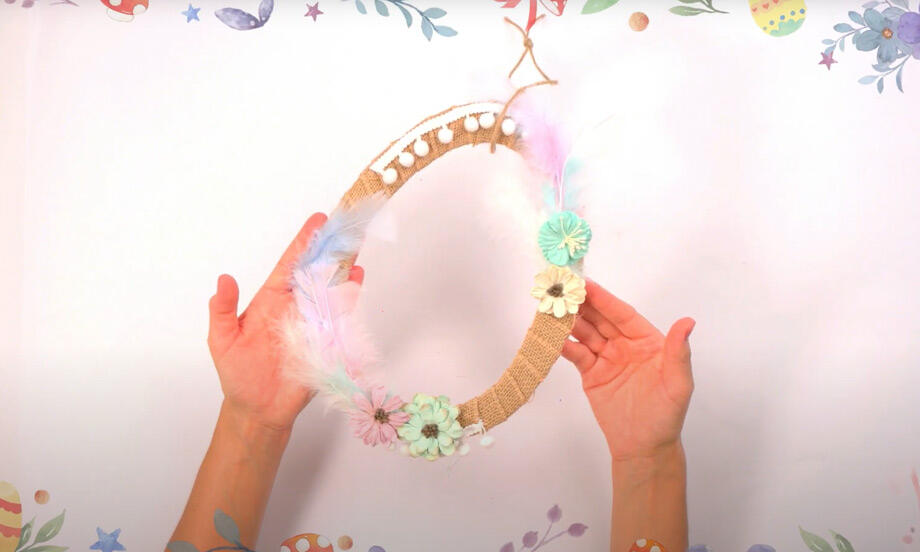
Easter garland
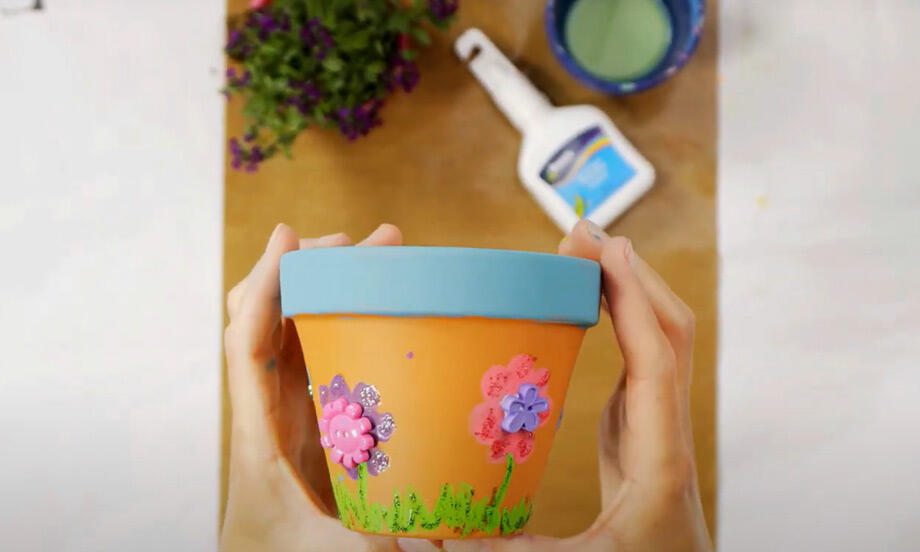
Flower pot decoration
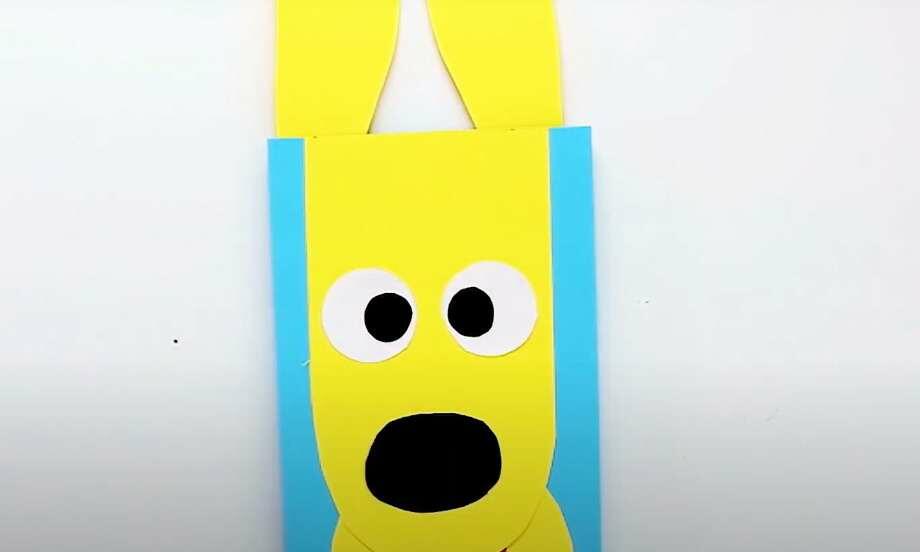
Animated paper dog

Best Dad in the world award
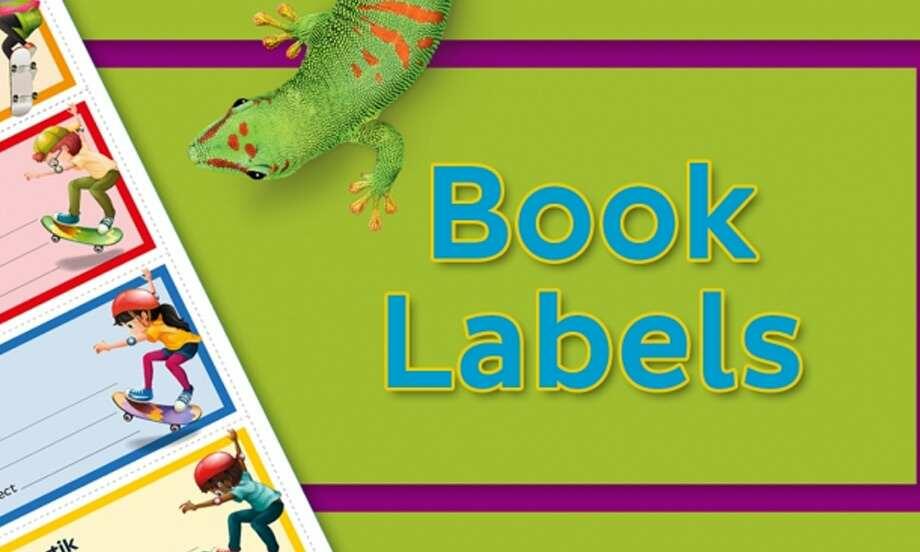
Book labels

Christmas jolly gift tags

Christmas serviette rings
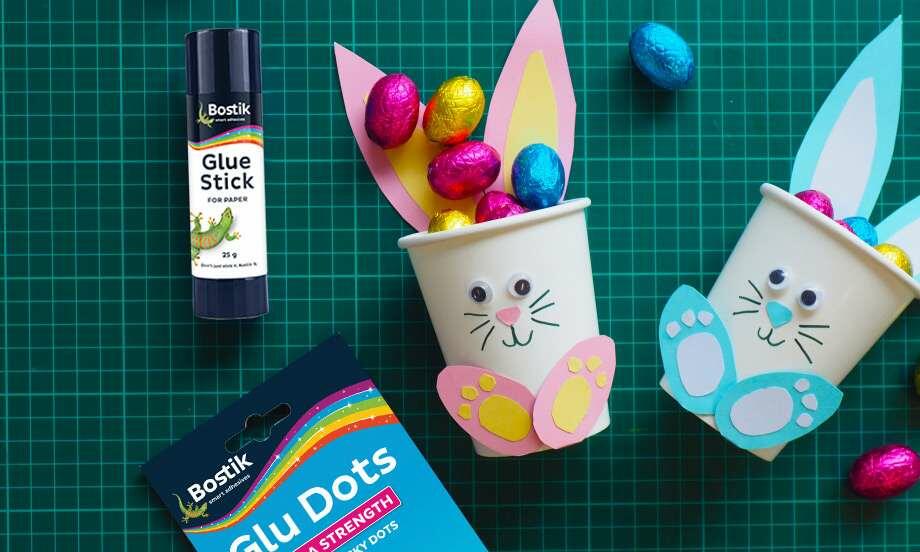
Easter cup bunnies

Emoji door hangers

Family tree
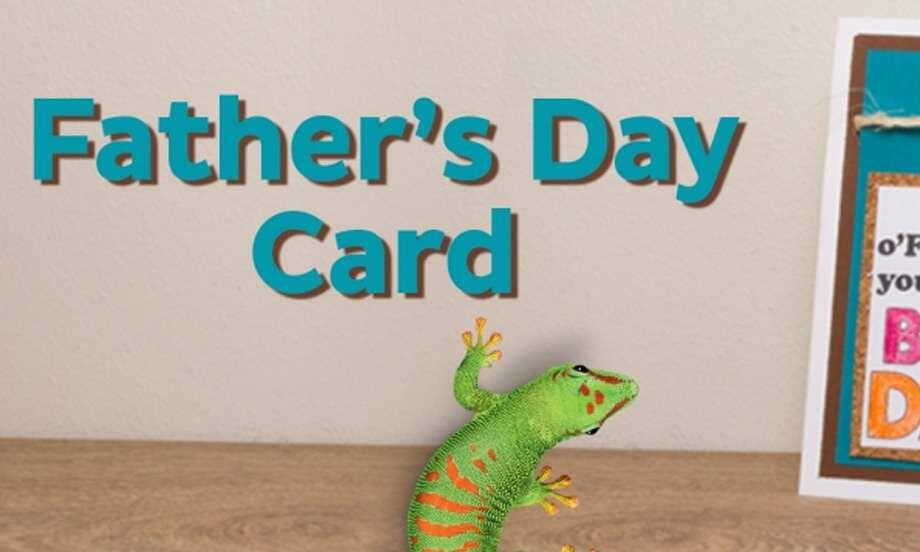
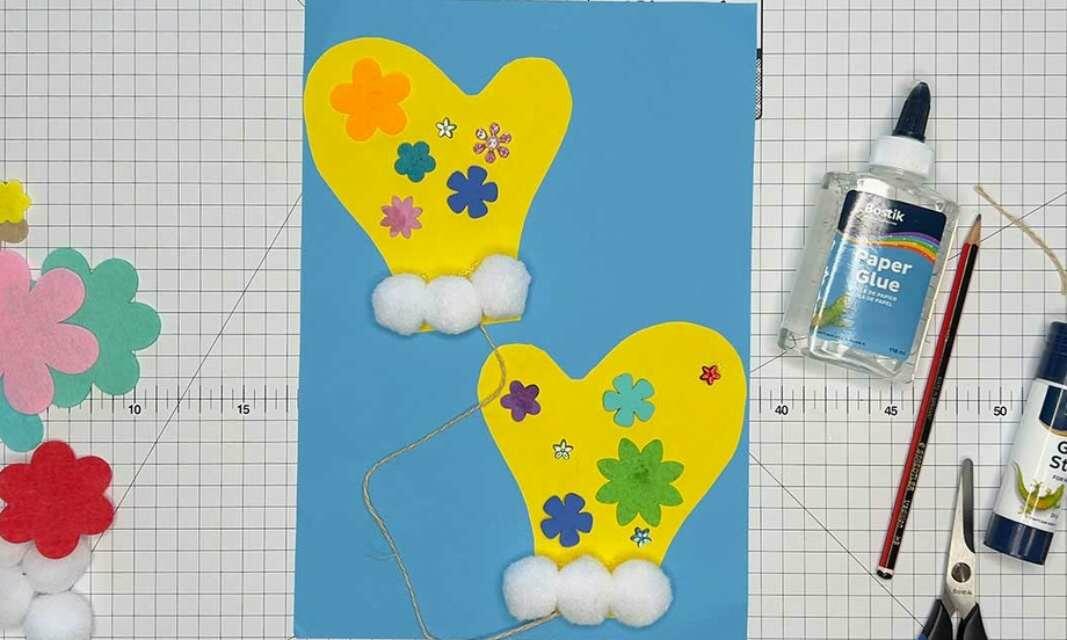
Father's day card

Halloween bats
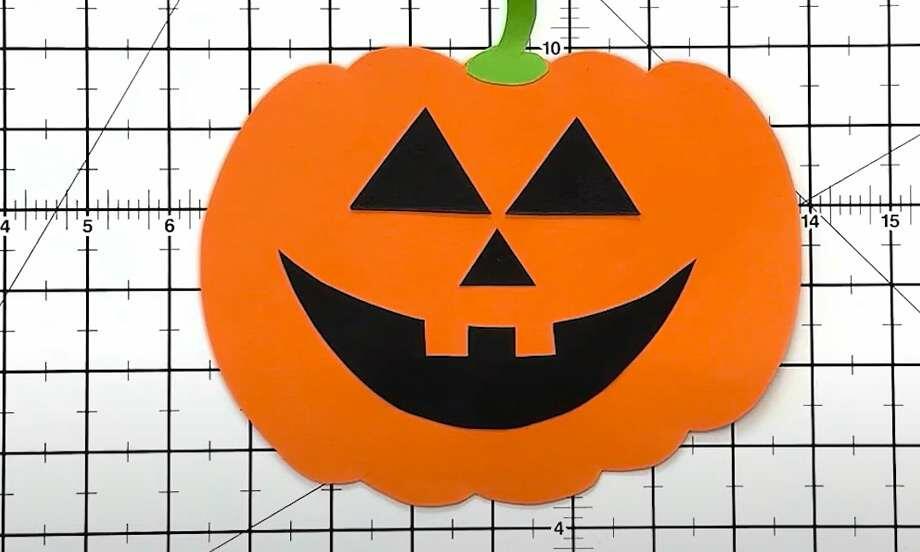
Halloween decoration pumpkin craft
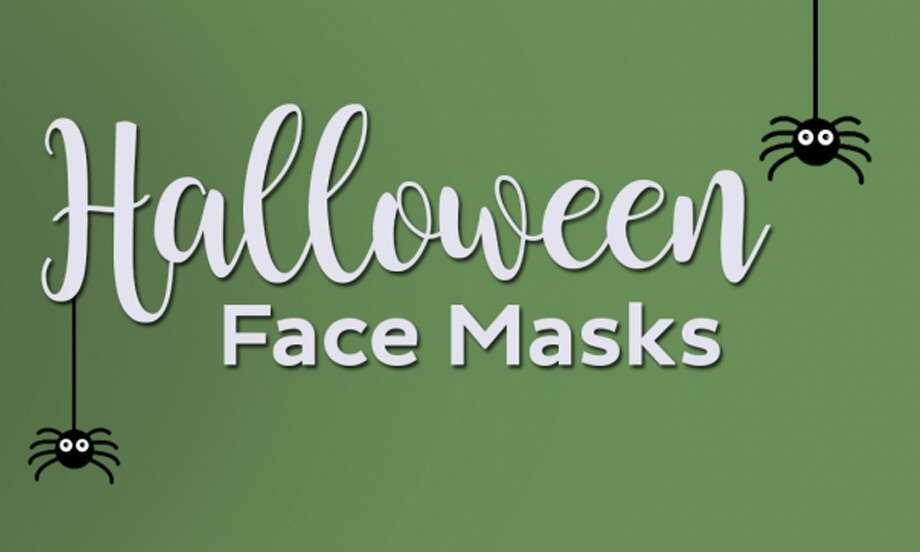
Halloween masks

Halloween party bags
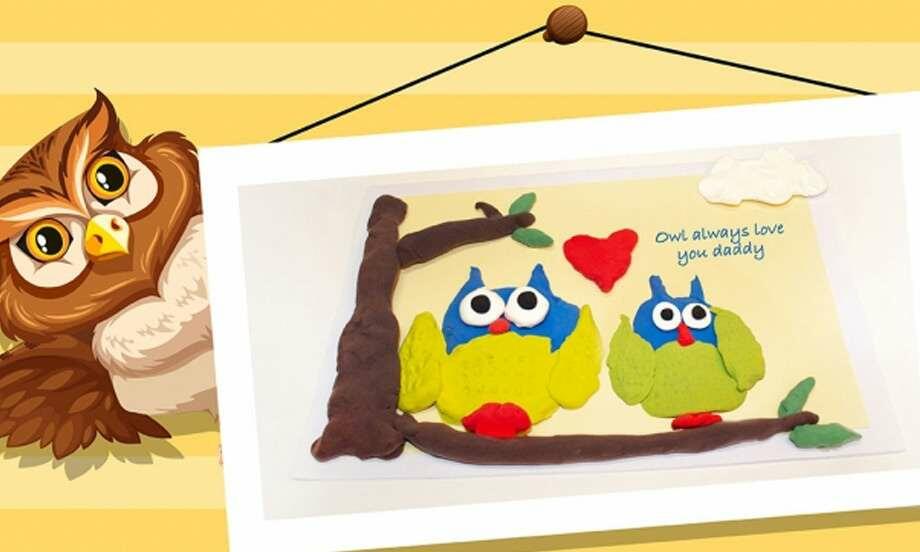
Handmade Father's day owl card
How to make a decorative easter egg
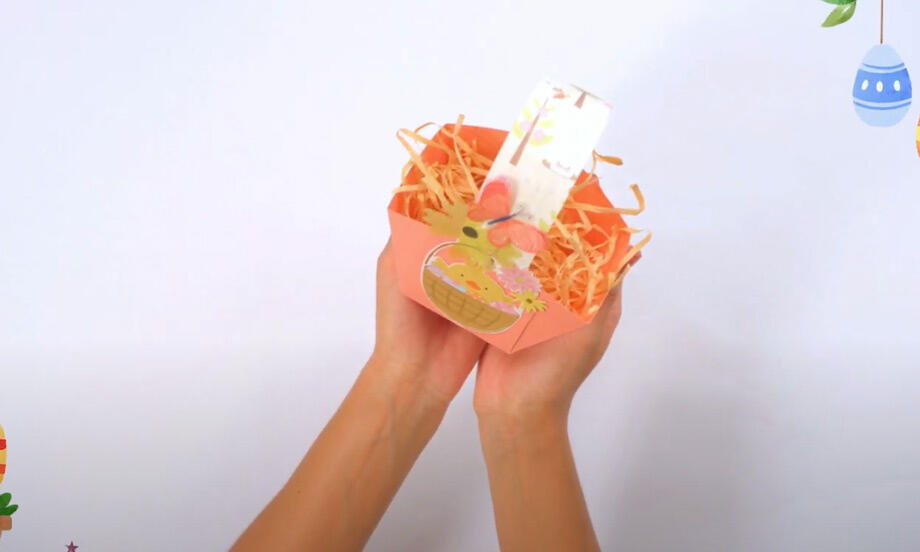
How to make an Easter basket
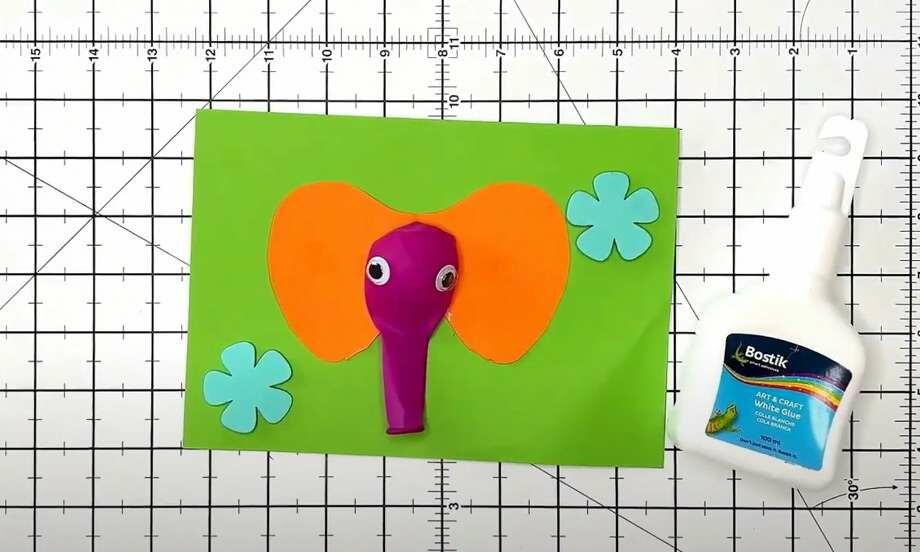
How to make an elephant greeting card
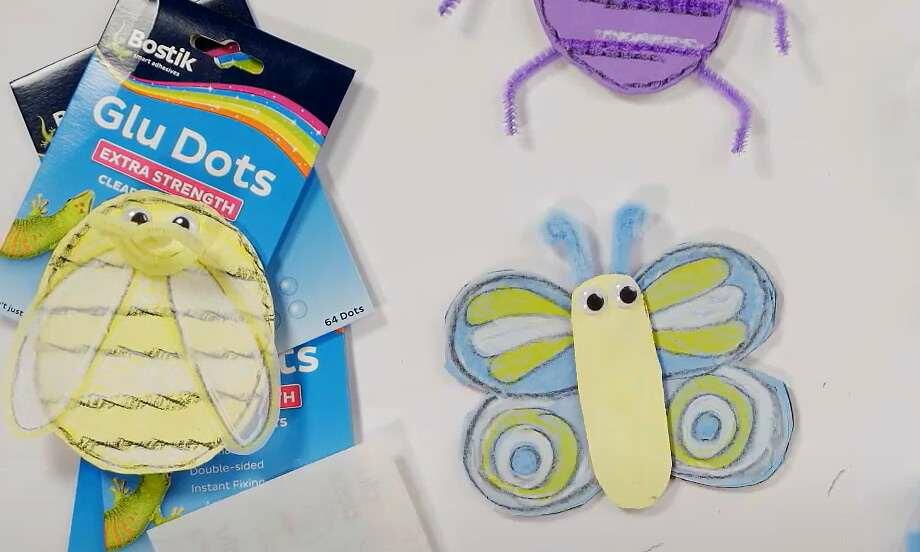
How to make craft bugs
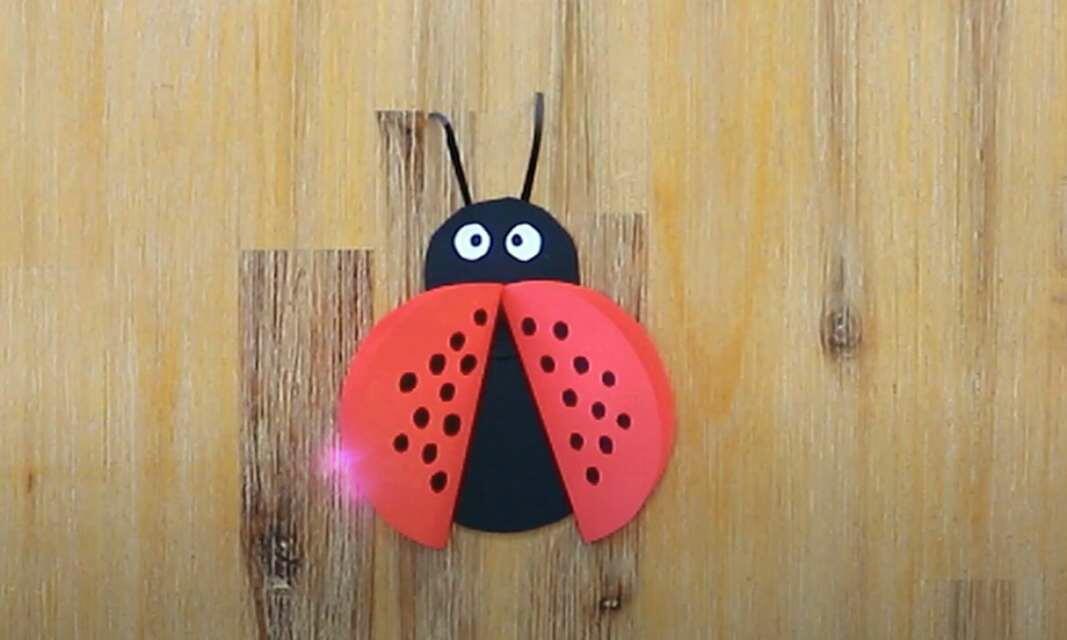
Ladybug
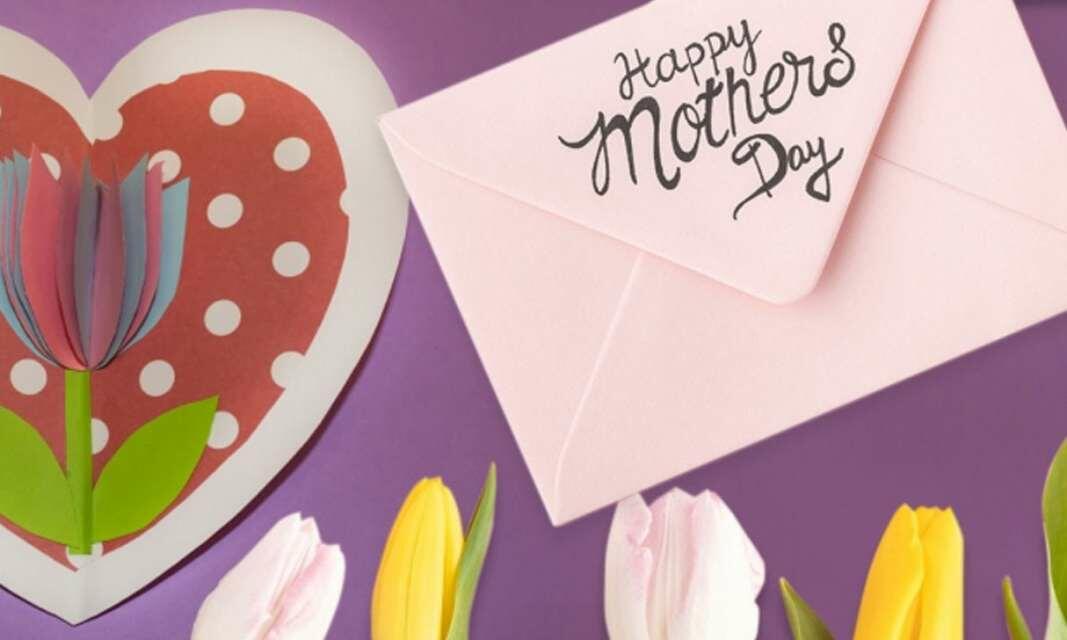
Mother's day card
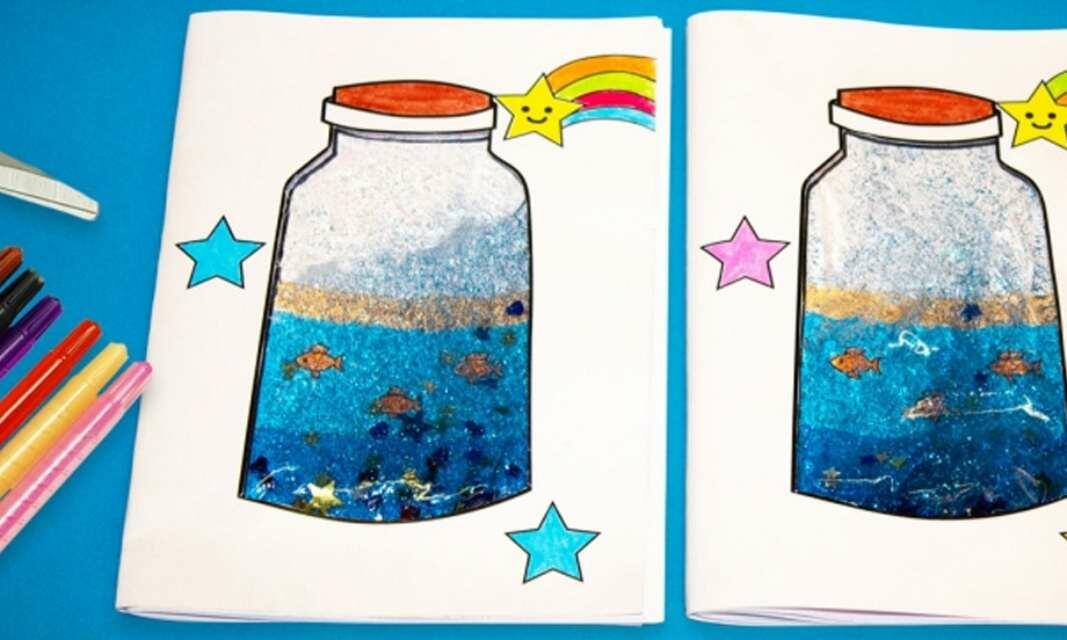
Ocean notebook
paper flower
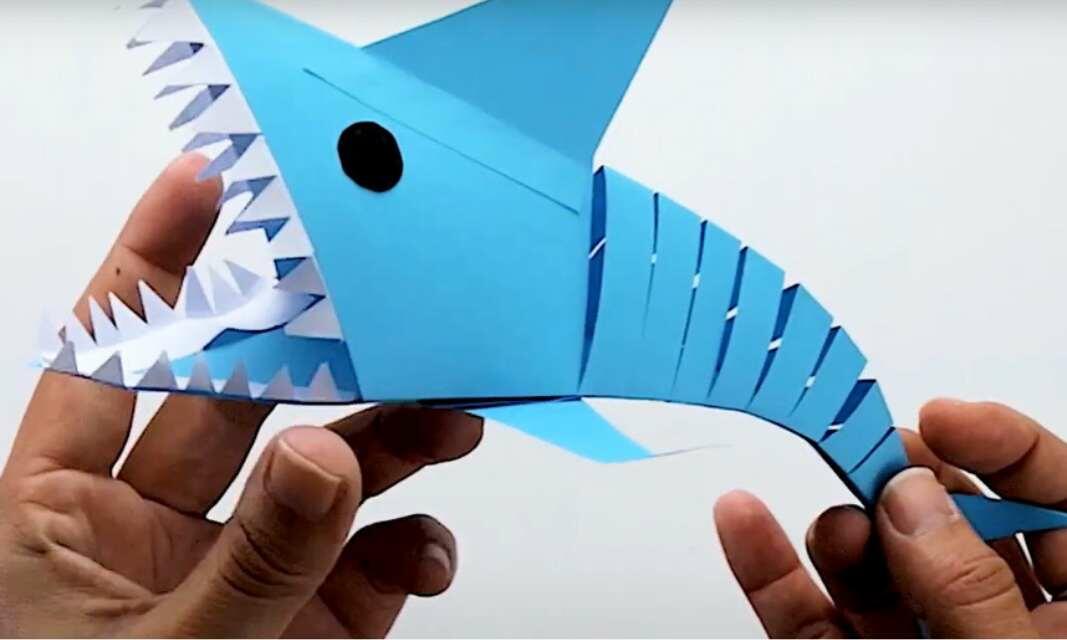
Paper shark
Spring Tulip

Valentine's day animals

Wedding jam jars

Wedding match boxes