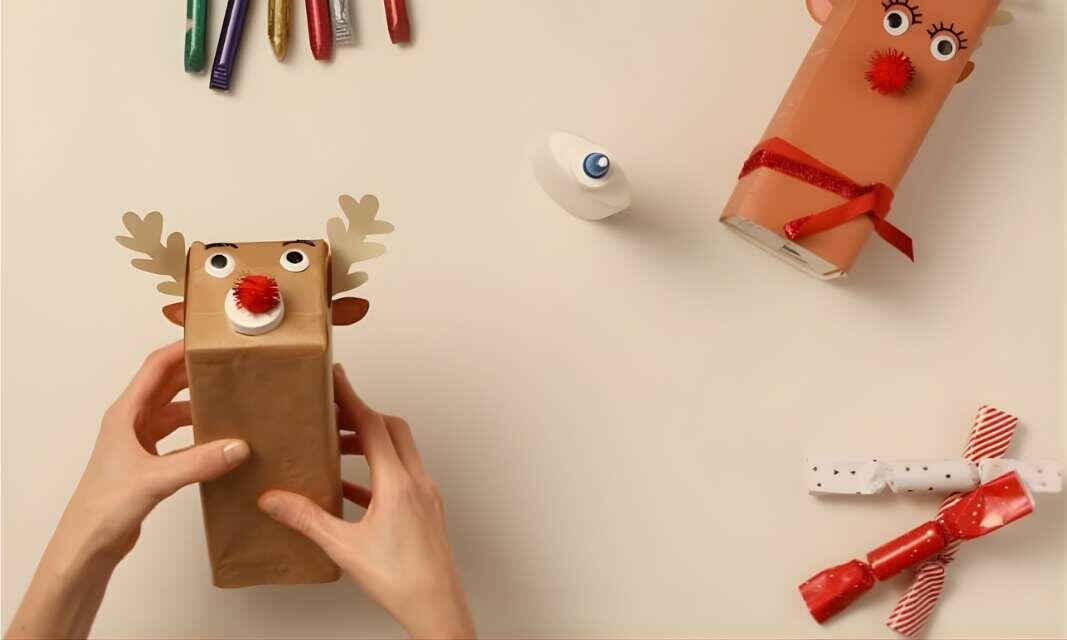
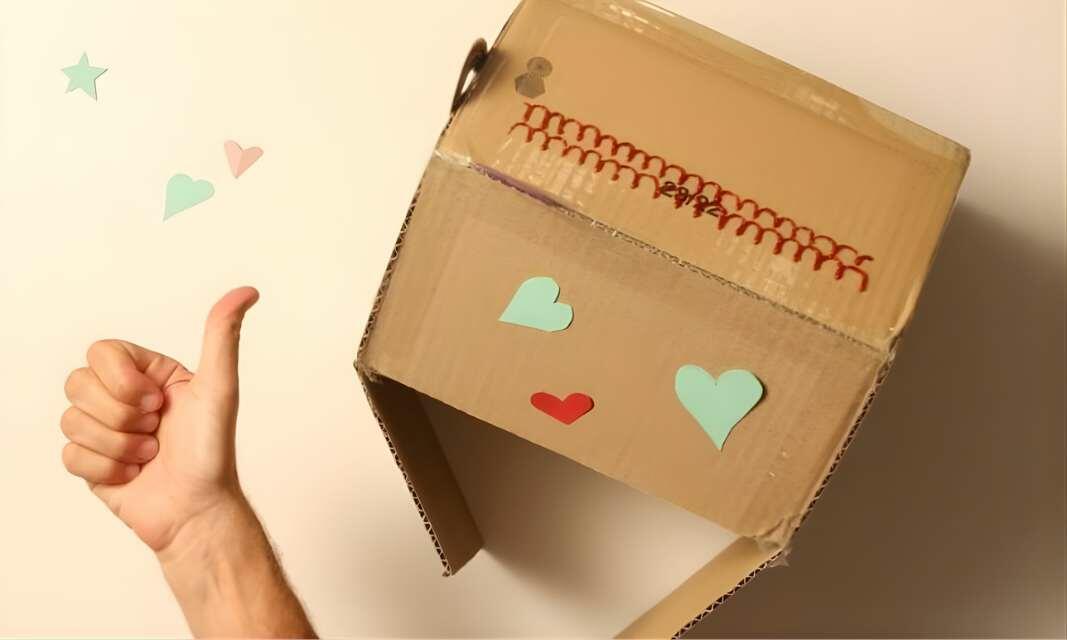
How to make a DIY storage box from cardboard boxes

Looking for a creative way to organise your home while spending quality time with the family? This DIY storage box project is the perfect combination of crafting and decluttering.

Using cardboard boxes, wrapping paper and a few simple craft supplies, you can transform everyday packaging into stylish storage solutions for every room in the house. Whether you're organising craft supplies, toys, stationery or keepsakes, these personalised storage boxes are both practical and fun to make.

Best of all, it's a simple upcycling project that encourages creativity while giving unwanted cardboard boxes a new purpose.
Why make your own DIY storage box?

A tidy home starts with good storage, but practical organisation doesn't have to be expensive. Creating your own DIY storage box is an easy way to organise everyday items while adding a personal touch to your home.

This project is ideal for children and families, helping to develop creativity, problem-solving skills and confidence while creating something useful. Once complete, each box can be customised for a specific purpose, from storing craft supplies and toys to organising paperwork, accessories and household essentials.

It's also a fantastic way to upcycle cardboard boxes and reduce waste around the home.

How to make a DIY storage box

Instructions

Step 1: Gather your materials

Collect all your materials and prepare your workspace before you begin.

Shoe boxes work particularly well for this project, but almost any sturdy cardboard box can be transformed into attractive storage.

Step 2: Measure your wrapping paper

Place your cardboard box onto the wrapping paper and gently roll it across the sheet to measure how much paper you'll need.

Remember to leave a few extra centimetres around each side to allow for folding and securing the paper neatly.

Tacky's tip

Children should always be supervised when using scissors, and younger children may need adult assistance.

Step 3: Cut the paper to size

Cut the wrapping paper to fit the box, leaving enough excess to wrap around the sides and fold neatly inside.
 

Step 4: Secure the base

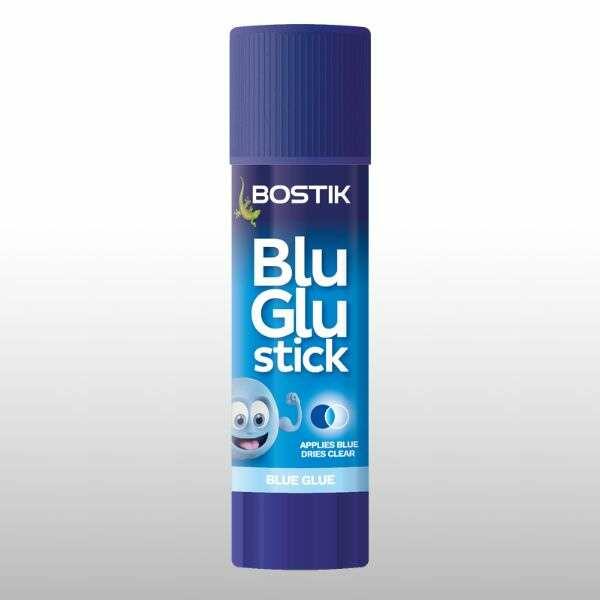
Apply Bostik Blu Glu Stick evenly to the base of the box and press it firmly onto the wrapping paper.

Smooth out any wrinkles or air bubbles as you go for a professional-looking finish.

Step 5: Wrap the sides

Trim the remaining paper to create flaps for each side of the box.

Apply adhesive to the paper and carefully fold each section around the box, folding any excess neatly inside before allowing it to dry.

Step 6: Create a lid

Repeat the process with the lid using either the same wrapping paper or a contrasting colour and pattern.

Mixing colours and designs is a simple way to create a coordinated set of storage boxes that still feel unique.

Step 7: Personalise your design

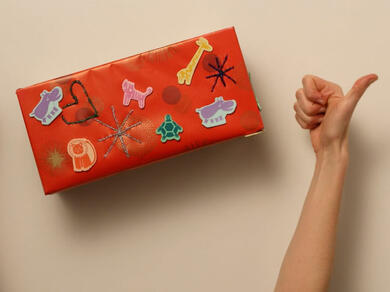
Decorate your storage box using foam shapes, stickers or other embellishments.

Attach decorations using Bostik Blu Glu Stick and arrange them however you like to create a design that reflects your personality or matches your room decor.

Tacky's tip

When you’ve finished using your Blu Glu stick, retract the glue by turning the base anti-clockwise, and replace the cap. That way it’ll stay perfect for your next craft project.

Step 8: Add finishing touches

Use glitter, gel pens or other decorative details to complete your design.

Patterns, stars, hearts, initials or themed designs can help identify what's stored inside while adding extra character to your storage box.

Step 9: Organise and enjoy!

Once everything is dry, your DIY storage box is ready to use.

Fill it with toys, stationery, craft supplies, accessories or keepsakes and enjoy a clutter-free space with storage that's both practical and personalised.

Let's recap!

Create a collection of matching storage boxes using coordinating colours and patterns. Not only will this help keep your home organised, but it will also create a stylish and cohesive look on shelves, desks and storage units.

Label each box so family members can easily find what they're looking for and keep clutter under control.

With a cardboard box, some wrapping paper and a little creativity, you can create practical storage solutions that look great and help keep your home organised.

See all products