HG3 HOT MELT GLUE GUN
A hot melt glue gun is a practical tool for quick bonding across a wide range of creative and everyday tasks. The HG3 hot melt glue gun is designed for controlled application, making it easy to handle both simple repairs and craft projects with accuracy.
Because the adhesive sets quickly, it allows you to work efficiently without long waiting times. This makes it well suited for projects where speed and ease of use are important.
On this page, you can explore where the HG3 glue gun works best, its key advantages and how it can support different types of DIY and creative activities.
Features & benefits
Its fast‑setting adhesive allows you to work efficiently without long waiting times. Whether you are working on decorative ideas or small fixes around the home, a glue gun provides a clean and convenient solution.
The HG3 hot melt glue gun is a handheld tool that applies heated adhesive for fast bonding. The glue is dispensed in a controlled manner, allowing for accurate placement on different surfaces.
It is suitable for light to medium‑duty applications where a quick and temporary or semi‑permanent bond is required. The compact design makes it easy to handle for a variety of creative and repair tasks.
Bostik HG3 Hot Melt Glue Sticks also available.

Easy to use trigger action
Bonds to most materials in 60 seconds
Designed for Bostik HG3 Glue Sticks
Rated 4110 - 240volts, 50/60Hz,
Retractable stand and fitted plug
55 watts with working temperature of 193°C
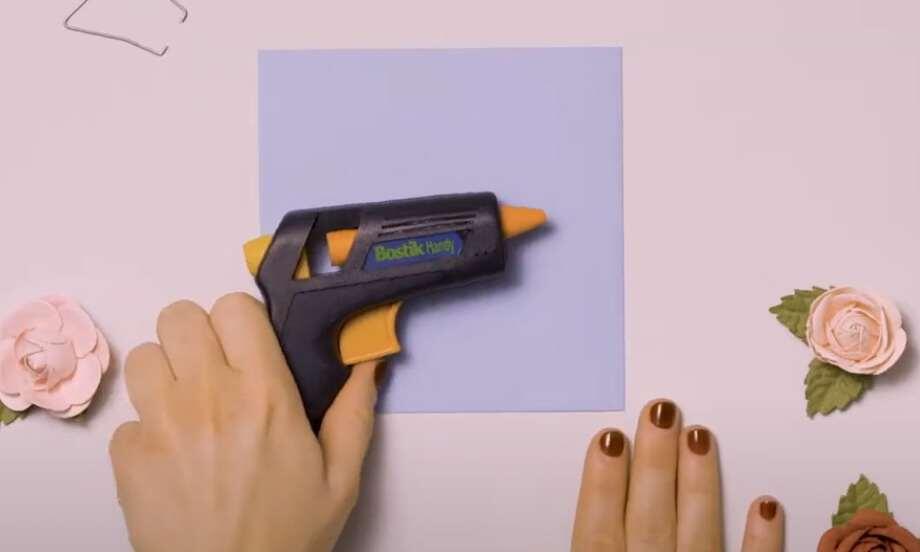
How to use
Preparation
Fit the metal stand onto the front of the hot melt glue gun in the slots by the nozzle. Load a Bostik HG3 Hot Melt Glue Stick through the grip ring at the rear of the gun and press the trigger several times until the stick is positioned firmly in the gun.
Plug in the gun and a light will come on at the rear to indicate that it is in operation. Then, rest the gun on its stand and allow to warm up for approximately 5 minutes. Ensure surfaces to be bonded are clean and dry.
Application
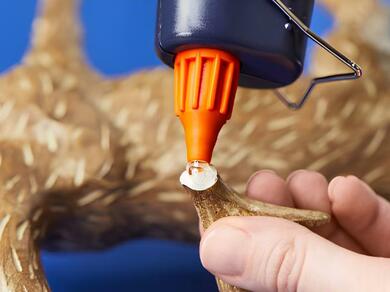
Press the trigger until adhesive flows from the nozzle. To ensure a continuous flow of glue, insert further glue sticks into the rear of the gun and wait a few minutes until the stick has heated to the correct temperature. DO NOT FORCE THE TRIGGER.
Apply adhesive to one surface. Press surfaces together within 15 seconds. Use of a clamp or other holding device is not necessary.
Unplug the hot melt gun when finished and allow to cool before storing. Surplus glue stick may be trimmed off using a sharp knife. Do not pull glue sticks from the back of the gun as damage may occur.
How to remove
The adhesive can only be removed mechanically once cured by scraping carefully with a blade edge.
A residual thin film will remain, which can then be removed using a solvent cleaner.
Sensitive surfaces may be damaged by the hot adhesive or by the solvents used in the cleaning process. Always carry out a test before attempting removal.
Explore creative applications
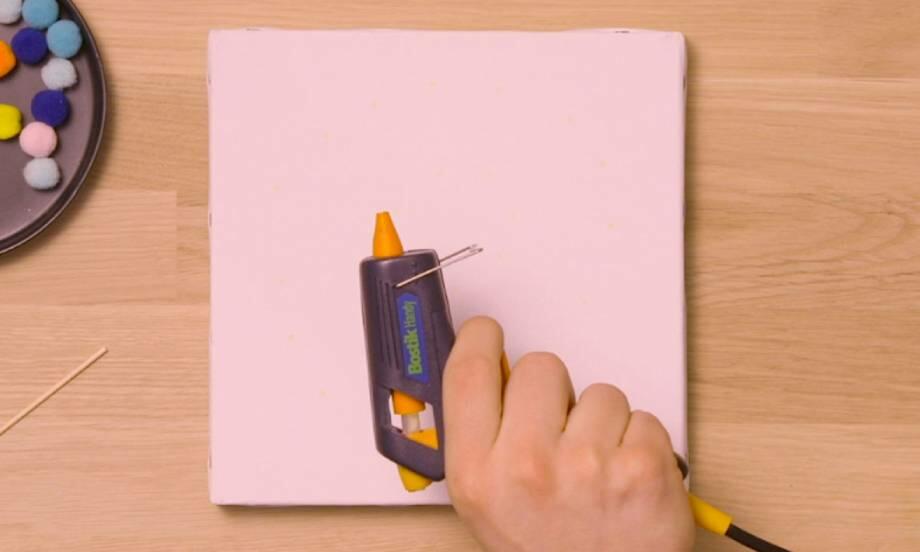
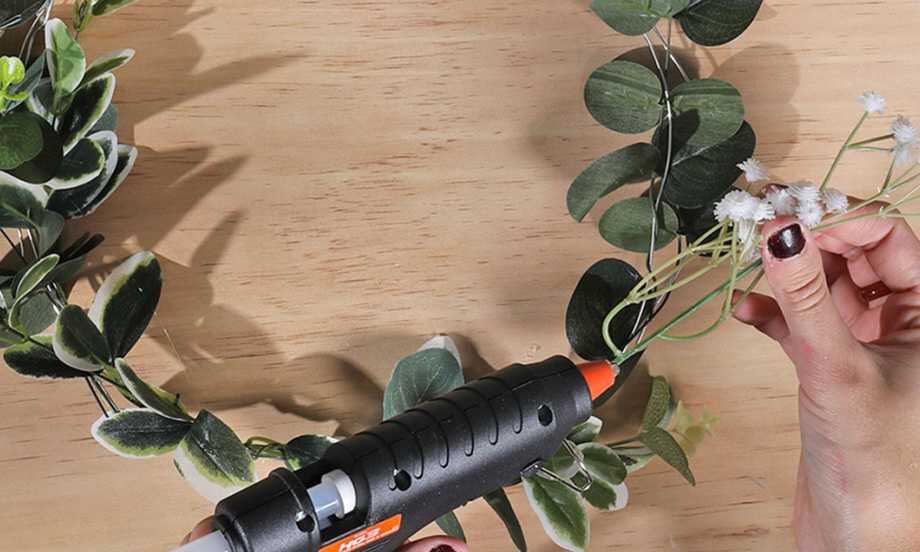
A hot melt glue gun can be used for a wide range of creative projects and practical fixes. It allows materials to be combined quickly, making it ideal for both decorative work and everyday tasks.
Explore related DIY ideas to see more ways to use a glue gun effectively in home and craft projects.
Related tutorials

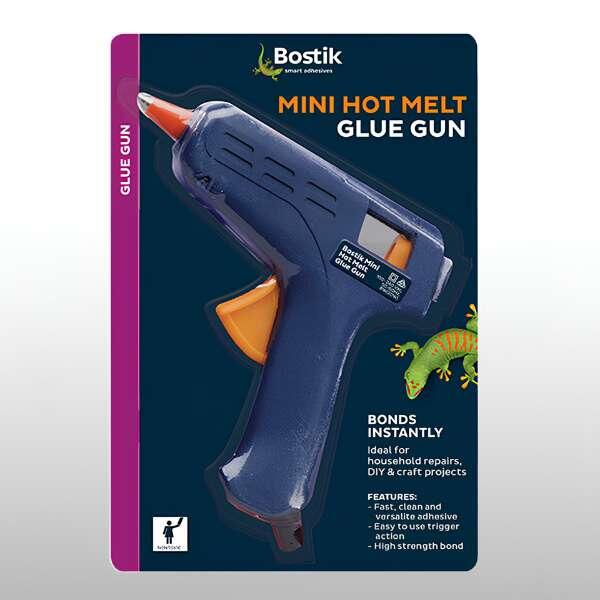
MINI HOT MELT GLUE GUN
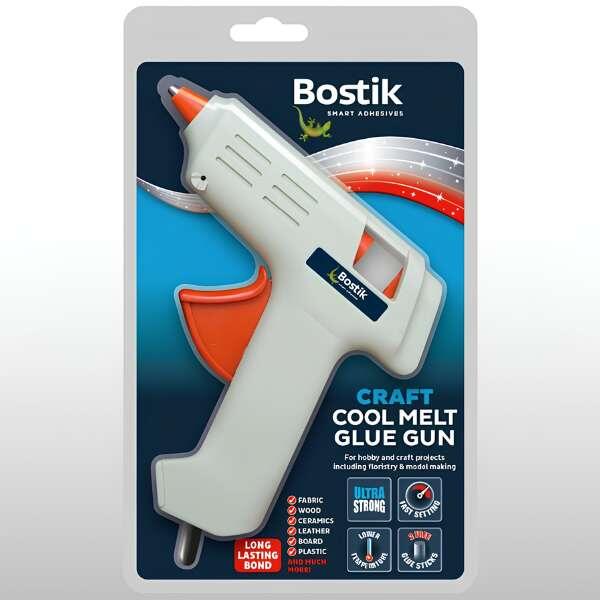
CRAFT COOL MELT GLUE GUN

SPRAY ADHESIVE
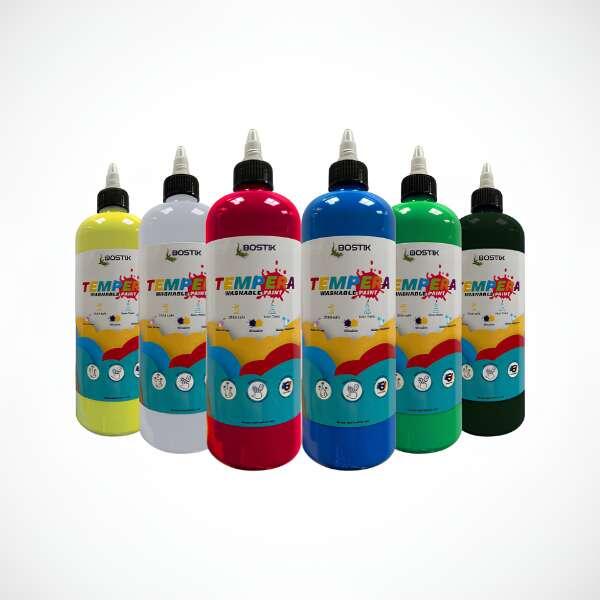
TEMPERA PAINT
Stuck on what glue to use?

Use this guide to find out what product to use for your job.
Start the Glue Guide