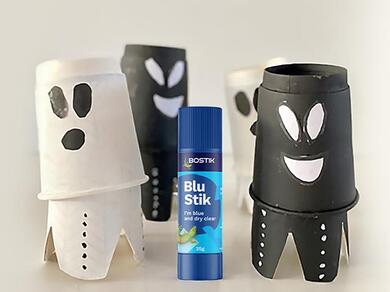
Bobbing Ghosts
Get glu-some for Halloween with our Bobbing Ghosts project! 👻
Using simple materials like paper cups, white card, and markers, you’ll assemble these spooky specters in no time. Whether setting the scene for a party or just adding to your seasonal decorations, this craft is perfect for family fun. Let's start this ghostly crafting adventure and make your home a haunt to remember!
This project was made by our Bostik Buddy, Sonia - follow her on Instagram!
What you will need
- 2 Paper cups
- 2x white A4 card
- Paint and paintbrush
- Scissors
- Marker
Instructions
Step 1: Getting Ready
Make sure you have everything you need and find a clean surface to work on.
Step 2: Eyes And Mouth
Draw ghost eyes and mouth. These should measure a total of no more than 4cm x 4cm in order to fit the paper cup.
Step 3: Cup Prep
Paint around the 2 paper cups the colour of your choice. Leave to dry before proceeding to next step.
Step 4: The Legs
Cut U shaped legs all around 1 cup. These don’t have to be even in width but somewhat the same in height so they stand straight.
Step 5: Cutting The A4 Card
Cut the A4 card into 2cm thin strips.
Step 6: Readying The Box Folder Strip
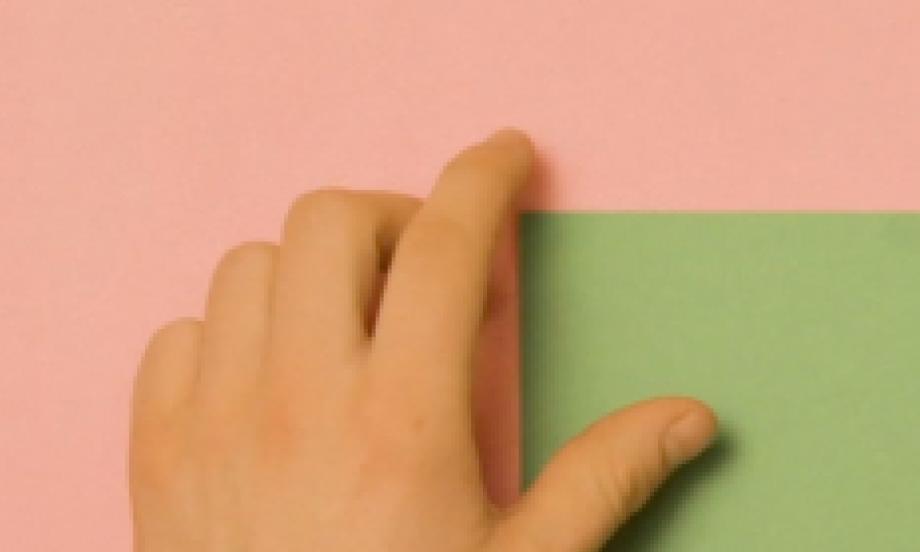
Line up the edges of 2 strips and glue together.
Step 7: Creating The Box Fold Strip
Fold the bottom strip up and over the top one and crease. Continue to fold the 2 strips back and forth over one another till the end. Trim and use your favourite Bostik Stik to glue the ends.
Step 8: Attaching The Box Folded Strip To Legs
Glue one end of the box folded strip to the top of the legs cup. Try and keep this centred.
Step 9: Attaching The Body To The Leg
Glue the other end of the box folded strip to the inside of the uncut cup.
Step 10: Cut And Glue Face Features
Cut out the eyes and mouth and glue on the body of the ghost.
Step 11: Final Touches
Decorate the legs as desired. Gently press down at the top middle of the cup and release. Let the bobbing begin!
Blu Stik