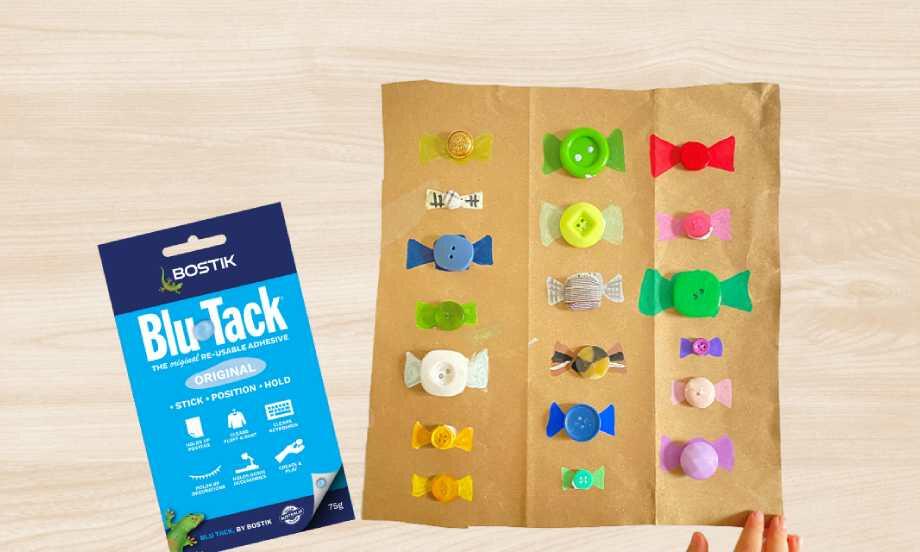
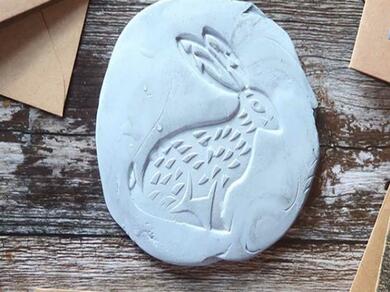
Simple Reverse Prints
Explore the art of negative space with the DIY Simple Reverse Prints 🎨 tutorial, creating elegant, custom designs using just Blu Tack® and ink. 🖼 Begin by molding a circle of Blu Tack®, then press your decorative stamp into it to imprint a pattern. Apply ink using a pad or sponge, then press paper onto the design, revealing a beautifully reversed print unique in every way. Finally, decorate handmade cards, gift wrap, or seasonal décor with your bespoke prints for a creative, personal touch. This artistic technique is surprisingly simple, perfect for crafters of all skill levels, and adds a refined flair to your DIY projects. A lovely blend of texture, technique, and tactile delight - all made possible with basic supplies - and great for handmade gifting or home styling.
Follow this step-by-step tutorial from our friends at Craft Invaders.
Instructions
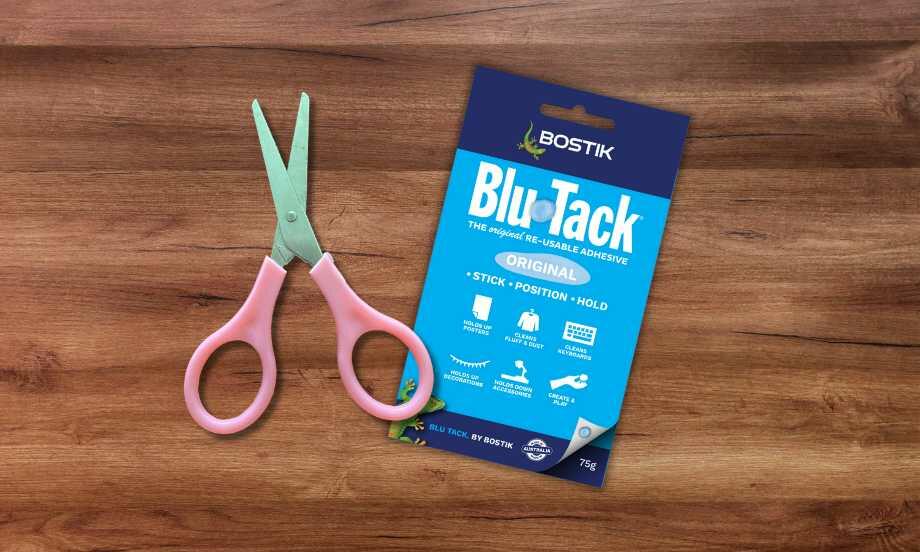
BLU TACK®
Animal Games

Balloon monsters
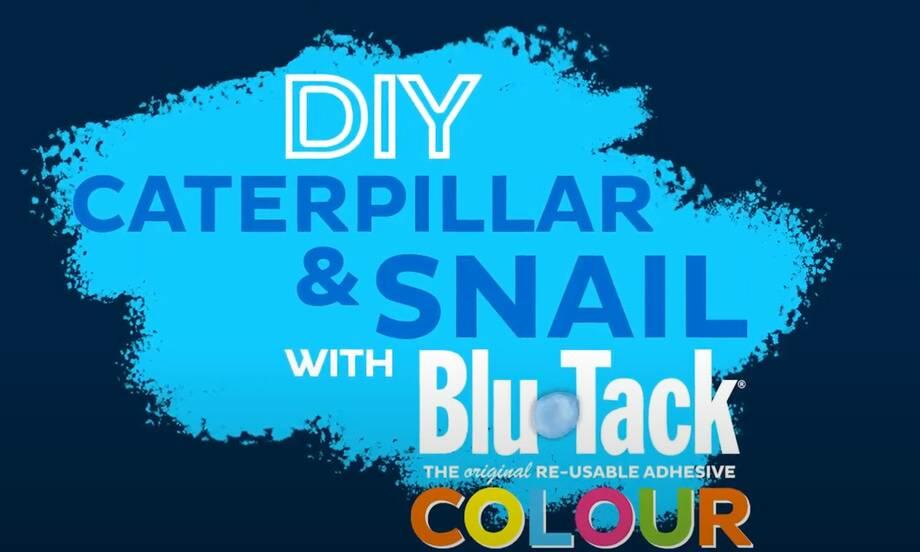
Blu Tack® Animals
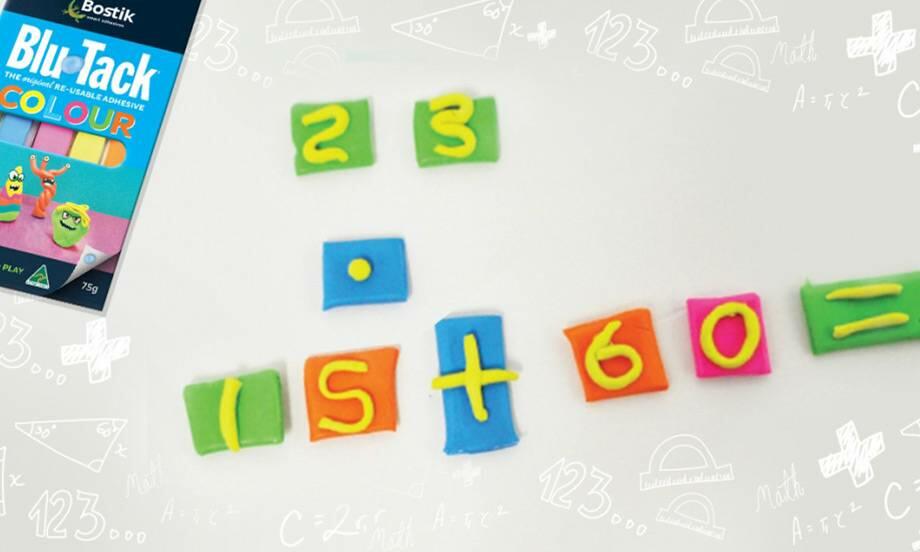
Blu Tack® Calculator
Blu Tack® Gecko
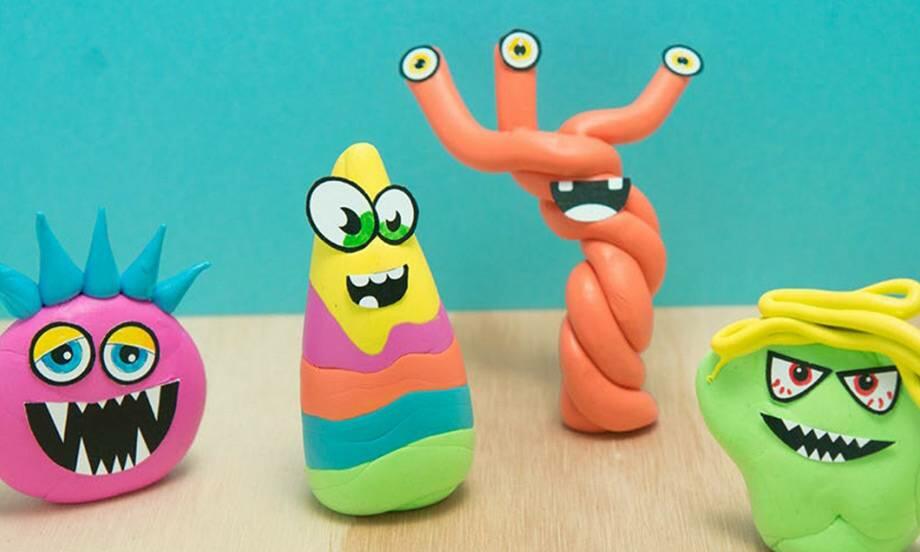
Blu Tack® Monsters
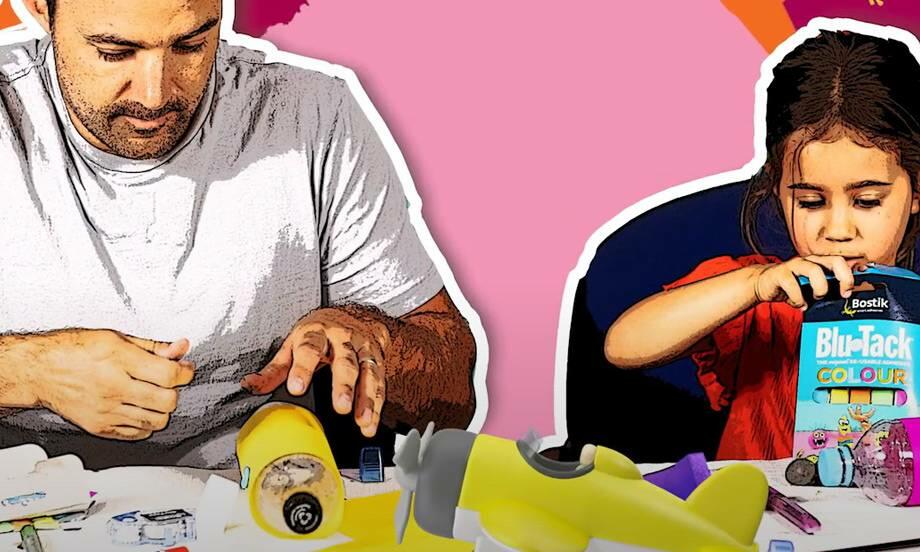
Bottle Plane
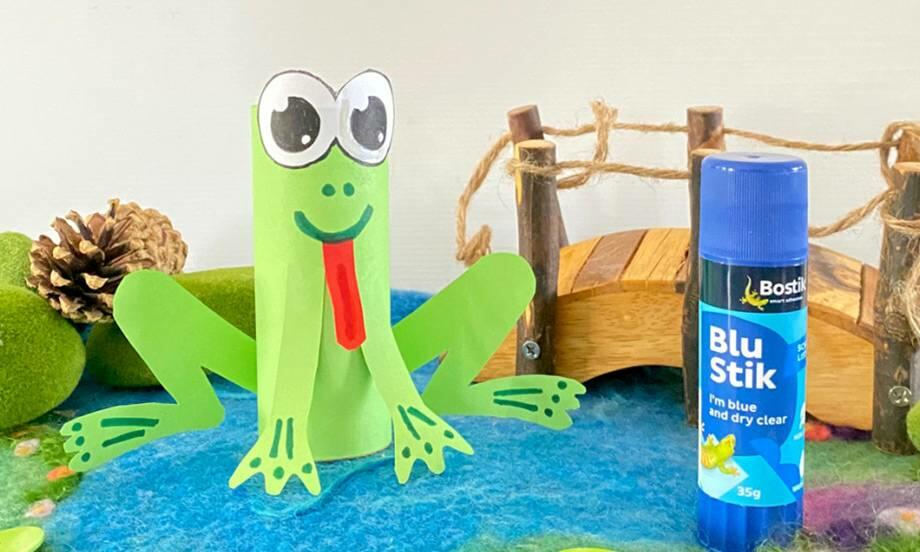
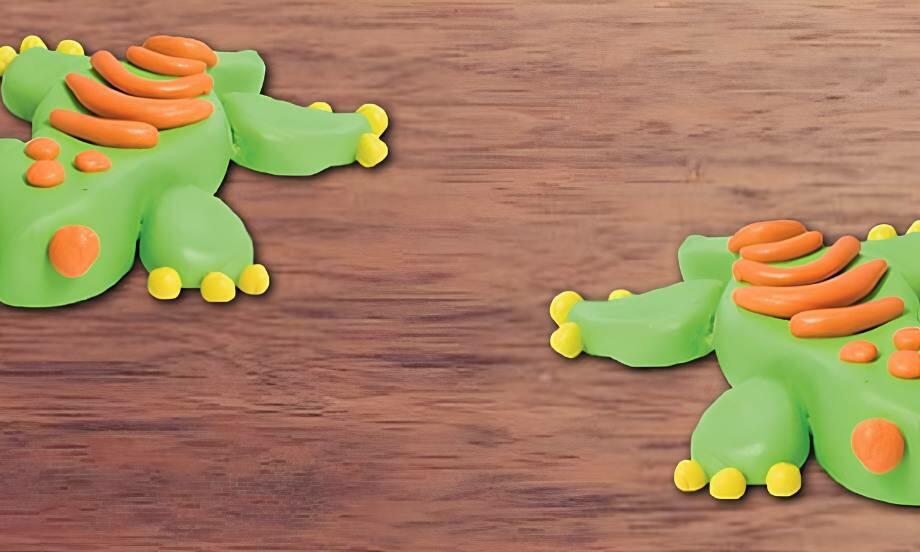
Cardboard Frog
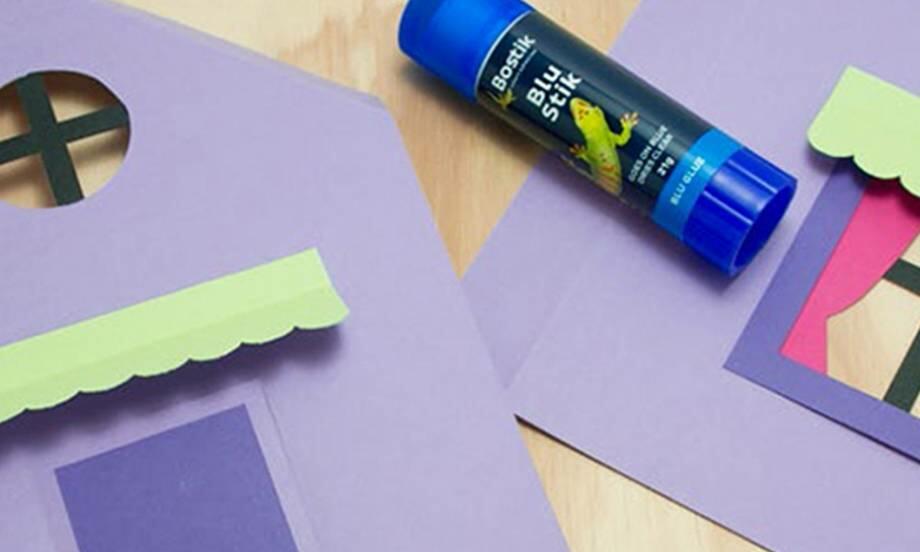
Cardboard House
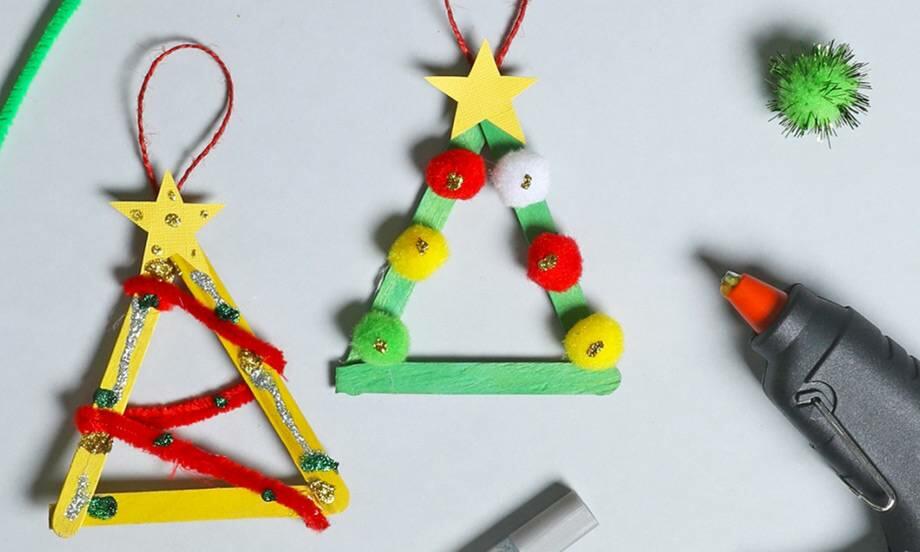
Christmas Tree Ornaments

Dino Piggy Bank
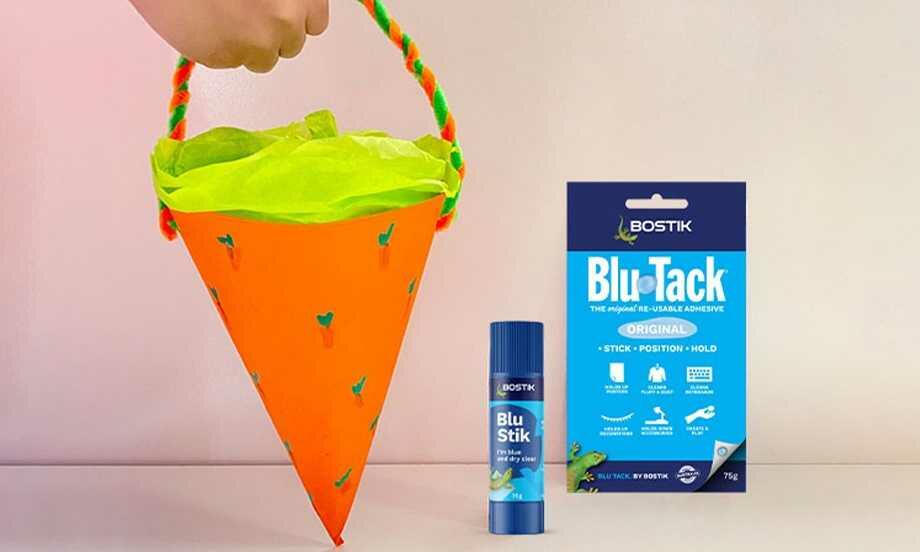
Easter Egg Basket

Egg Carton Turtles

Family tree project
How to protect your floor from scratches
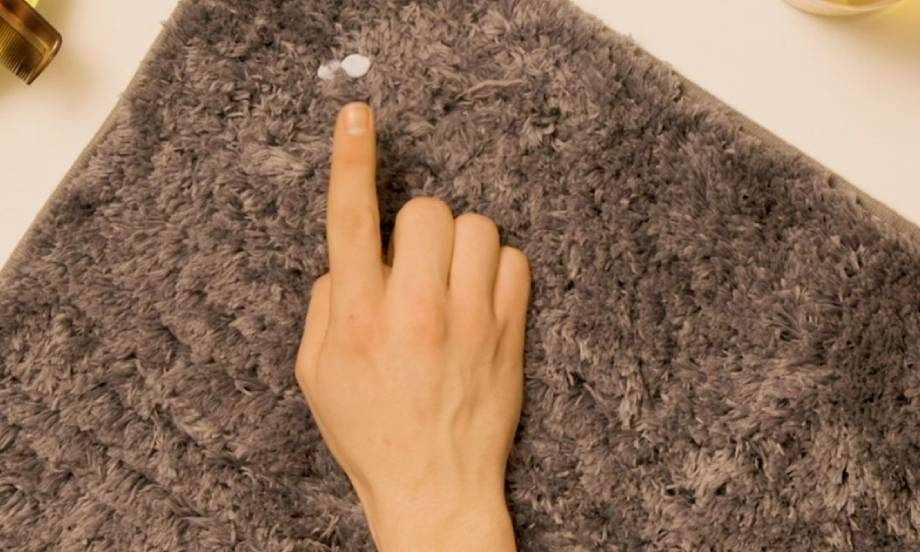
How to remove Blu Tack® from carpet
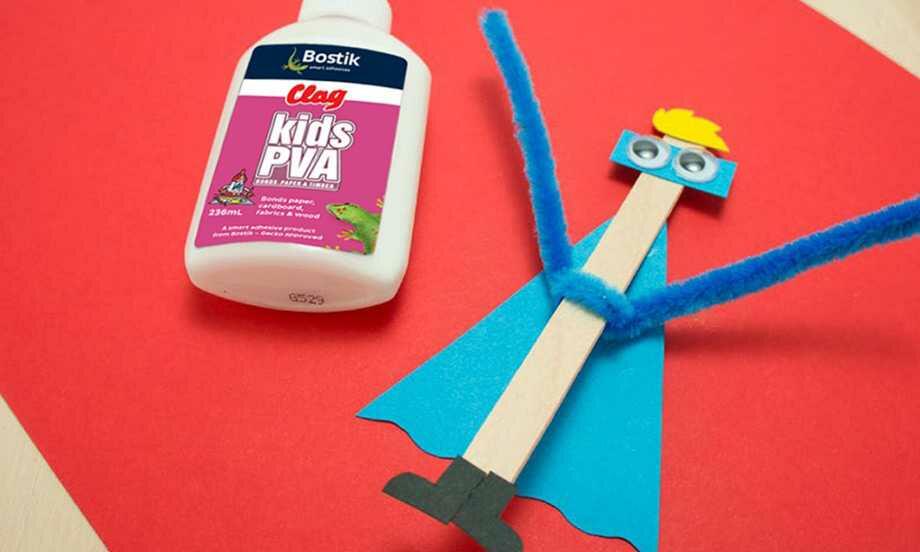
Superhero