Recycled Planter
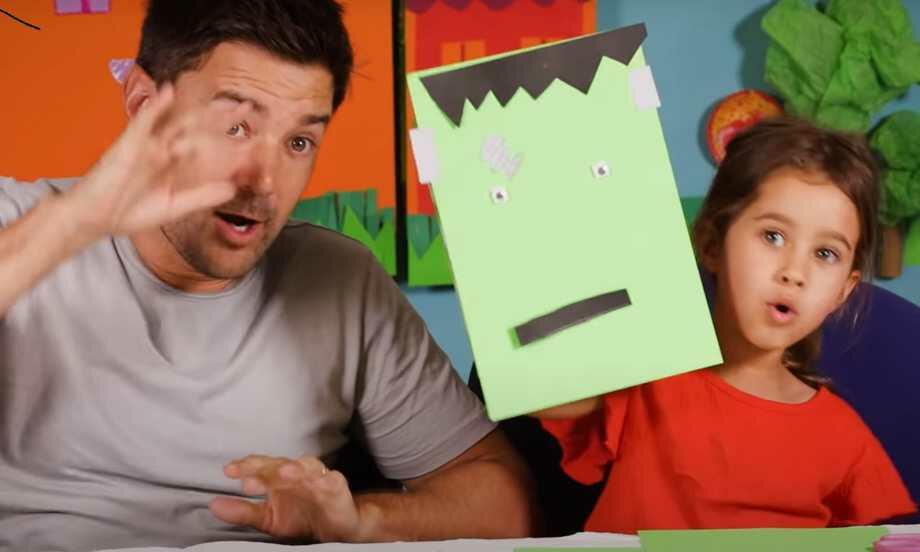
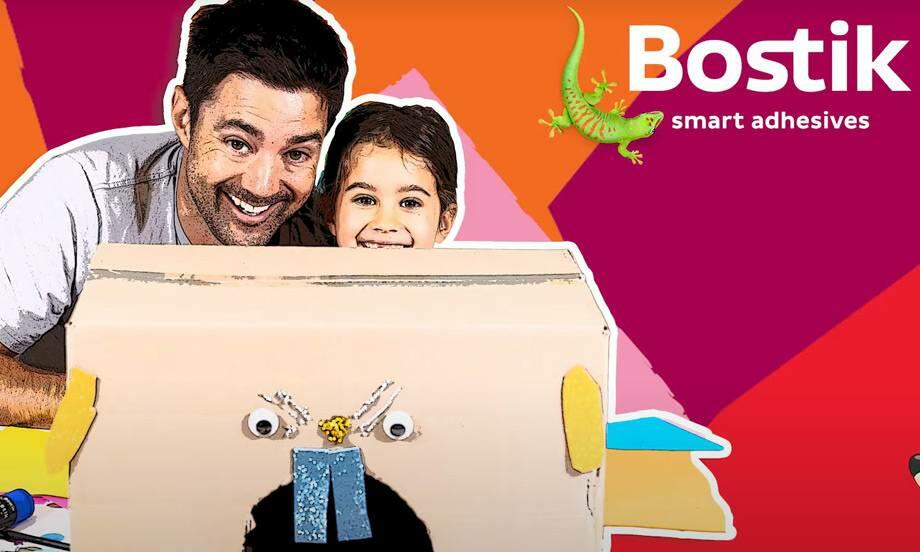
Give your indoor greenery a charming upcycled twist with this DIY Recycled Bottle Planter tutorial - an eco-conscious craft that radiates personality. Start by cutting the top off a plastic bottle with adult help, then wrap it in colourful tissue paper using Bostik Blu Stik to achieve a neat, vibrant surface. Add character by gluing on googly eyes and blackout fringed eyelash details with Clag Kids PVA and Clag Paste. Fold and decorate ears from the template, paint on a red smile for personality, and once dry, pop in soil and your favourite plant to watch life grow. This endearing planter is perfect for family craft time, school projects, or refreshing your home décor - creatively combining recycling with handmade flair. ♻️

Instructions
CLAG® PASTE
Animal Games

Erupting Volcano

Bostik bee hive