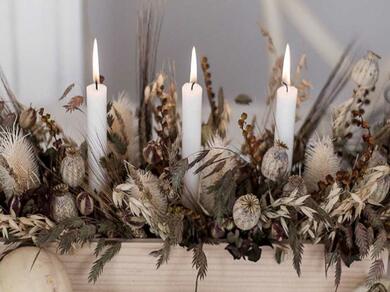
Floral Candle Holder
Add elegance and natural charm to your home with this DIY Floral Candle Holder, a beautiful blend of floral beauty and functionality. Start by crafting a wooden tray using five pieces of wood gently sanded and freshly bonded with Bostik Super Glue Gel for strong, durable assembly. Insert copper tubes into the tray to snugly fit your candles, then nestle a layer of floral foam inside and arrange dried flowers artistically around them for a soft, fragrant focal point. The reflective glow around blooms will instantly lift your décor, making this piece perfect for elegant dinner parties, weddings, or everyday ambiance. With just simple materials, wood, copper, foam, and glue, you’ll create a stunning, nature-inspired piece that’s handcrafted and breathtaking. 🌸🕯️🍂
Instructions
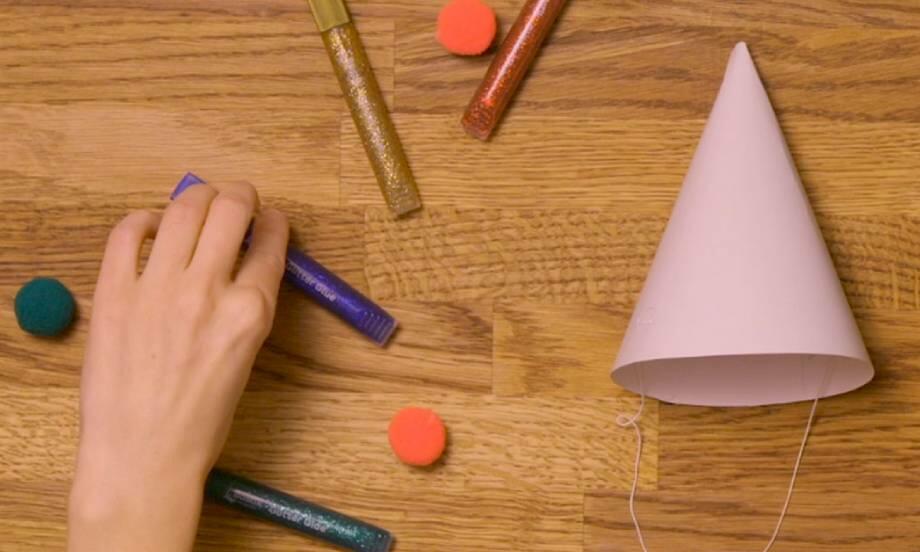
6 easy glitter glue craft ideas
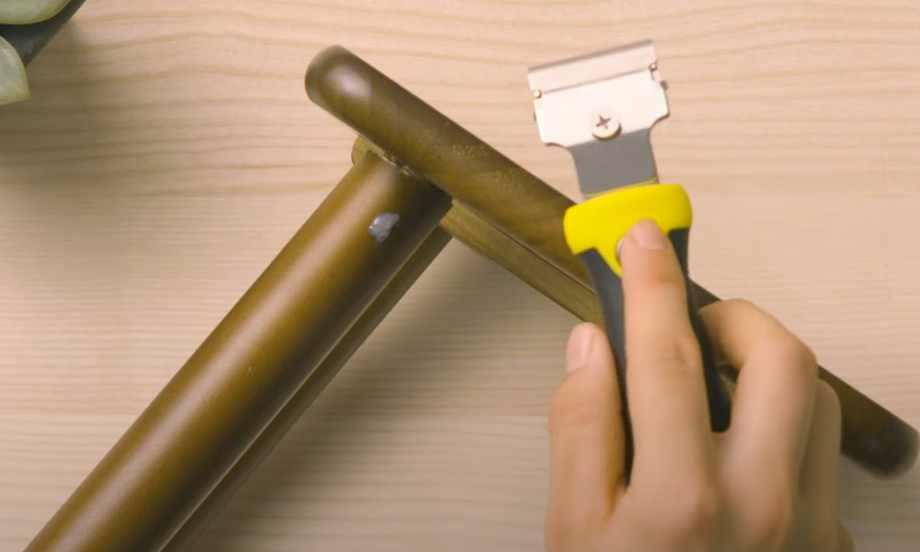
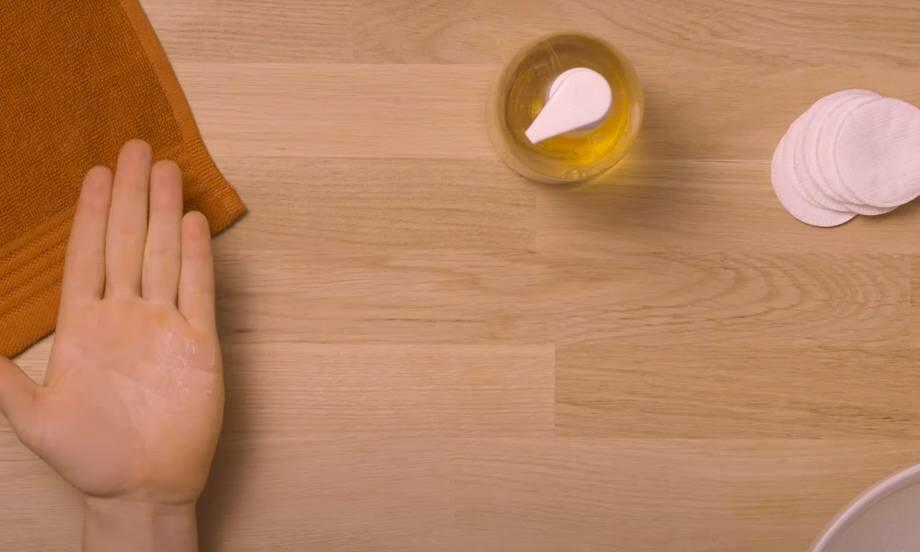
How to remove super glue from furniture?
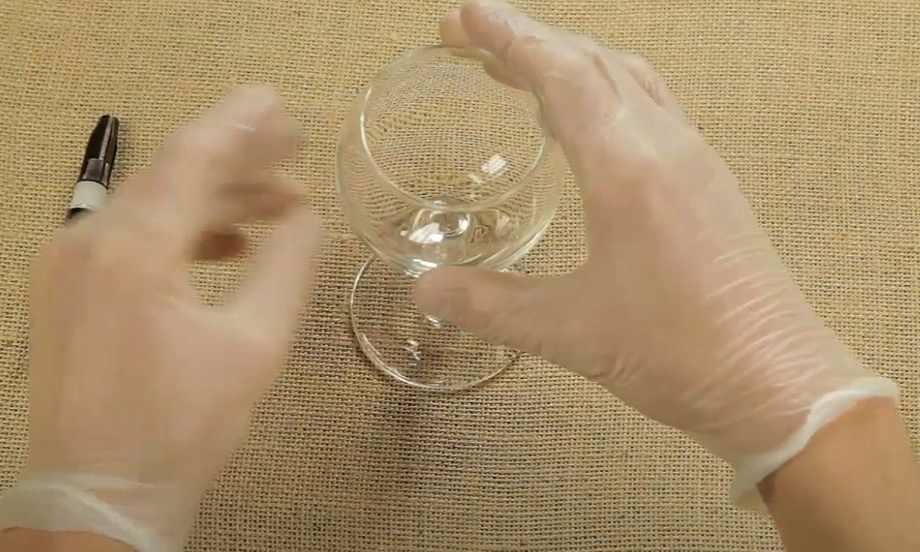
How to repair a stemmed glass with glue

How to store and sort glues at home

How to understand hazardous signs on your glue packaging
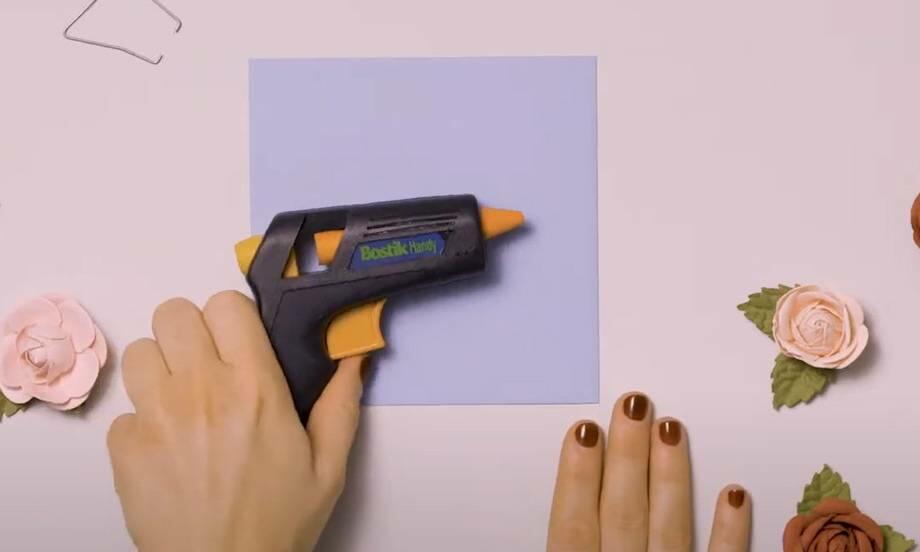
How to use a hot glue gun: step-by-step guide

Mosaic mirror frame

How to remove super glue from clothes