Erupting Volcano
Bring chemistry to life with a mesmerizing DIY Erupting Volcano🌋 science project, perfect for learning and dramatic fun! Begin by anchoring a recycled plastic bottle upright on cardboard using Clag® Paste, then build the volcano structure by layering scrunched-up newspaper, all held together with Clag® Paste for a sturdy papier-mâché base. Once dry, paint your creation to mimic a real volcano eruption landscape🏞️, then add dinosaurs for extra flair. When you're ready for the big moment, pour vinegar mixed with red food colouring over baking soda and watch an explosive, bubbling eruption, just like the real thing. This project combines crafting with scientific wonder, making it great for classrooms, family experiments, and memorable STEM activities. ✨
Instructions
CLAG® PASTE
Animal Games
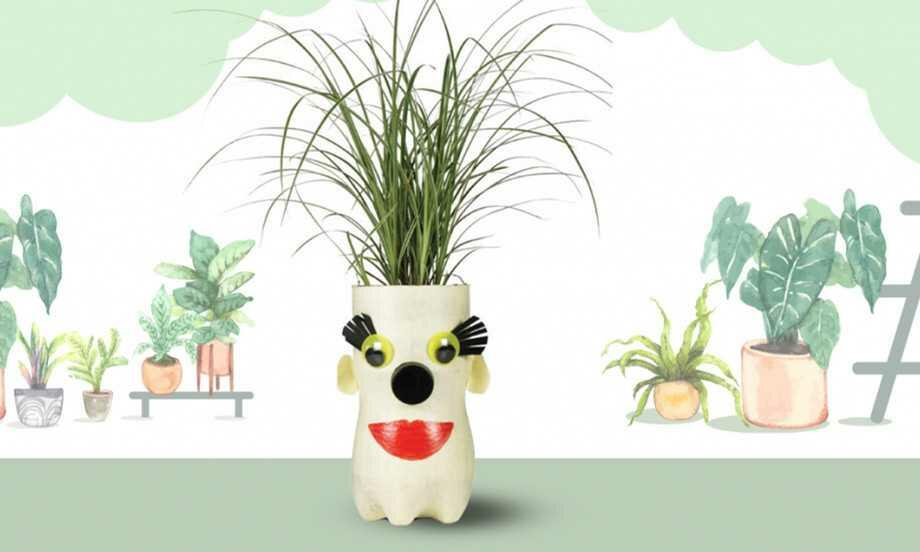
Recycled Planter

Bostik bee hive