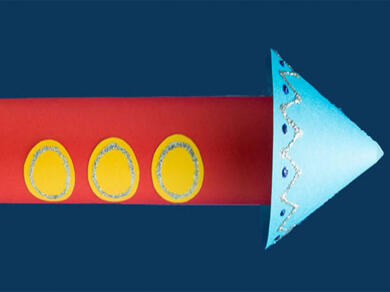
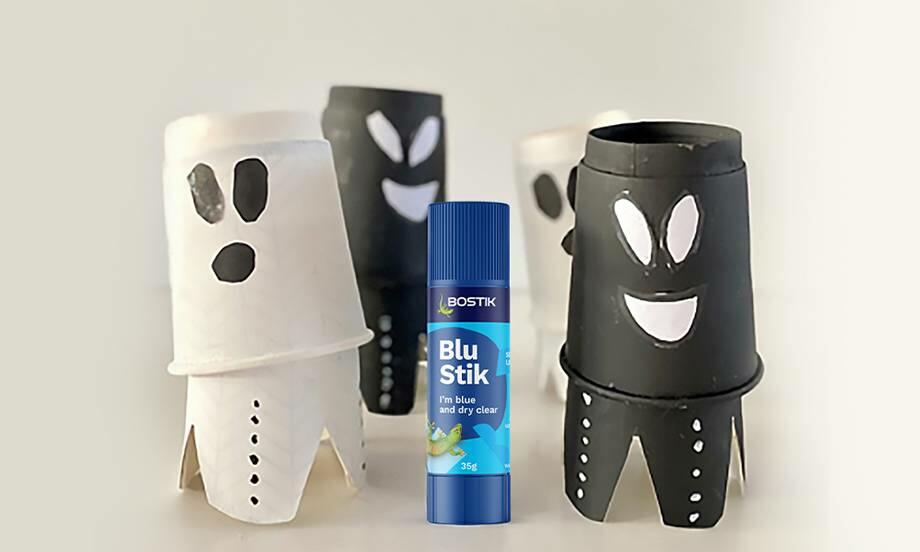
Bostik Rocket
Embark on a thrilling DIY adventure with our Bostik Rocket project! This tutorial is your gateway to creating an exciting and customisable rocket using Bostik’s high-quality adhesives and craft materials. Whether for a school project, a space-themed party, or simply for imaginative play, this project promises hours of creative fun. Follow our step-by-step instructions to build and decorate your own rocket, exploring different designs and personalising each detail. Let your imagination soar with Bostik as you launch into a world of creativity and exploration with our DIY Rocket project.
Instructions

Animal Games
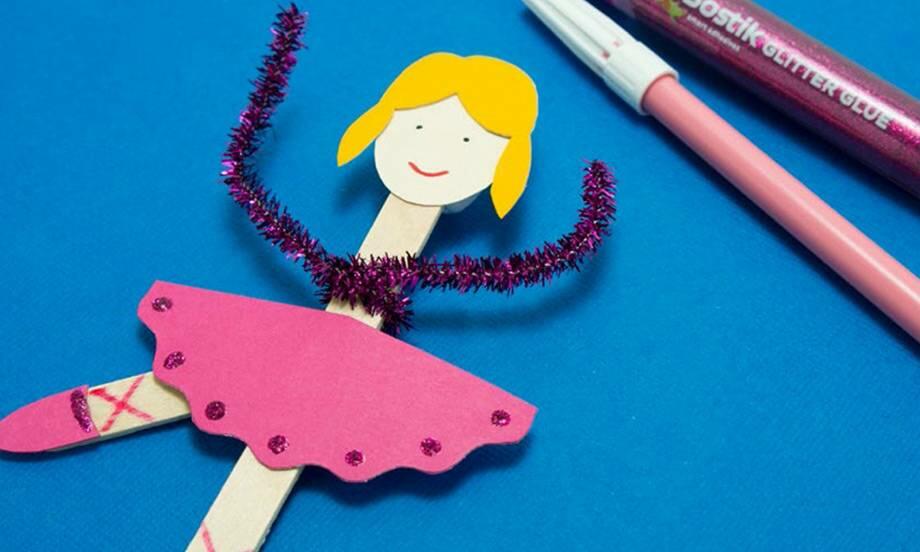
Ballerina
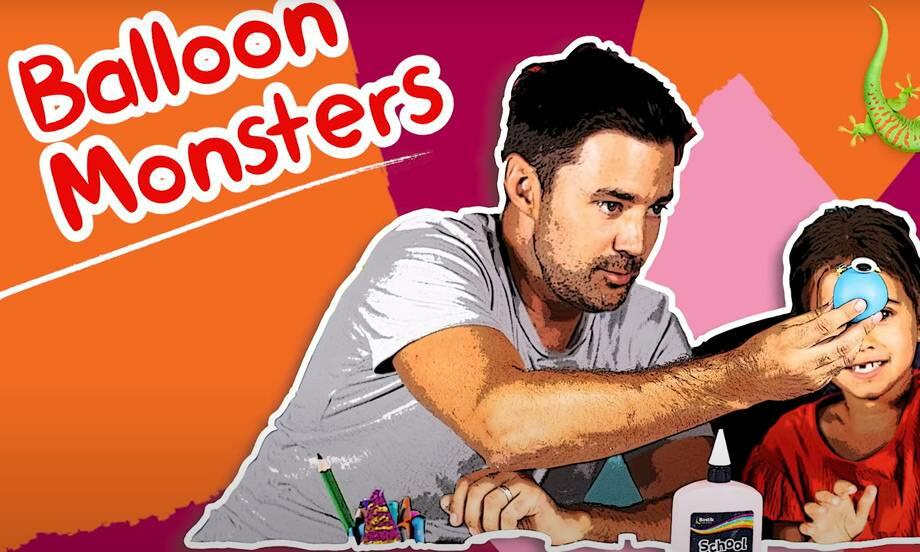
Balloon monsters

Best Mum Ribbon
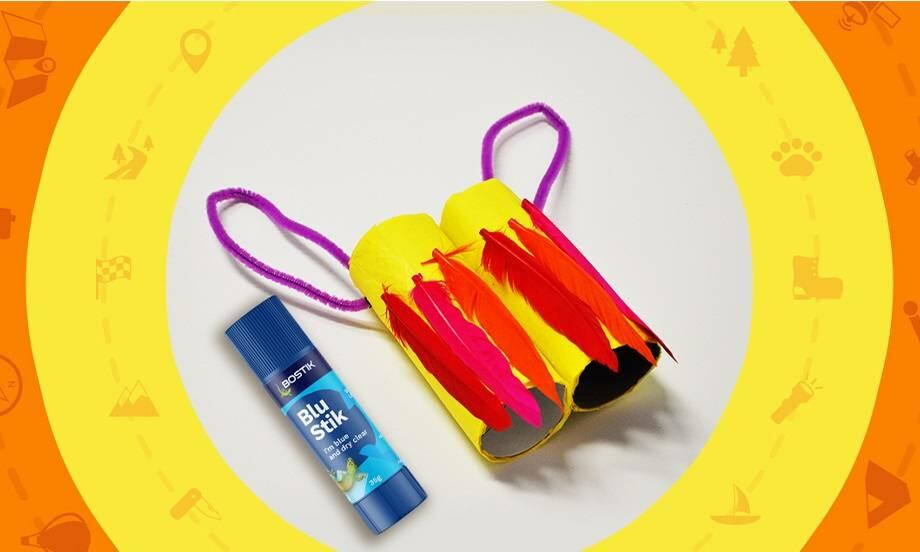
Binoculars
Bobbing ghosts

Bostik bee hive
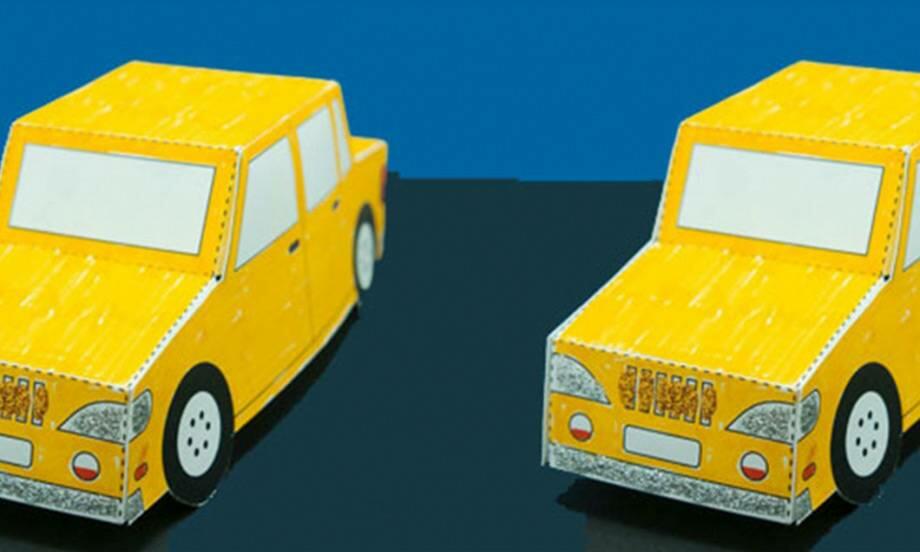
Bostik car
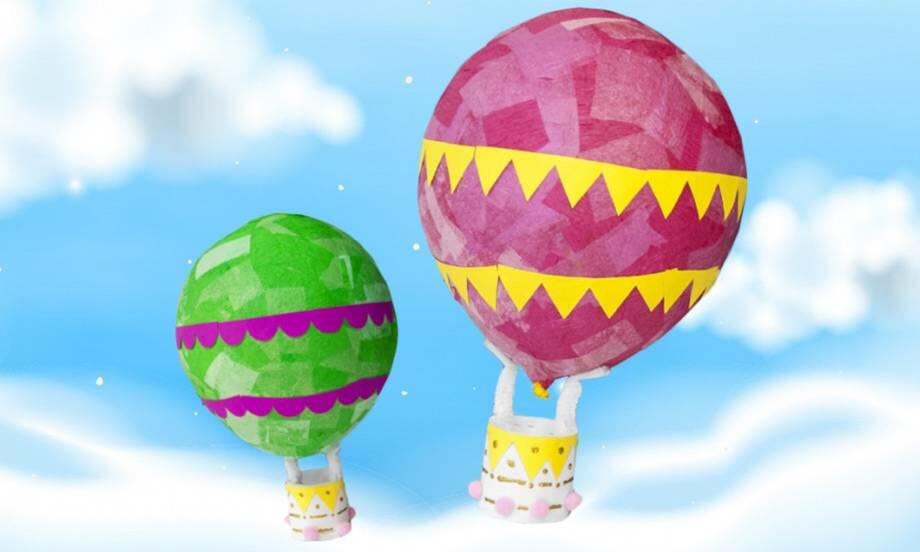
Bostik Hot Air Balloon

Bostik icy pole
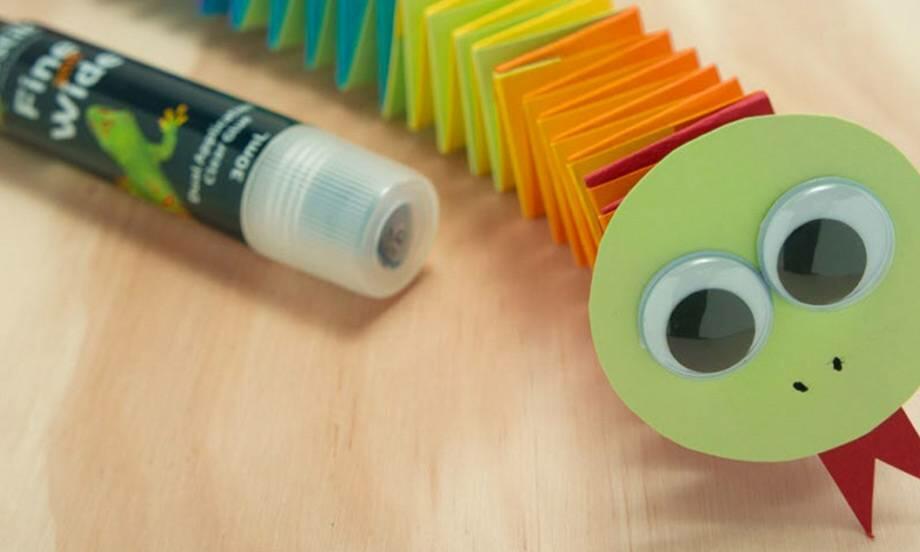
Bostik snake
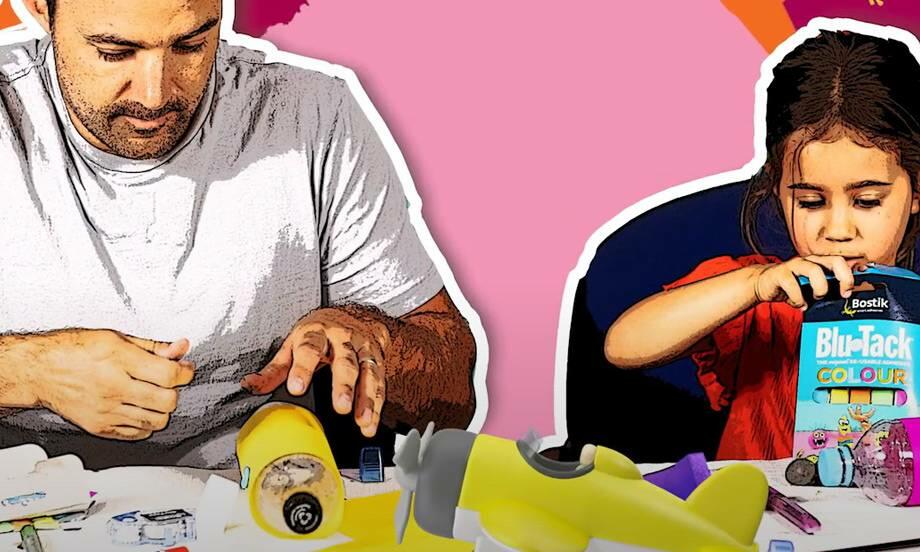
Bottle Plane
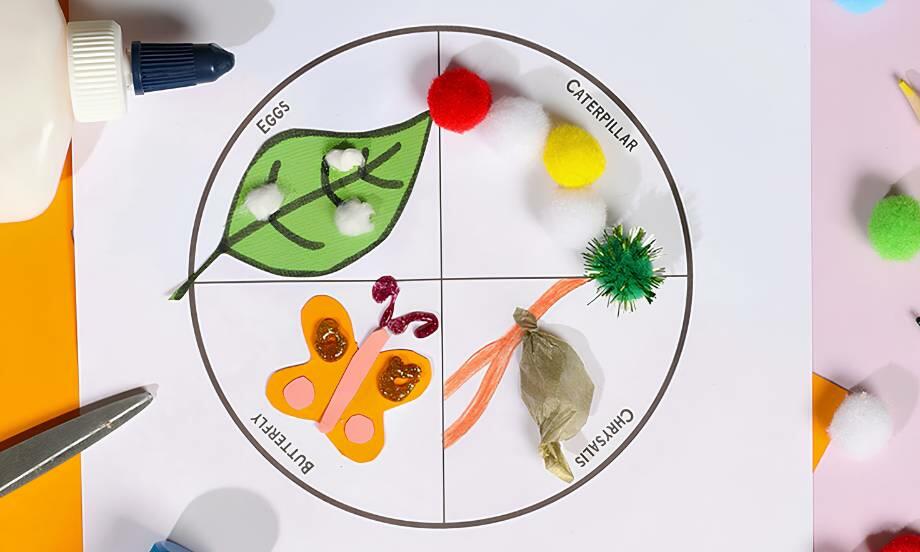
Butterfly plate life cycle
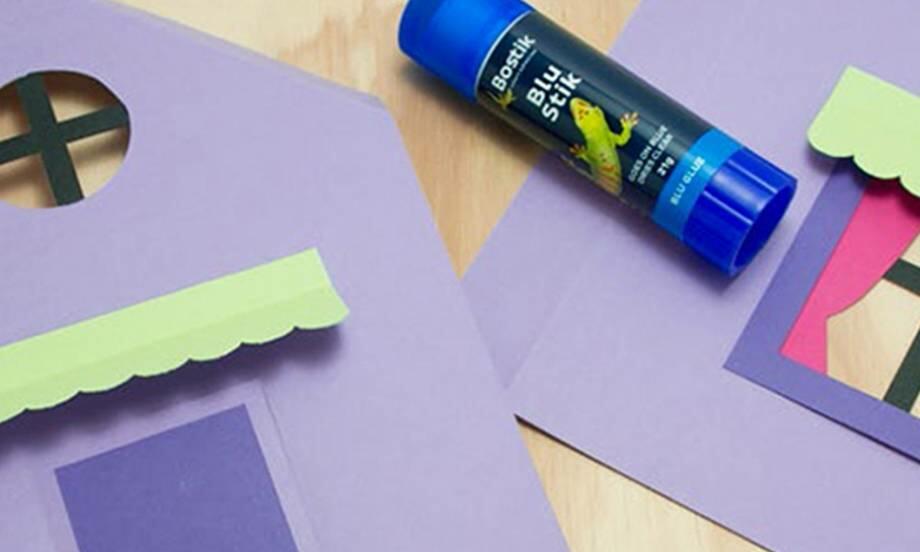
Cardboard House
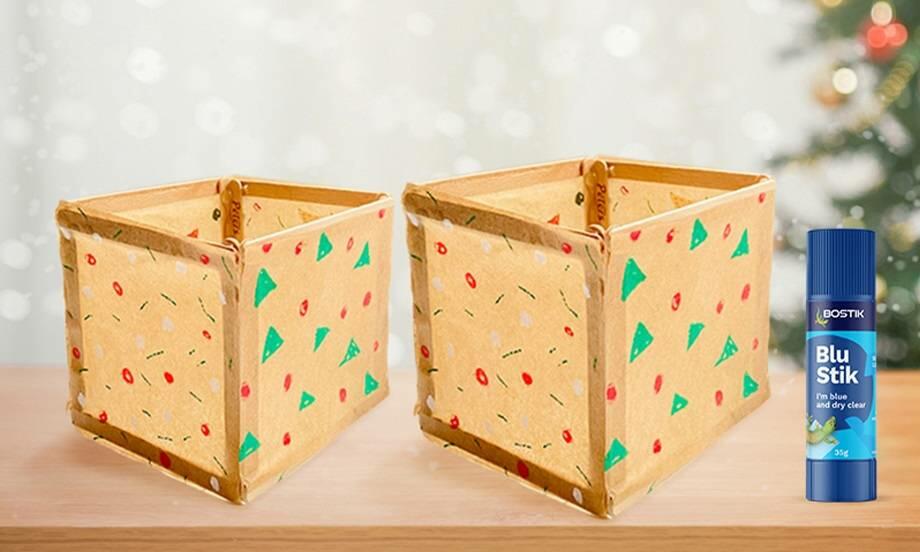
Christmas lanterns
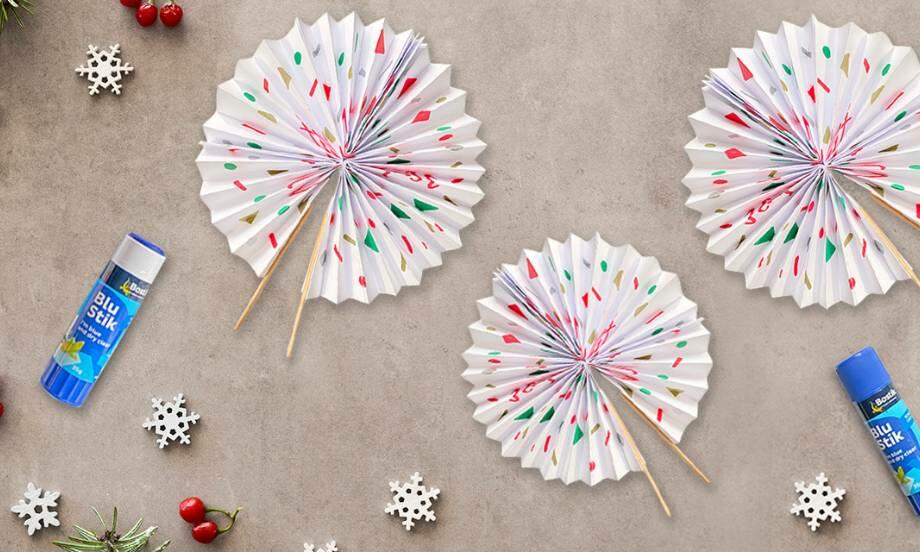
Christmas party fan
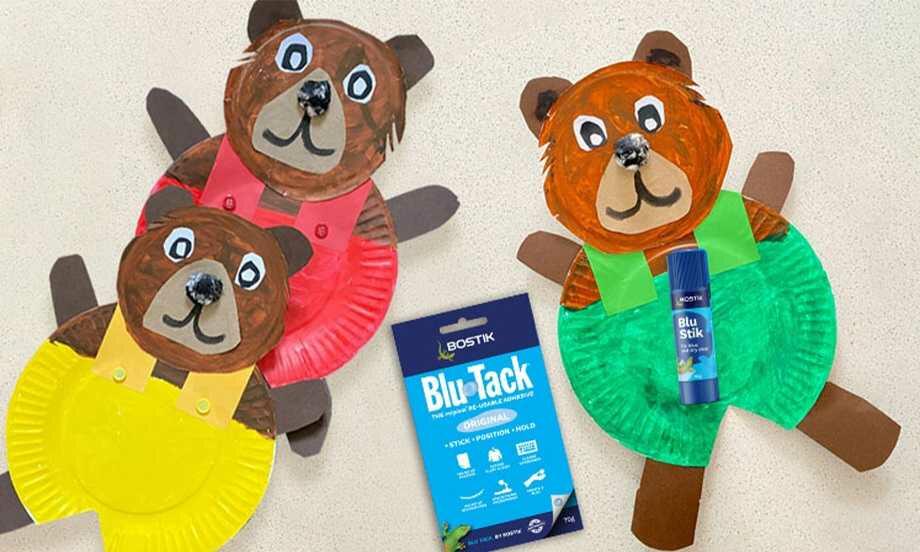
Corduroy the bear
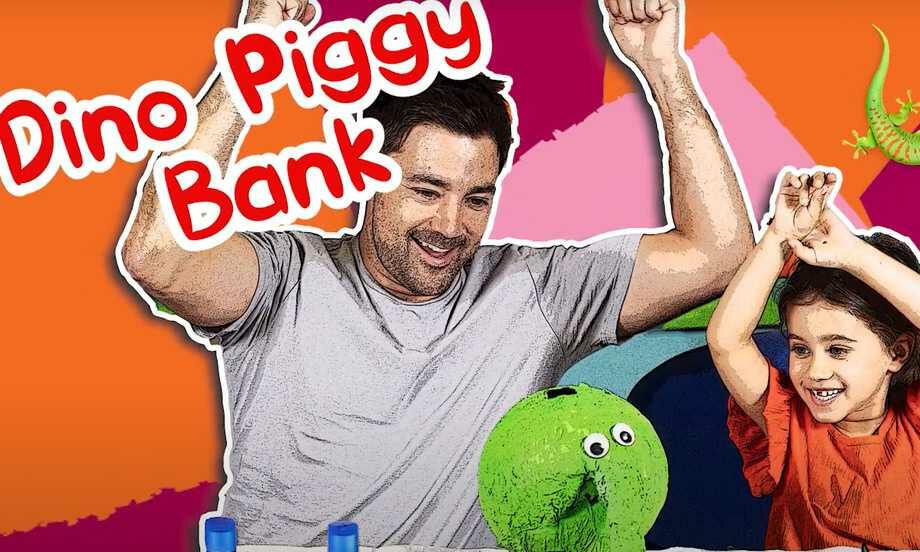
Dino Piggy Bank
DIY solar oven

DIY wall art
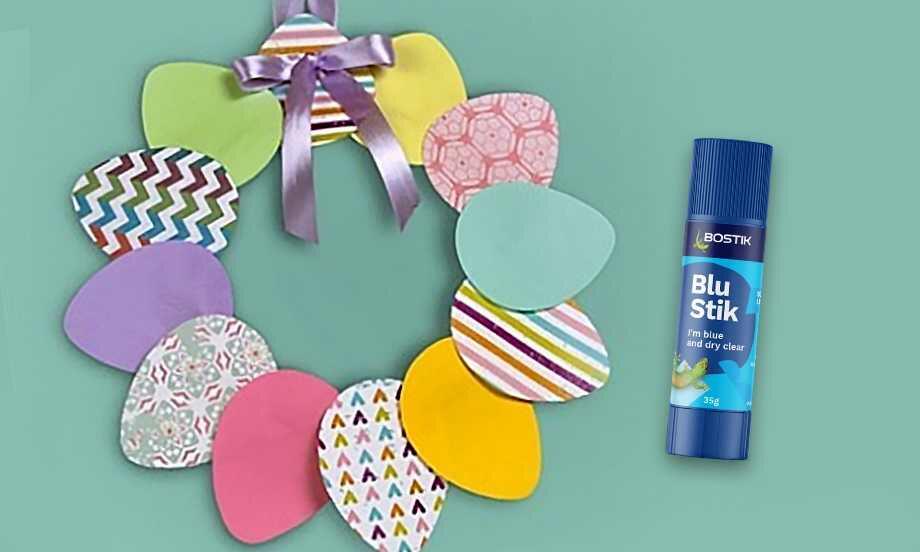
Easter Garland
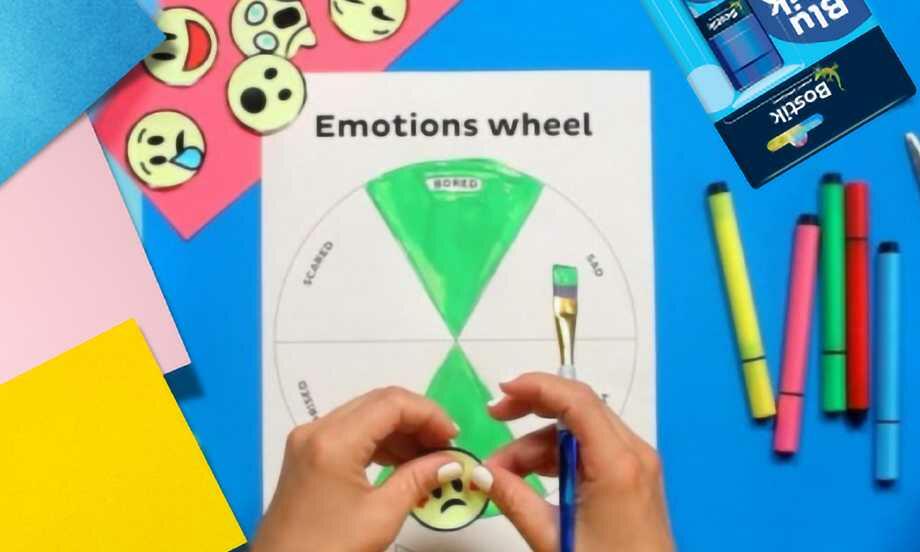
Emotions wheel

Family tree project
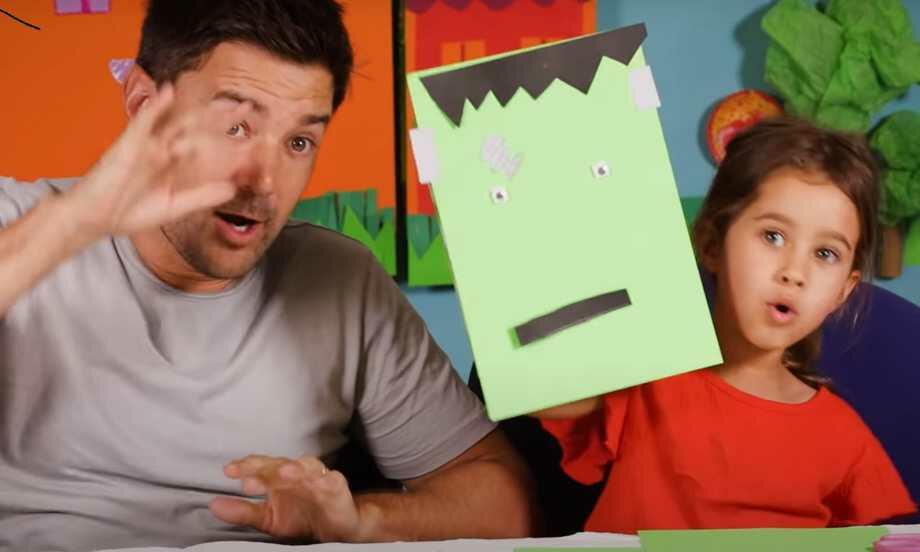
Frankenstein
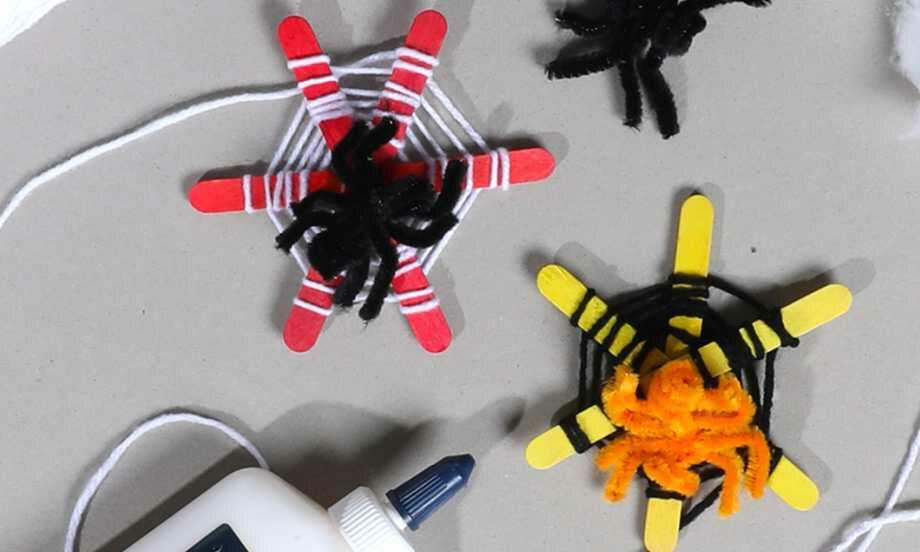
Halloween Spider Web

Human Body Project
Mechanical Gary Gecko
My name is

Papier Mache World Globe
Round of applause card holder
Slime colour wheel

Smart cookie