How to repair an inflatable mattress
Inflatable mattresses, commonly known as air beds or air mattresses, are handy for impromptu sleepovers and camping weekends. Yet they’re notorious for getting punctures when you least expect it. A pin prick could be enough to create a hole in your air mattress that can guarantee a poor night's sleep.
If you’ve noticed your air mattress sagging recently, a tear is the most likely explanation. Tears appear most often around the seams or towards the bottom and, frustratingly, a small puncture is enough to let air escape. It’s a common problem, so it’s good to know how to fix a hole in an air mattress should the problem arise!
In this article, we'll guide you through the best way to patch an air mattress using Bostik's ultra strong, reliable duct tape – so you can say hello to repairing inflatable mattresses, the simple way.
Why repair an air bed hole?
Instead of choosing to repair an inflatable mattress, it's easy to think that you can just buy a new one. However, that air bed could develop a puncture too! We believe it's better to know how to patch an air bed puncture to avoid contributing to today's use-and-throw-away world, and to help make your items last longer.
With Bostik's Max Repair and Universal Repair Tape, creating repairs around the home has never been easier. Both types of tape are high strength, long-lasting and can be used for immediate fixes on most materials around the home. For indoor projects, choose Universal Repair Tape and for outdoor projects or those that require something a little more heavy-duty, go for Max Repair Tape.
So, let's get into it…
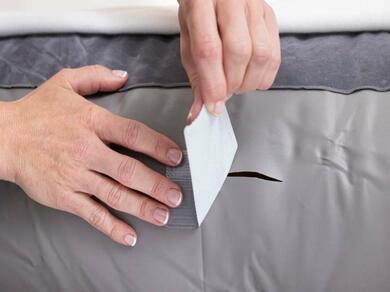
Instructions
Final Thoughts
Repairing an inflatable mattress is just the beginning. Our Bostik repair tapes are versatile solutions to also fix punctures in inflatable pools, bouncy castles, and other similar items.
Beyond inflatables, it’s also a handy fix for small rips or tears in household items like outdoor cushions, vinyl furniture, or even waterproof covers. With a strong, flexible hold, both the Max Repair and Universal Repair Tape offers a quick, reliable way to extend the life of everyday items - saving you time, money, and hassle.
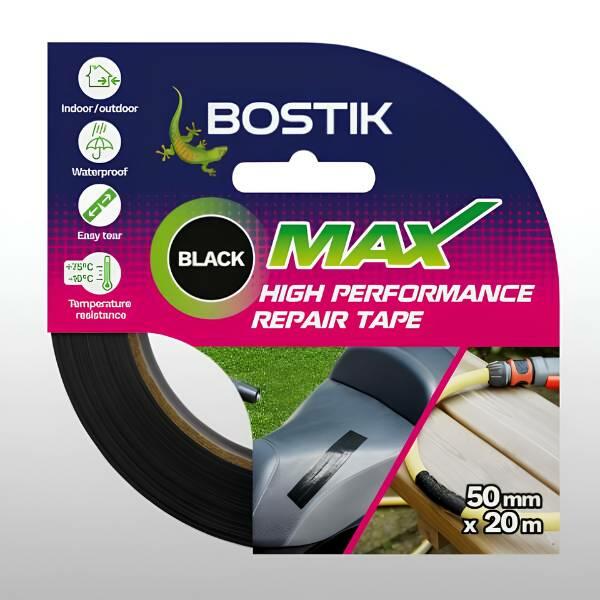
MAX REPAIR TAPE
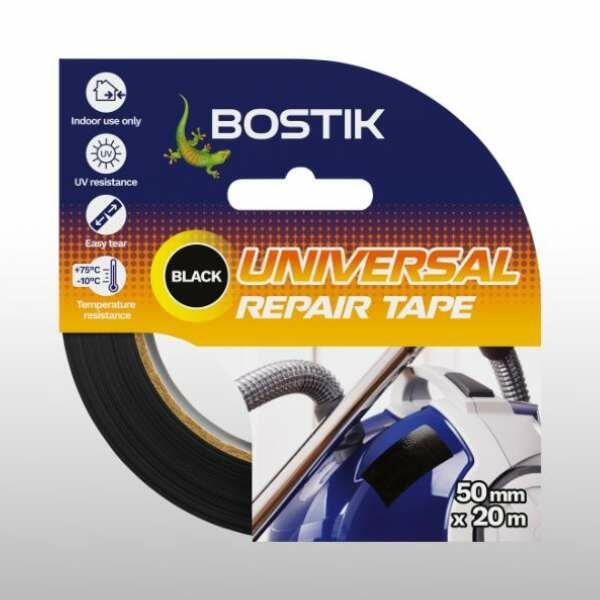
UNIVERSAL REPAIR TAPE
#BluHacks around the home

18 DIY #BluHacks using Blu Tack® Grey
6 easy glitter glue craft ideas

Everything you need to know: Tapes