How to make a DIY Christmas centrepiece with corks

Looking for a unique way to decorate your home this Christmas? This DIY cork Christmas centrepiece is a simple upcycling project that transforms natural wine corks into a beautiful festive decoration.

Whether displayed as a Christmas table centrepiece with a candle at its centre or hung as a rustic Christmas wreath on a door or wall, this versatile project adds a warm, handmade touch to your seasonal decor.

Using recycled wine corks and a selection of festive embellishments, you can create a striking Christmas decoration that's perfect for entertaining, gifting or displaying throughout the festive season.
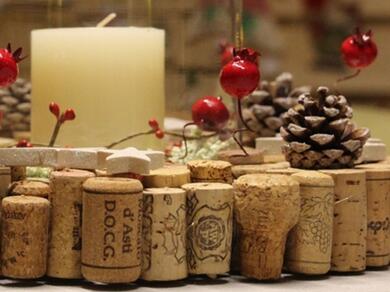
Why make a Christmas cork centrepiece?

Wine corks are a fantastic material for festive crafting. Their natural texture creates a rustic look that works beautifully with traditional Christmas decorations, while upcycling used corks gives everyday materials a second life.

This project can be used in two different ways:

  • As a Christmas table centrepiece featuring a candle display.
  • As a DIY Christmas wreath for a door or wall.

The result is a stylish seasonal decoration that looks impressive but is surprisingly simple to create.
Instructions

Disclaimer

Please note this guide features images of an adhesive that is now discontinued, however, the step-by-step tutorial is correct to the new product.

Step 1: Prepare your workspace

Gather all your materials before you begin.

Protect your work surface with a table covering or craft mat to prevent any accidental adhesive marks during the project.

Step 2: Create the first layer

Position the glass bowl in the centre of your workspace and arrange the wine corks around the outside edge.

Check that the corks sit evenly and create a complete circle before applying any adhesive.

Step 3: Secure the first layer

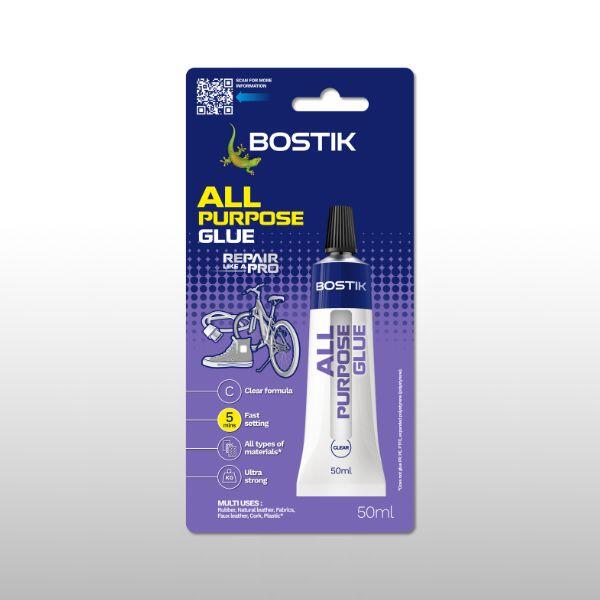
Apply Bostik All Purpose Adhesive to the side of each cork and press it firmly against the next one.

Continue around the circle until the entire first layer is securely bonded together.

Step 4: Build the second layer

Place a second row of corks on top of the first.

For added strength and stability, position each cork so it sits across the gaps between the corks below, creating a staggered pattern.

Step 5: Secure the second layer

Apply adhesive in two places:

  • Along the side of each cork to bond it to neighbouring corks.
  • Along the bottom edge to attach it securely to the first layer.

This will help create a strong and durable structure.

Step 6: Add the third layer

Repeat the same process to build a third layer of corks.

Take your time to ensure the rows remain aligned and evenly spaced.

Step 7: Create additional depth

If you have enough corks available, add a fourth layer to create a fuller wreath shape.

You can also incorporate larger champagne corks to introduce extra texture and visual interest.

Allow the adhesive to dry thoroughly, ideally overnight, before decorating.

Step 8: Add festive decorations

Arrange pine cones, Christmas stars and decorative embellishments around the cork wreath.

Experiment with different layouts before securing anything in place to ensure you're happy with the final design.

Step 9: Add the decorative pomegrantes

To create movement and dimension, wrap the wire stems of the decorative pomegranates around a pencil to form spirals.

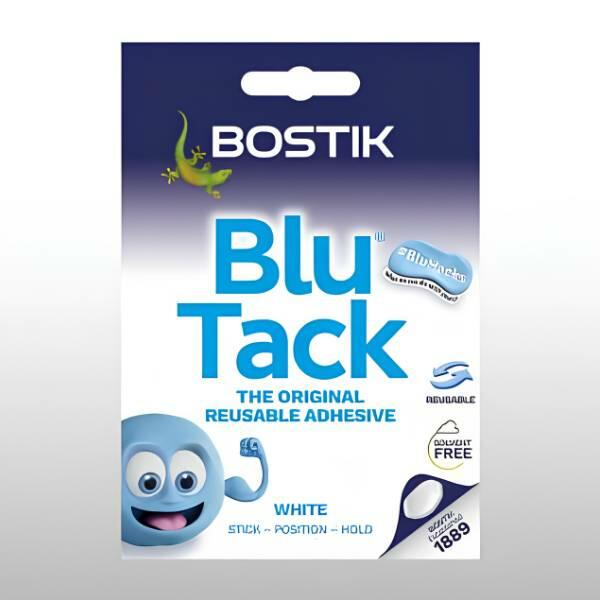
Secure them between the corks using Bostik Blu Tack® White.

The rich red colour adds a festive contrast against the natural corks.

Step 10: Add the candle

Place the glass bowl in the centre of the wreath and secure the pillar candle using Bostik Blu Tack® White.

Complete the display by adding artificial flowers and any additional decorative touches.

Step 11: Display your creation

Your DIY cork Christmas centrepiece is ready to display.

Use it as a festive focal point on your dining table throughout the Christmas season, or remove the bowl and candle to transform it into a decorative Christmas wreath for a door or wall.

Top tip

Save wine corks throughout the year and keep them in a container ready for festive crafting projects. Mixing natural corks with champagne corks can create additional texture and give your Christmas centrepiece a more bespoke appearance.

For a coordinated look, match your embellishments to your existing Christmas decor scheme, whether that's traditional reds and golds, rustic woodland tones or modern metallic finishes.

With a handful of recycled corks and a few festive decorations, you can create a beautiful Christmas centrepiece that will become a talking point at every festive gathering.

Product finder