Easy craft ideas with Bostik Blu Stick, Glitter Glue, Removable Glu Dots and PVA Glue
It’s great to express your creativity and spend time as a family doing art and crafts, but sometimes it can be hard to find ideas that are straightforward to do and that produce results that the whole family will be happy with. Bostik has a product to help with every creative project and here we look at simple, satisfying ideas for Bostik Blu Stick, Glitter Glue, Removable Glu Dots and PVA glue.
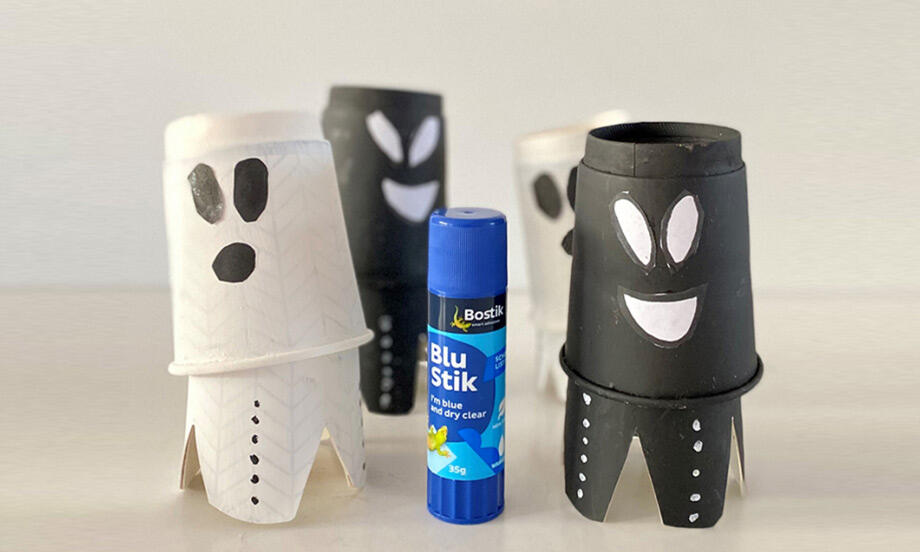
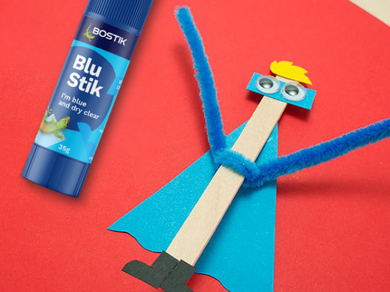
Which glue stick is best?
We think it’s Bostik Blu Stick, it’s the perfect ready to use, easy to apply, high quality solid glue stick. It’s CE approved, odourless and solvent-free, so it’s brilliant for adults and children alike. It's ideal for use on most paper-based materials including card, paper, crepe, tissue paper and photographs, as well as fabrics like felt and cotton. But what makes Bostik Blu Stick really unique is it goes on blue, so you can see exactly where you're sticking, before it dries clear, helping you to glue more efficiently and avoid any mess – it’s a crafting miracle
What makes Bostik Glitter Glue pens special?
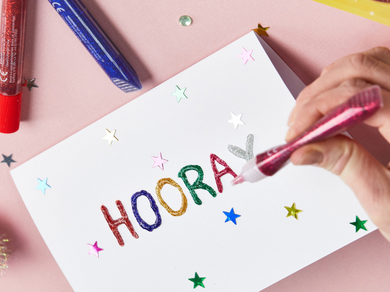
Art and craft projects often involve a little mess, but if you’ve ever used pots of regular glitter, you’ll know that this stuff can take mess to a whole new level, with tiny specks of glitter getting absolutely everywhere and taking months to disappear. It’s always a trade-off though, because glitter brings that sparkling finishing touch to so many projects. Bostik Glitter Glue pens are the perfect solution, because the flakes of glitter are suspended inside the glue, so there’s no mess to sweep up and they wash out of clothes too. Bostik Glitter Glue pens are a brilliant way to add glitter to cards, pictures, posters and party stuff, with a precision nozzle for a neat finish. With a collection of six fine-tipped pens, you can use them to fill shapes, write words, draw fancy borders and lots more – great for adults and children alike.
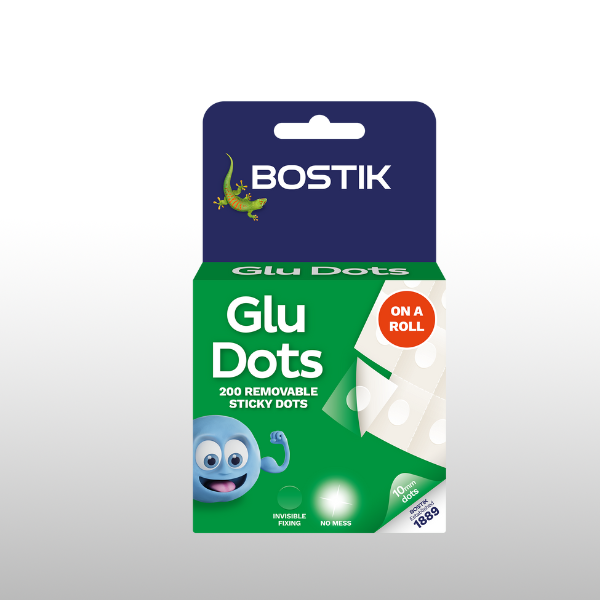
How does Glu Dots work?
Bostik Removable Glu Dots are double-sided clear glue dots on sheets that stick to almost anything, including paper, wood, plastic, metal, glass and painted surfaces - perfect for instant fixing and crafts – and completely removable, as the name suggests! They’re easy to use and mess free plus they’re acid- and lignin-free and non-yellowing, so they’re ideal for gift wrapping, photo albums, craft projects, hanging posters and so much more. For a more permanent bond, Bostik Extra Strong Glu Dots are also available.
Which glue is best for kids’ crafts?
Bostik’s adhesive experts have created the perfect glue for children’s art and craft projects. Bostik PVA Glue is a multi-purpose, solvent-free white glue that’s UKCA and CE approved so it’s safe for children.
It comes in an easy-to-use bottle with a resealable cap and dries clear. It sticks lots of materials, including paper, card, wood and fabric. It’s also ideal for making slime and it even washes out of clothes.
How to make your own greetings cards with Bostik Blu Stick
- Step 1: Choose an A6 coloured greetings card blank and a slightly smaller piece of coloured card in a contrasting colour.
- Step 2: Remove the Blu Stick cap and turn the base clockwise to push up a little of the glue stick.
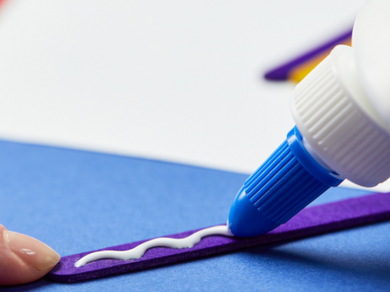
- Step 3: Apply the glue close to the edges of the back of the piece of card with firm, even strokes. The glue goes on blue, before drying clear, so you can see exactly where your glue is going.
- Step 4: Align and then press the card into place on the cover of the card blank.
- Step 5: Choose some card shapes and arrange them on the cover of the card.
- Step 6: Turn each shape over in turn and apply the glue stick to the back of the shape before pressing it into place on the card.
- Step 7: And that’s it, you’ve created a beautiful and unique greetings card!
Everything you need to make your own greetings cards
- Bostik Blu Stik
- A6 coloured greetings card blanks
- Pieces of coloured card, a little smaller than A6
- Pre-cut coloured shapes (hearts, balloons, butterflies etc)
- Scissors

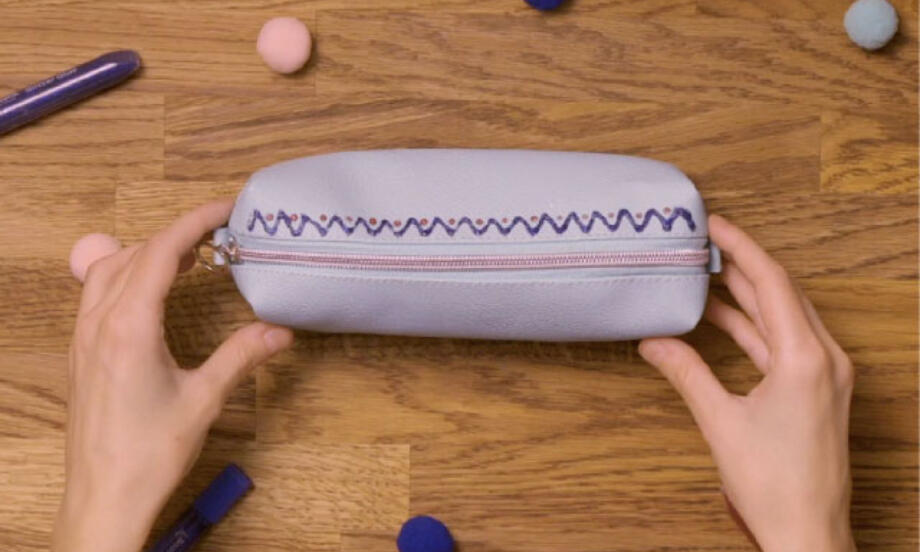
How to customise your room with Glitter Glue
- Step 1: Choose a piece to customise, things like cardboard storage – such as a desk organiser – work well.
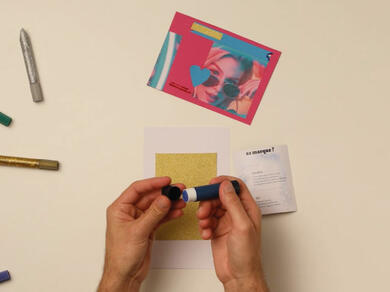
- Step 2: Take the top off a glitter glue pen, squeeze gently, and apply the glitter precisely where you need it. Try bold diagonal stripes in blocks of different colours for a graphic, on-trend look.
- Step 3: Simply repeat, until your object is decorated.
- Step 4: And that’s it, you’ve created a cool customised piece to personalise your space!
Everything you need to customise your things with glitter glue
- Bostik Glitter Glue
- Cardboard storage boxes, eg desk organiser, pen pots, magazine files, photo boxes etc.
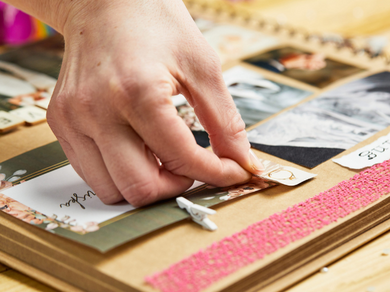
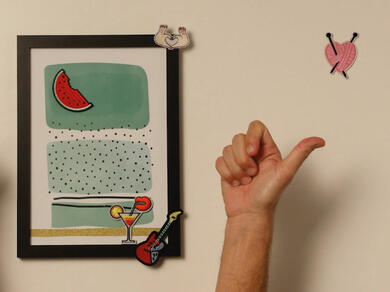
How to create a memory frame with Bostik Glu Dots
- Step 1: Before you use Bostik Removable Glu Dots, remember that all adhesives need a clean and dry surface for the glue to work at its best. So, check that all surfaces to be bonded are dust-, dirt- and grease-free.
- Step 2: Top tip: For best results with Glu Dots, the surfaces and surroundings should be pleasantly warm.
- Step 3: Take out a sheet of dots from the wallet, fold and then tear off along the perforations, removing as many dots as are required. Peel off the printed release paper to reveal a Glu Dot left on the clear backing. The Glu Dot is now ready for use.
- Step 4: Choose a piece of coloured card for the back of your box frame, press Glu Dots firmly onto the back of the card, then slowly and carefully peel off the clear backing. The Glu Dots will adhere to the card, which can now be pressed into the box frame as a background.
- Step 5: Apply further dots to each element of the memory frame: photos, postcards, tickets, dried flowers, leaves or feathers. Press each piece into place on the card backdrop. With Removable Glu Dots, you can change the layout around until you are happy with the finished effect.
- Step 6: And that’s it, you’ve captured some magical memories forever.
Everything you need to create a memory frame with Bostik Glu Dots
- Bostik Removable Glu Dots
- A box frame
- A piece of coloured card to fit into the back of the frame as a backdrop.
- Things for the memory frames eg postcards, photos, ticket stubs, dried flowers and leaves, small shells, pebbles or sea glass etc.
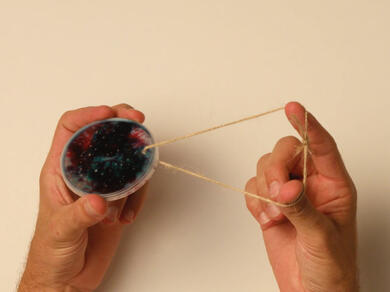
How to make window decorations with Bostik PVA Glue
- Step 1: Take a plastic food packaging lid and ensure that it is clean and grease-free.
- Step 2: Open the resealable cap and squirt a little PVA glue direct from the bottle into the food packaging lid, then close the cap on the PVA.
- Step 3: Add single drops of different food colourings and swirl them around with a wooden stick to make a pleasing effect, but don’t over-mix, or the colours will muddy.
- Step 4: Leave to dry.
- Step 5: Punch or poke a hole through, close to the rim of the lid and thread through a ribbon, tying a knot or bow to create a loop to hang your decoration.
- Step 6: And that’s it, you’ve created a beautiful decoration to hang in a sunny spot.
Everything you need to make window decorations with Bostik PVA Glue
- Bostik PVA Glue
- Thick transparent plastic food product lids, those from tubes of stackable potato crisps work well
- 3-5 bottles food colouring (eg red, blue, green, yellow, pink)
- Small lengths of ribbon
- Hole punch or something to pierce the lid
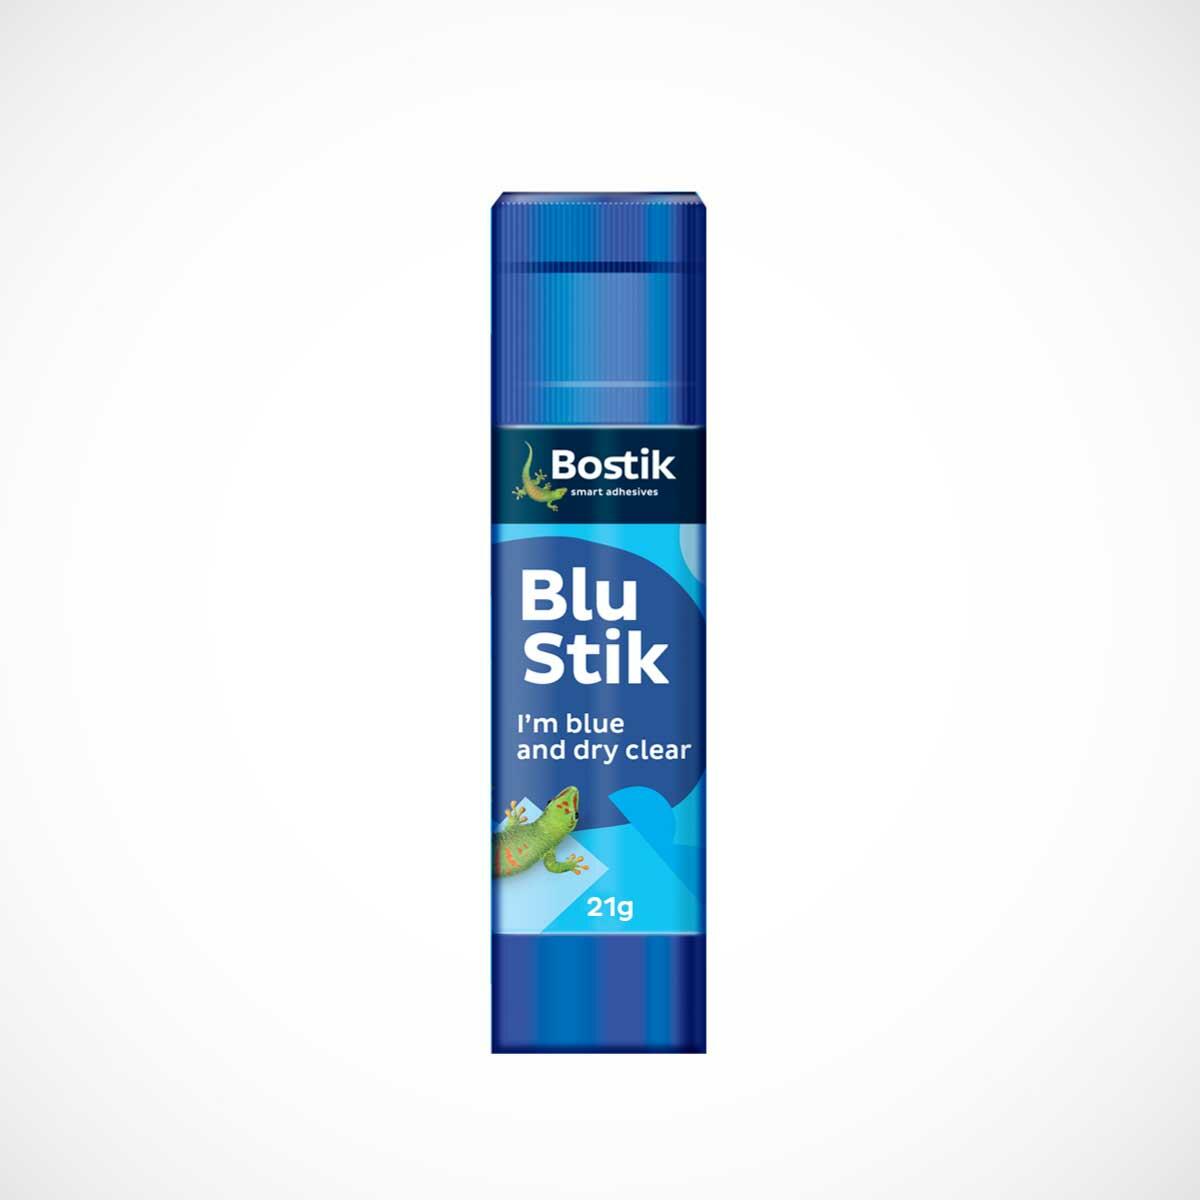
BLU STIK
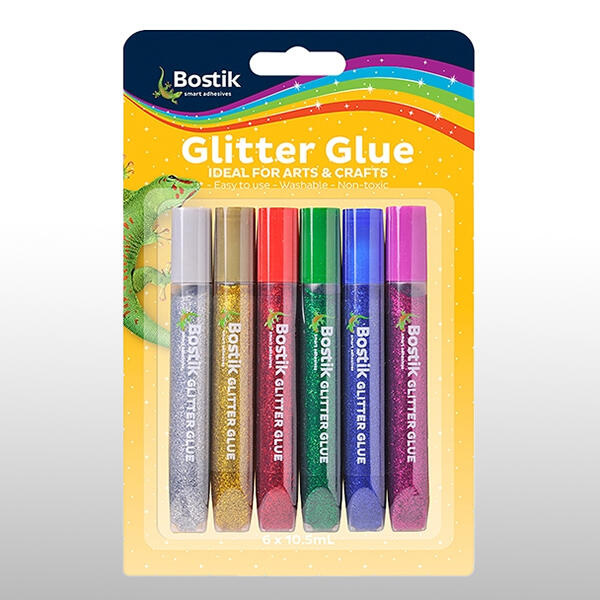
GLITTER GLUE
GLU DOTS EXTRA STRONG